
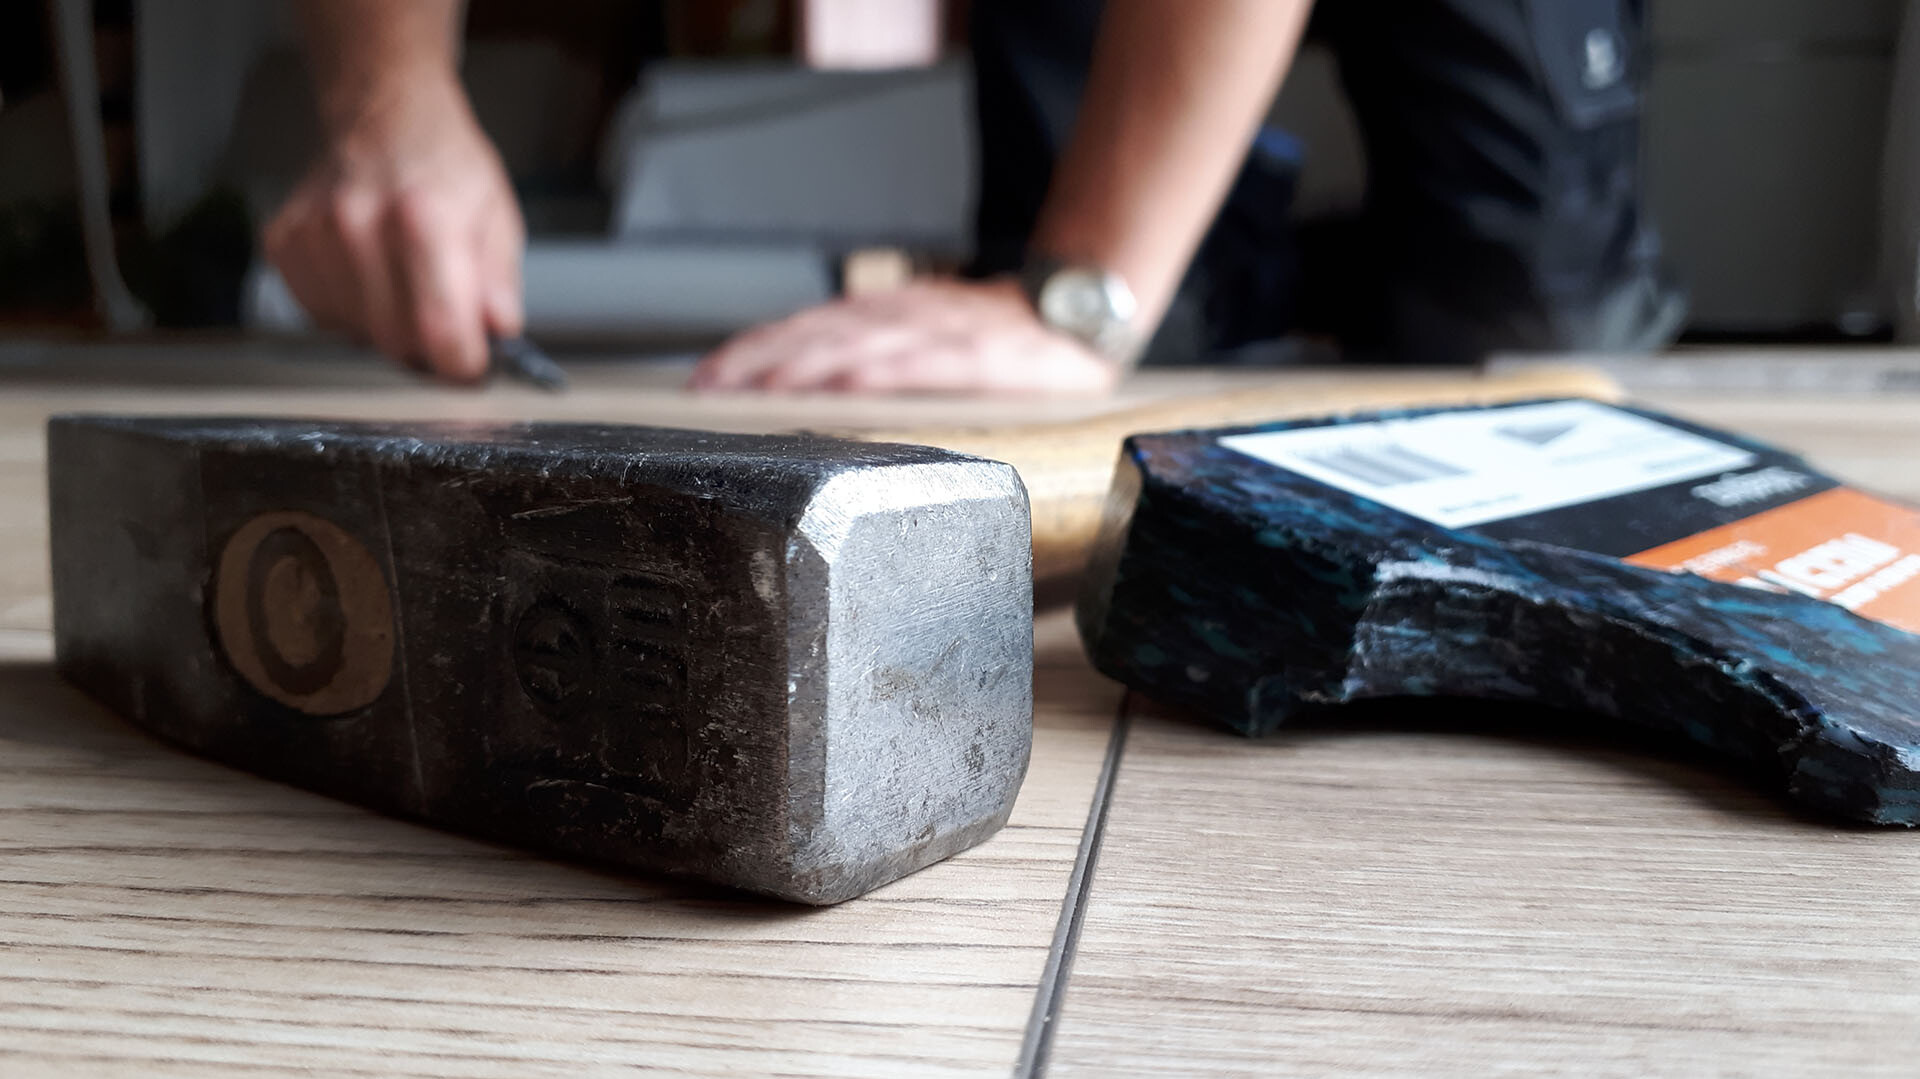
Before opening the packages, leave them to acclimatise until they have adjusted to room temperature. Store them unopened and lying flat on the ground for approx. 48 hours (in winter 3–4 days) in the centre of the room you want to work in. Do not store the packages in front of damp or freshly wallpapered walls. Before you install the flooring, outer doors and windows must be installed and all painting and decorating work must be finished. The room temperature must be approx. 20°C (at least 15°C), and the relative humidity must be approx. 30–65 per cent.
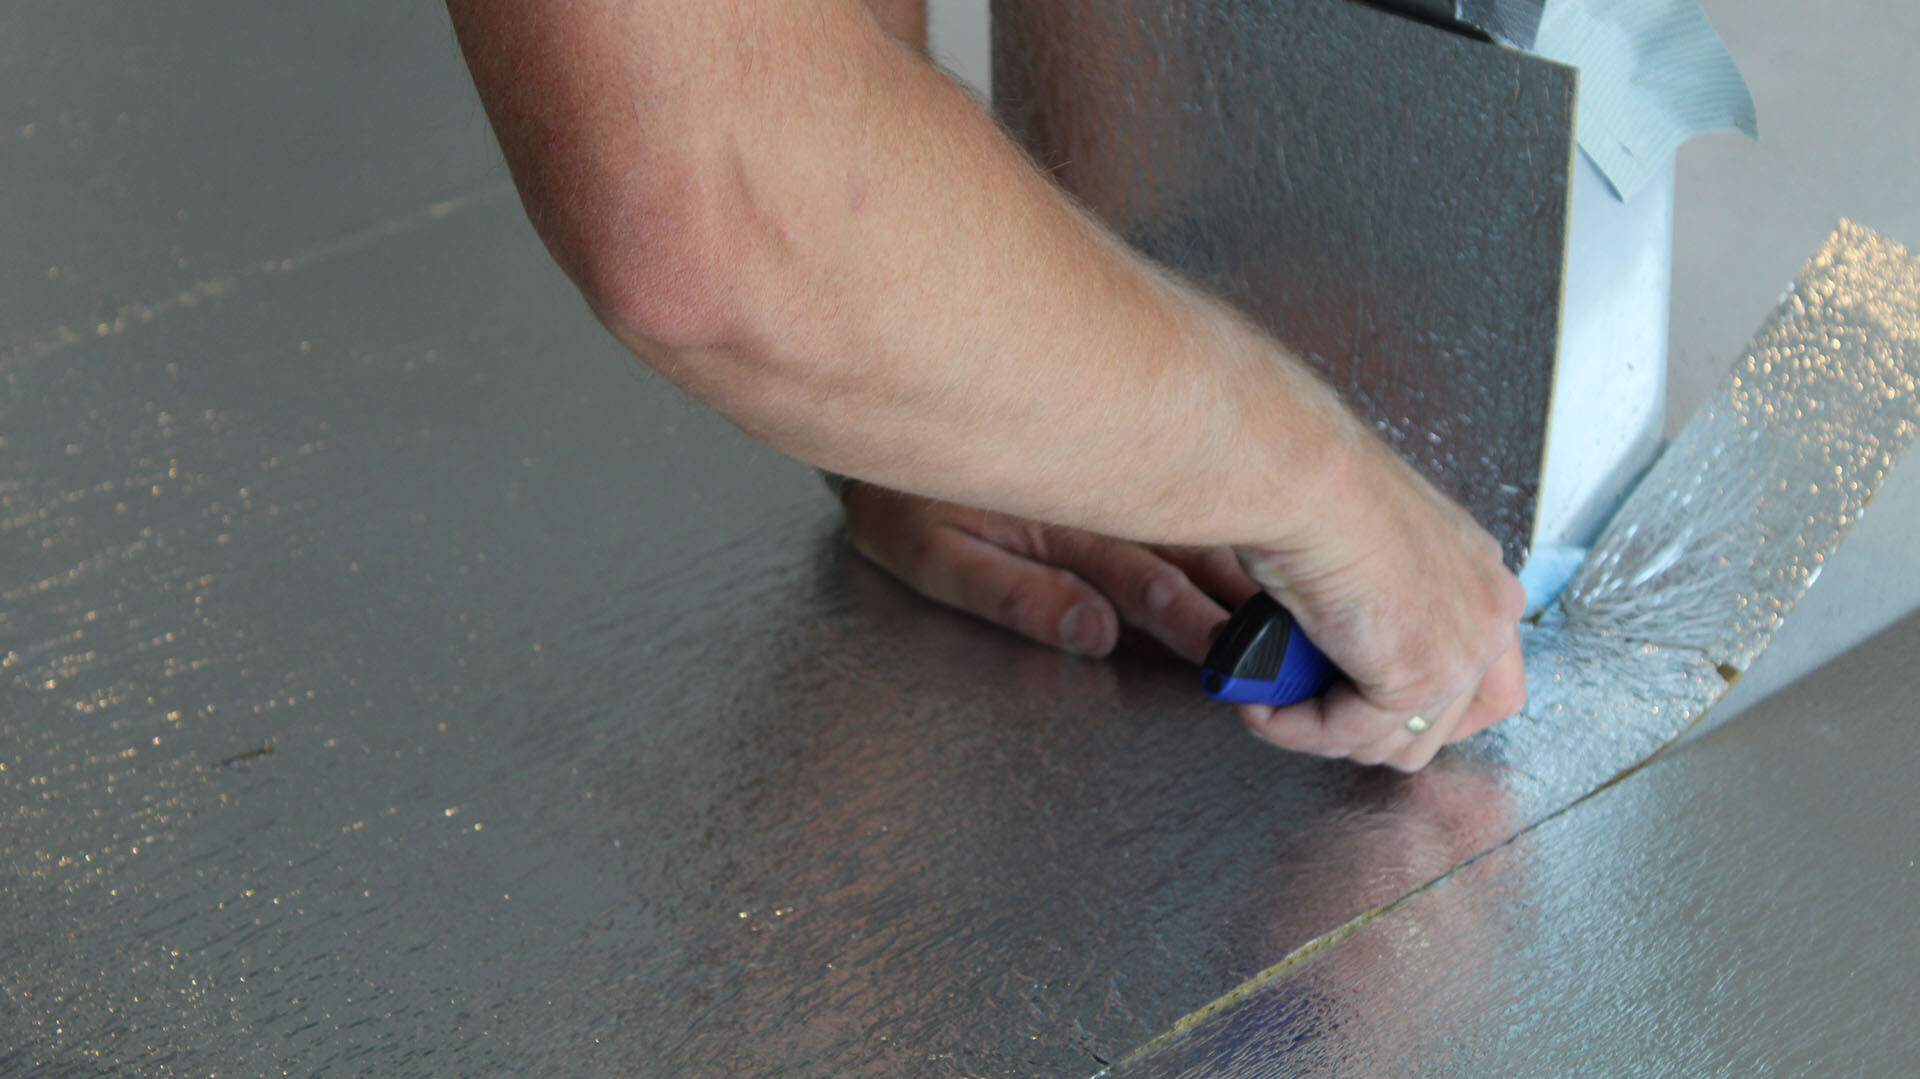
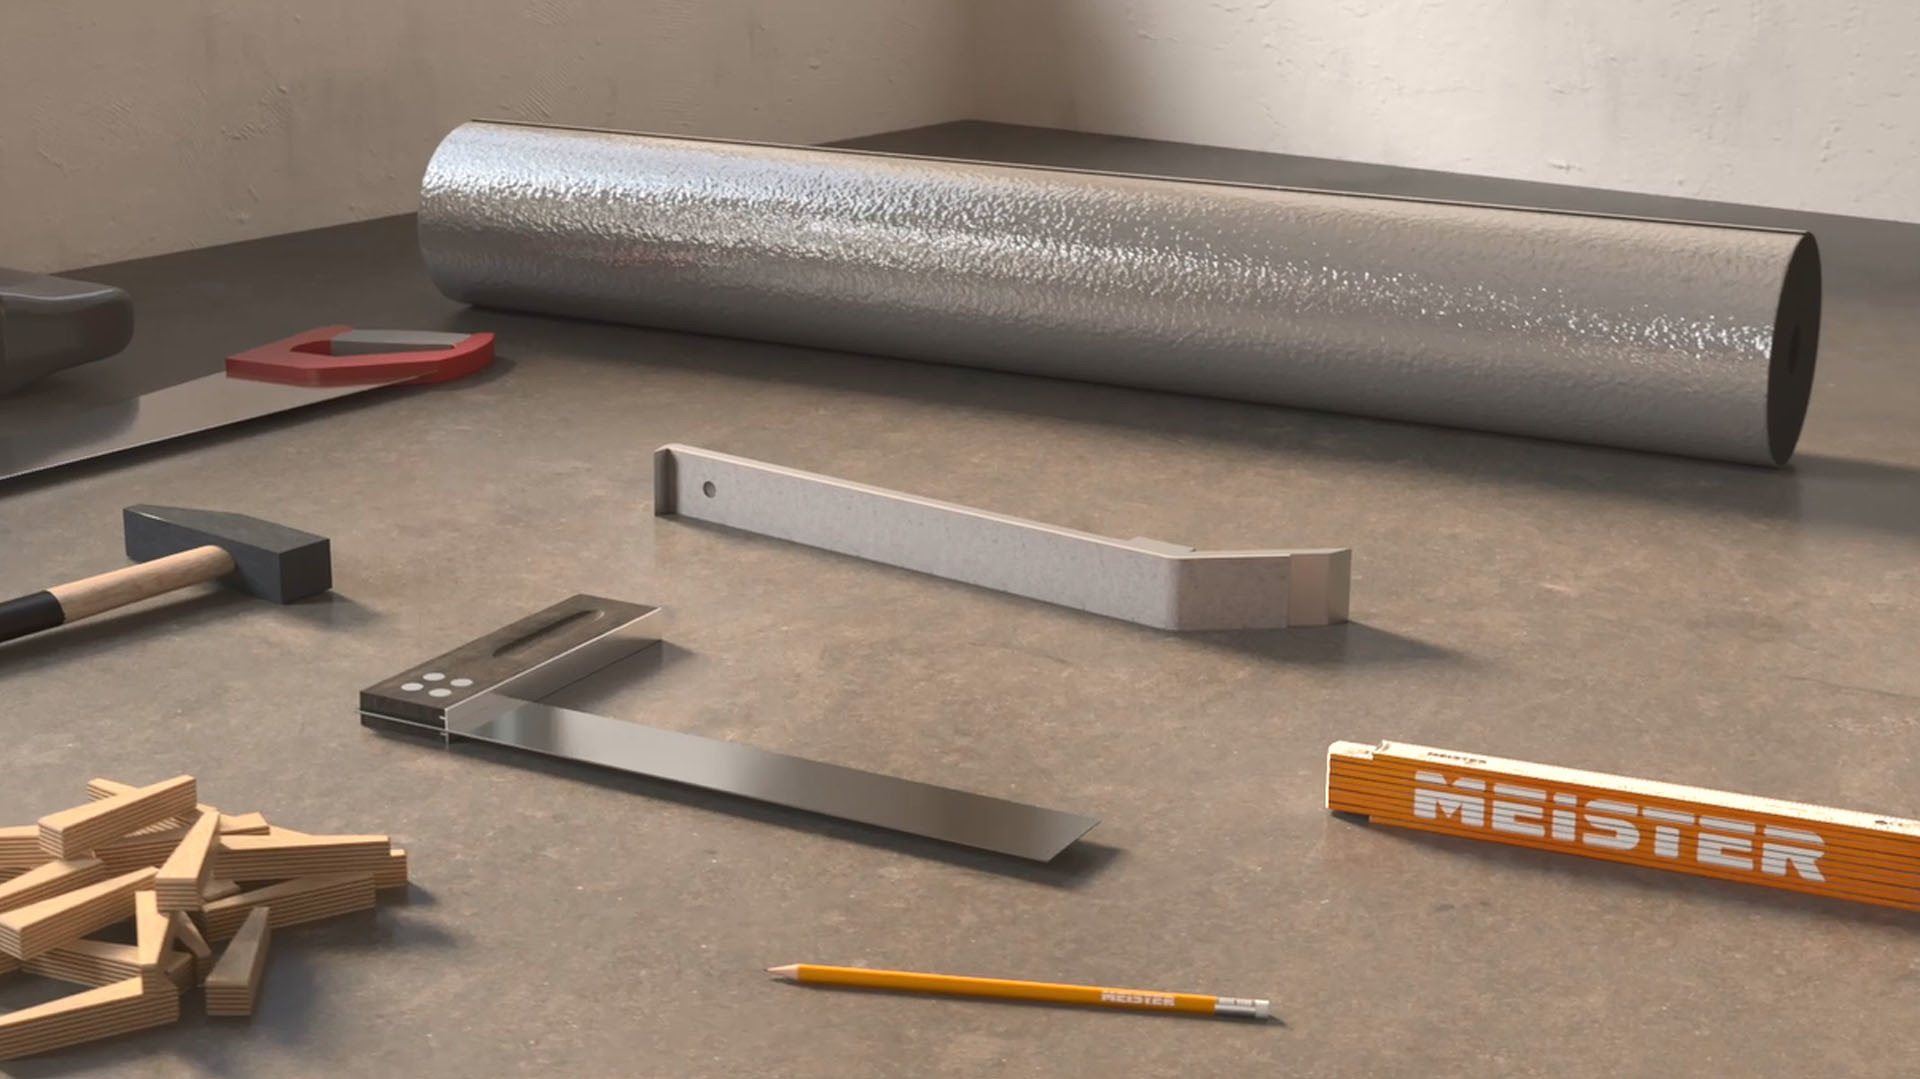
Use MEISTER foam film, MEISTER-Silence 15 DB, MEISTER-Silence 20, MEISTER-Silence 25 DB, or MEISTER-Twin Control as a cushioning layer. (When using MEISTER-Silence 25 DB, MEISTER-Silence 15 DB or MEISTER-Twin Control, an additional 0.2 mm PE film is not required.)
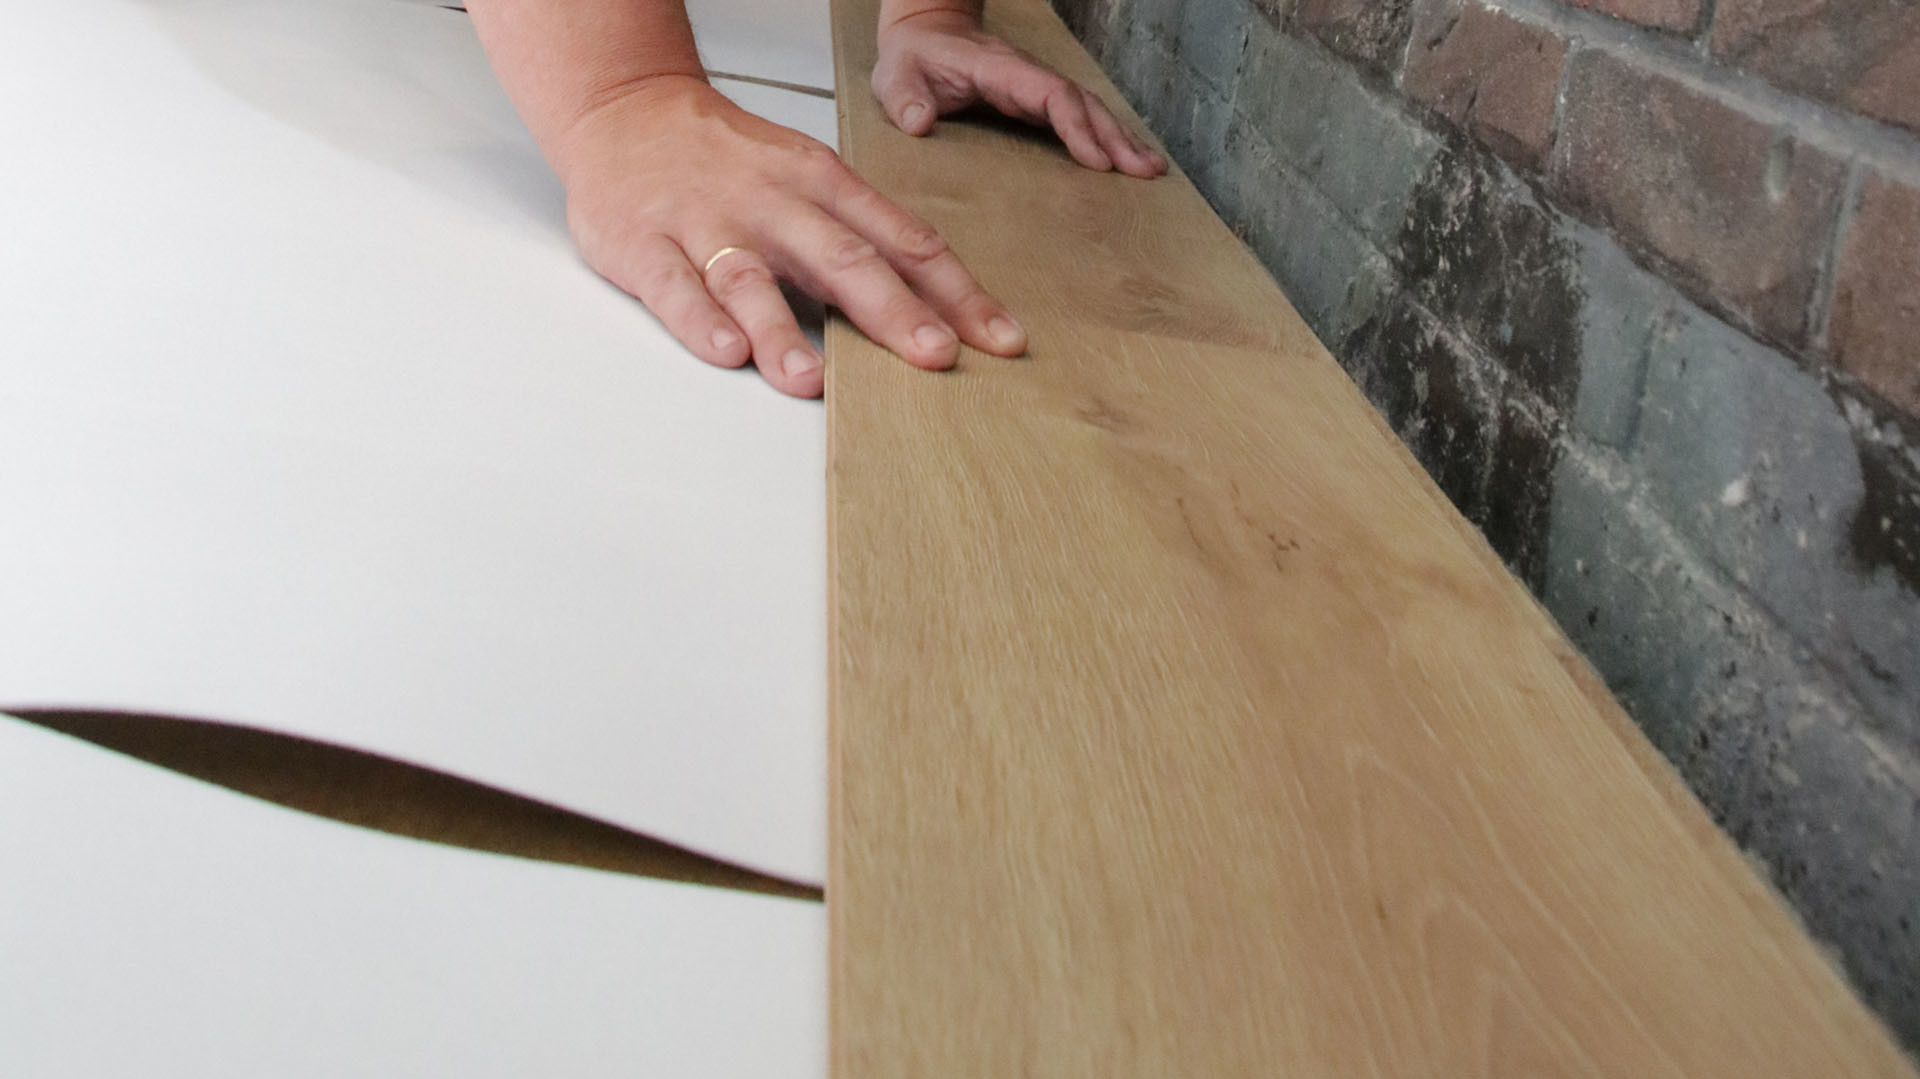
Start by laying the first complete plank in the left-hand corner of the room with the tongue sides facing the wall.
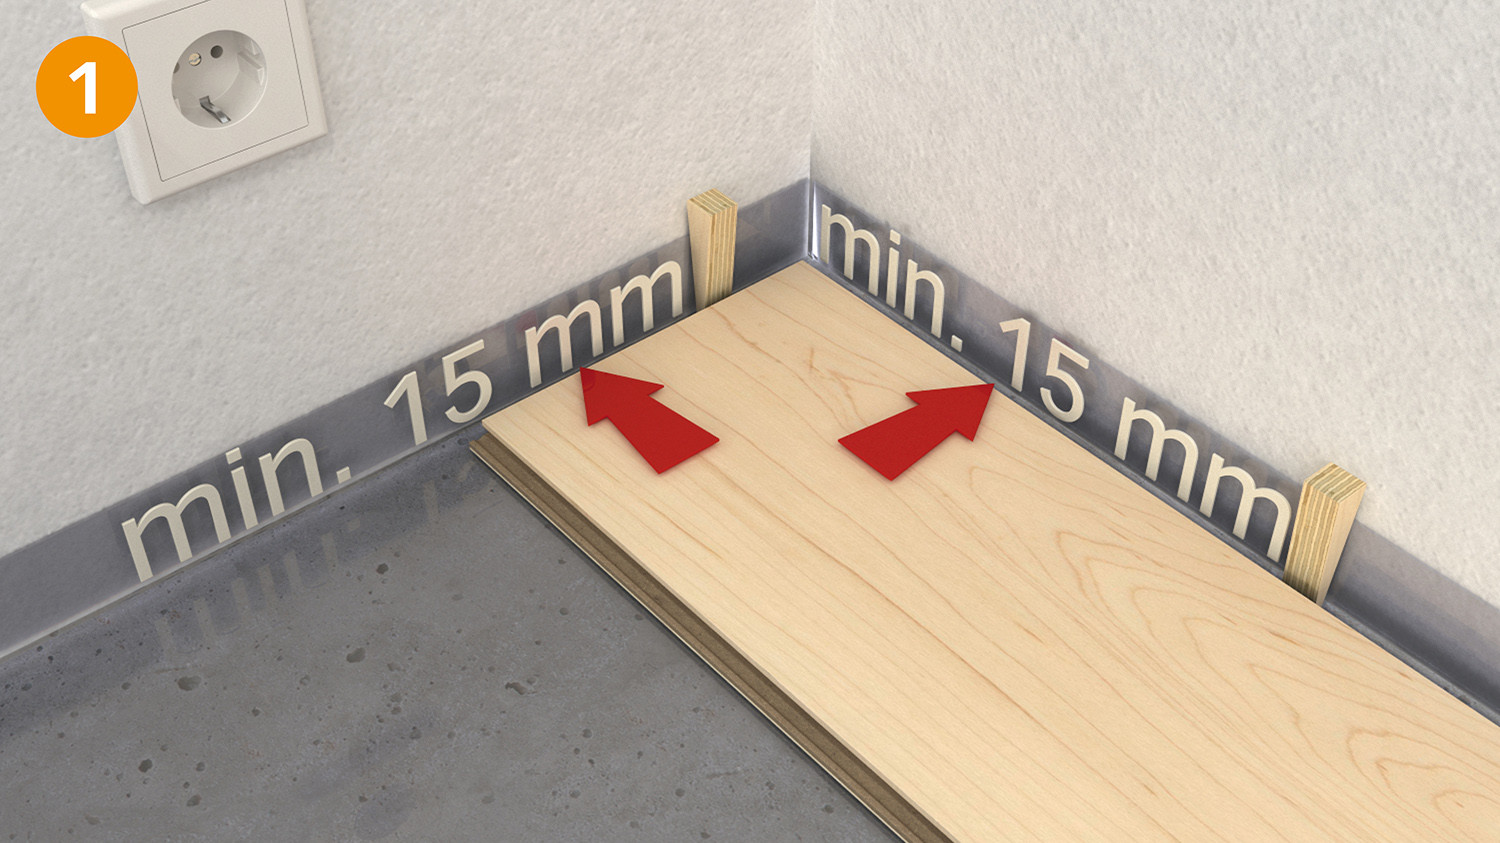
Remove only the tongues on the long sides of all the other planks you want to lay in the first row. Using wedges, you can easily maintain a gap of at least 15 mm to the wall (Fig. 1).
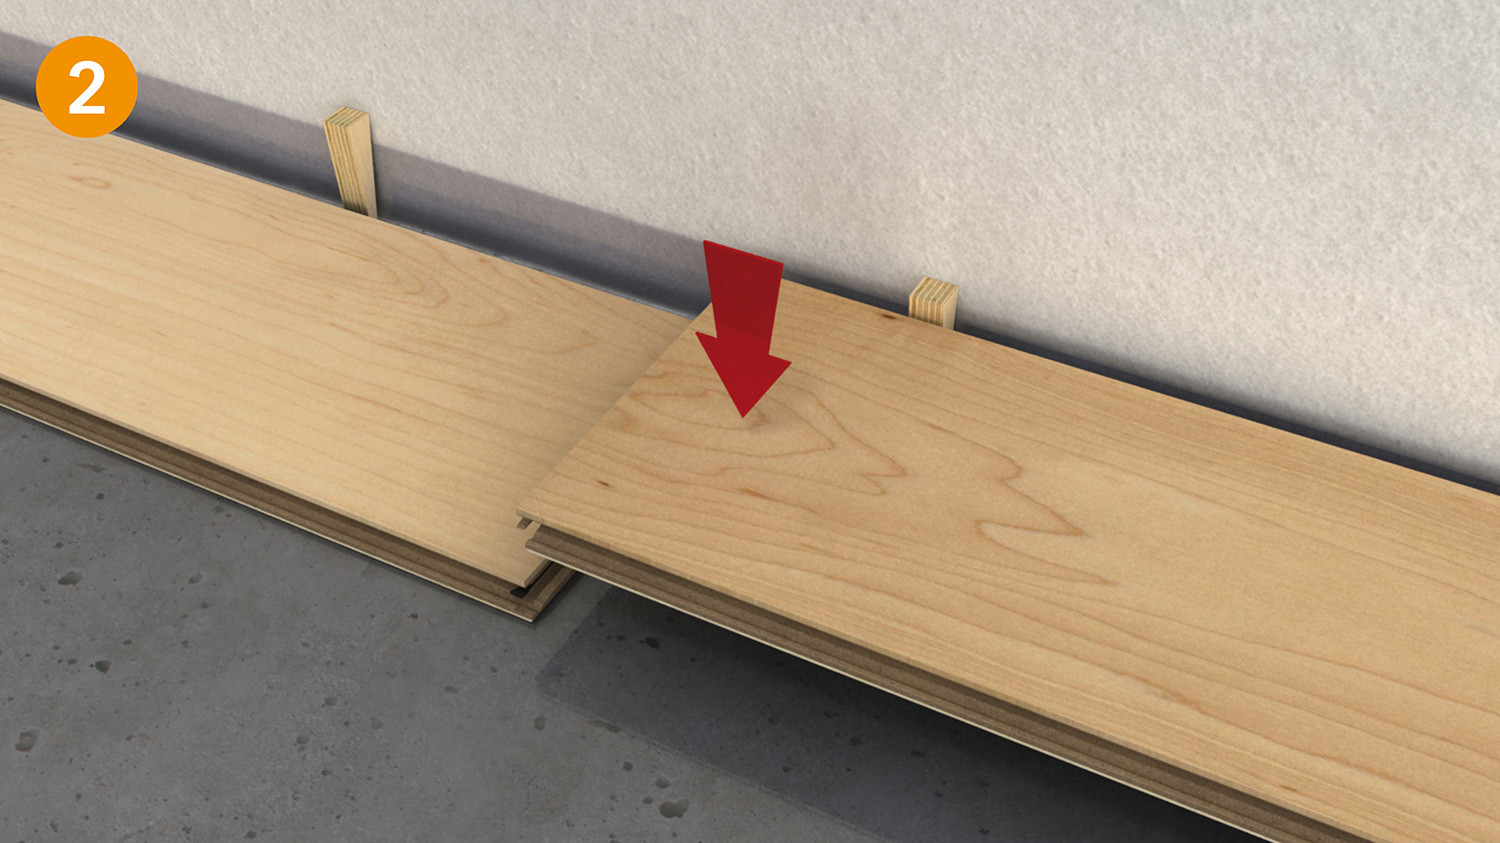
Insert the head end of the next complete plank into plank no. 1 (Fig. 2). Lay the other planks in this row in the same way across the entire width of the room.
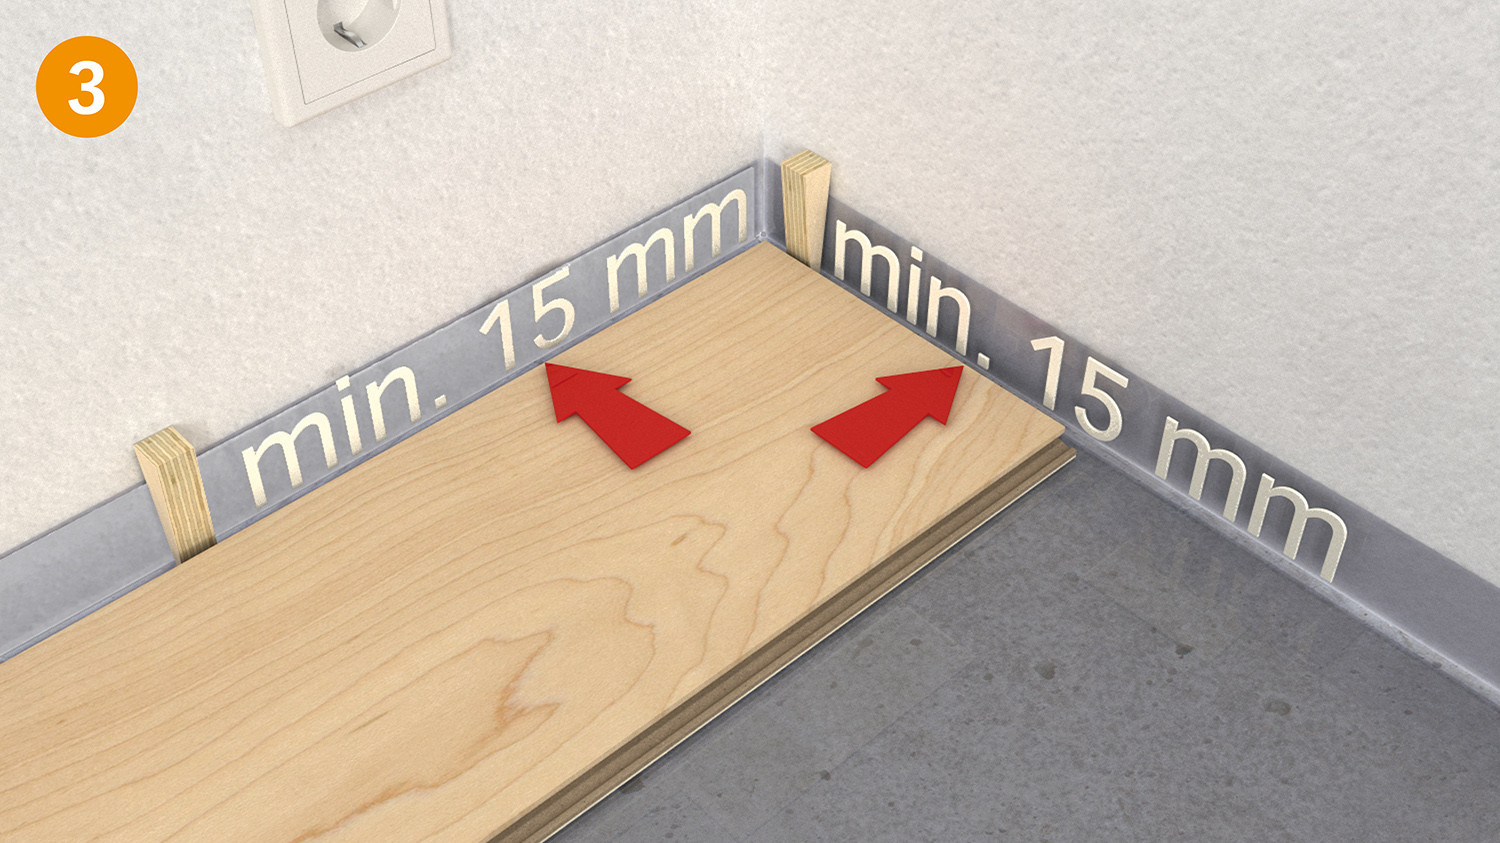
Cut the last plank in each row so that you leave a gap of at least 15 mm to the wall (Fig. 3). You can use cut-off pieces of planks, as long as they are at least 40 cm long, to start subsequent rows.
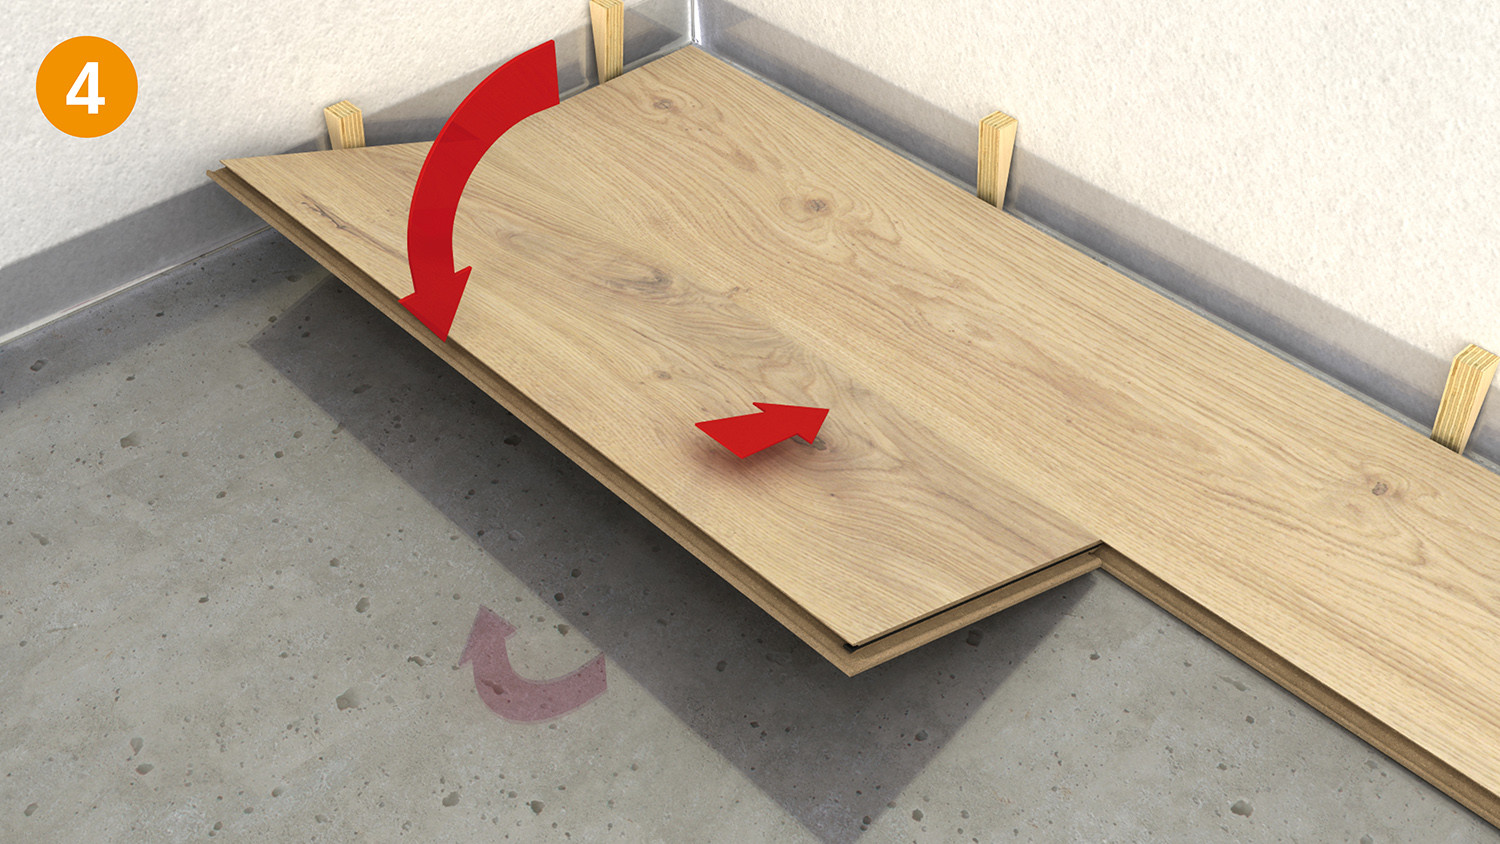
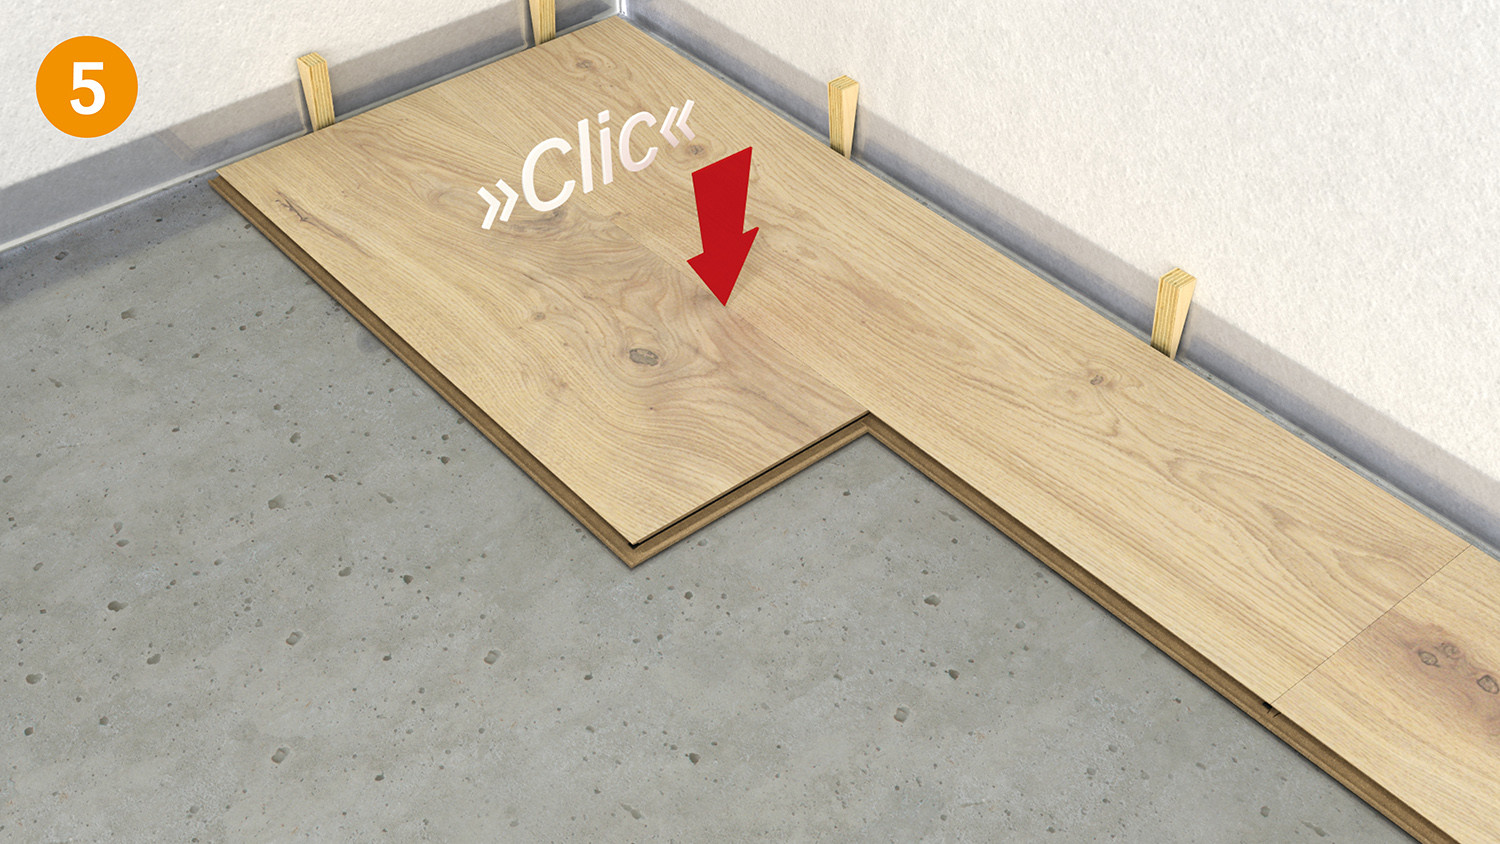
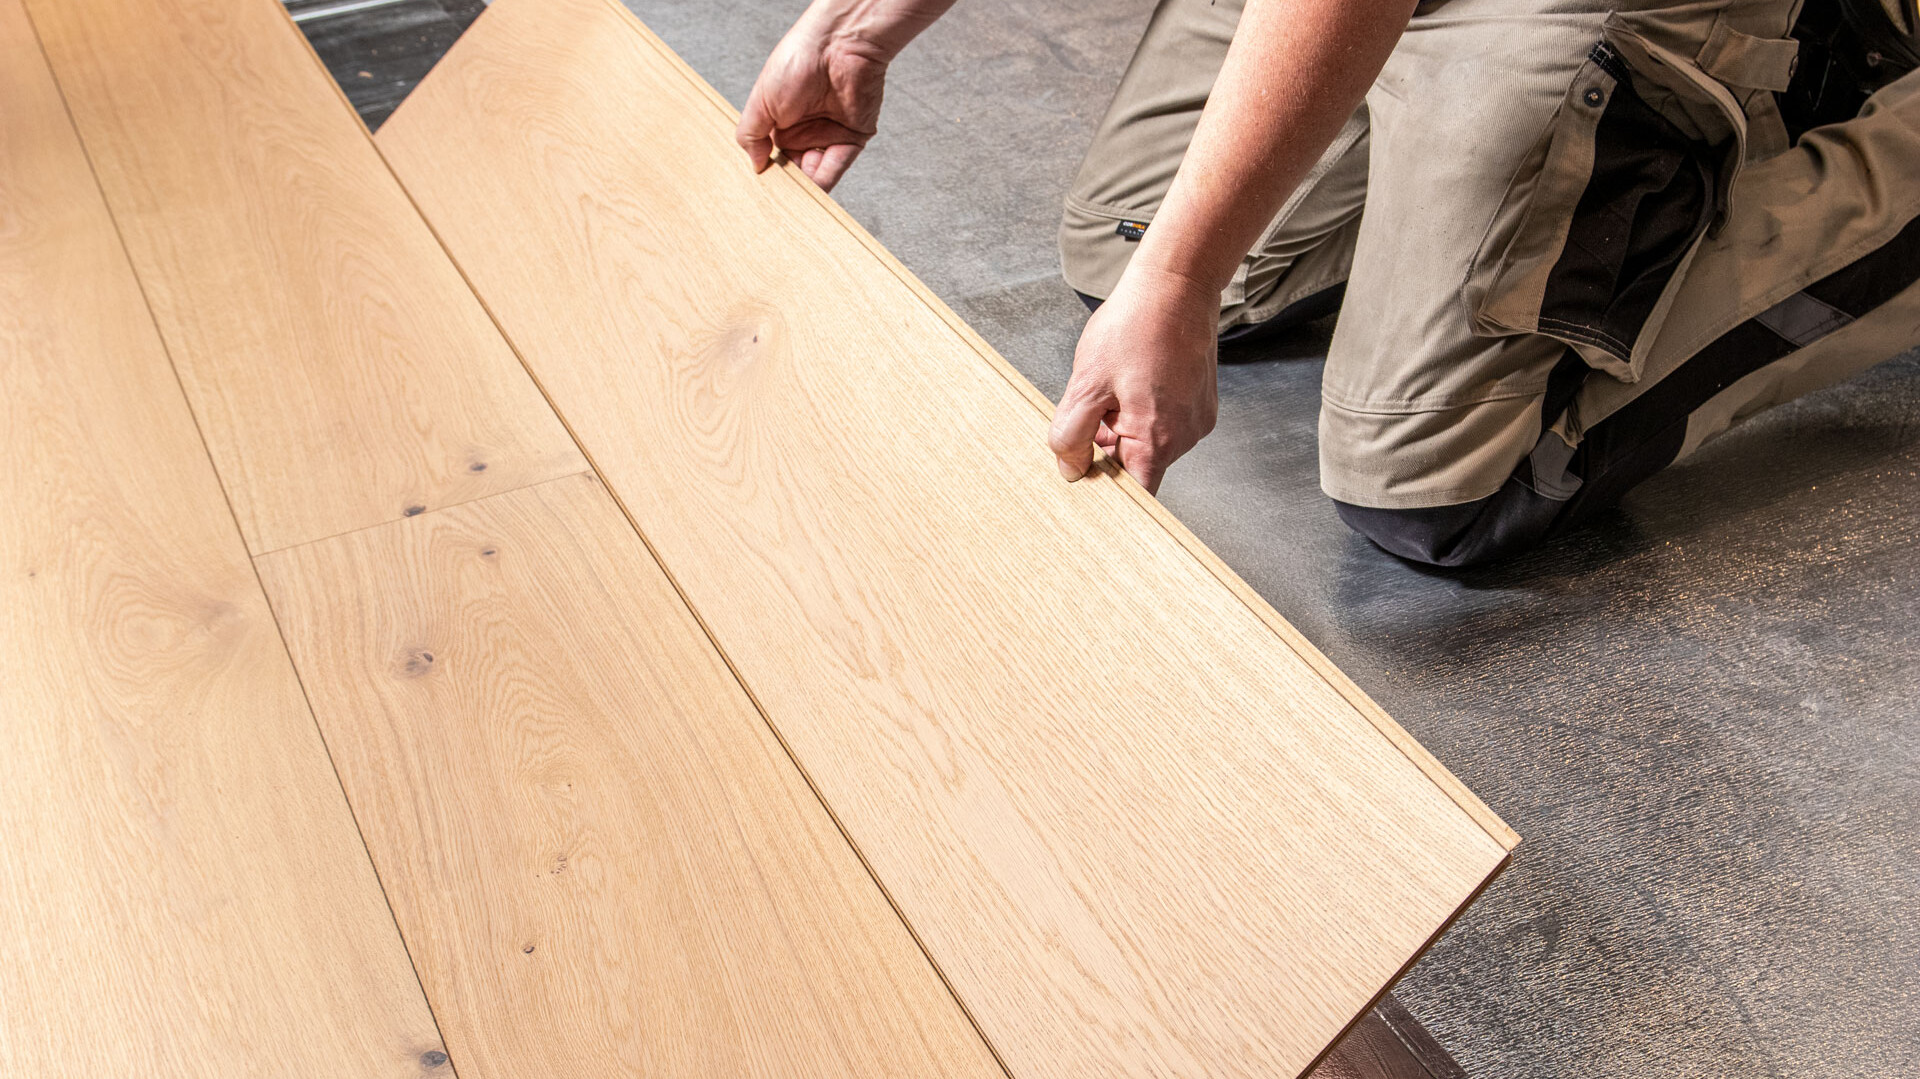
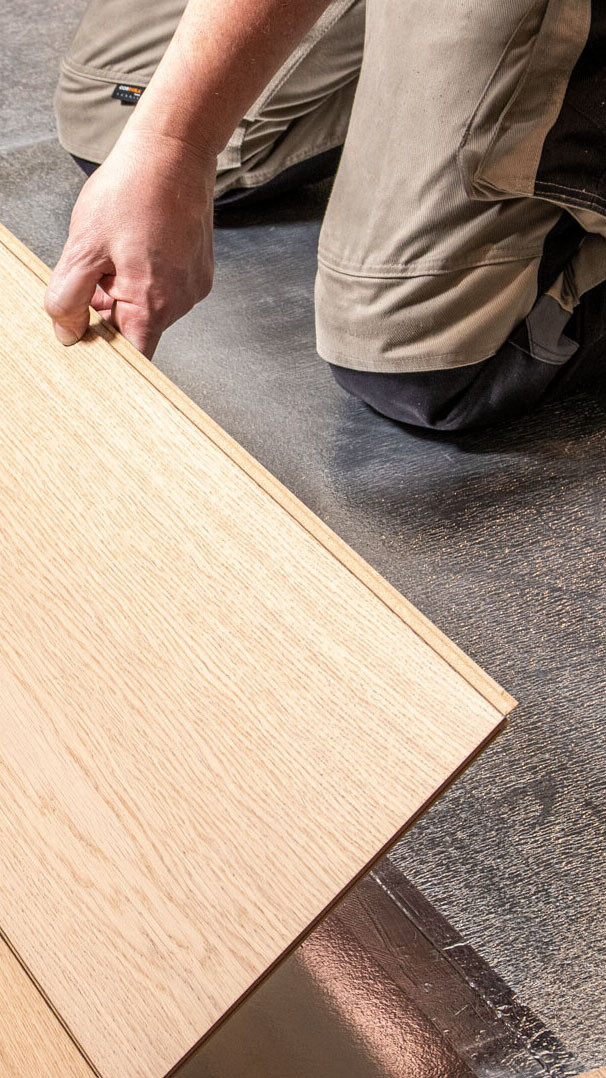
Make sure that the planks in the first row are straight. Cut the first plank of the second row down to approx. 80 cm. Fix this plank upright with the tongue as far as possible into the groove on the groove side of the previous row of planks and press the plank down slowly, using a forward and downward turning motion (Fig. 4). The plank should lock into the previously laid row (Fig. 5).
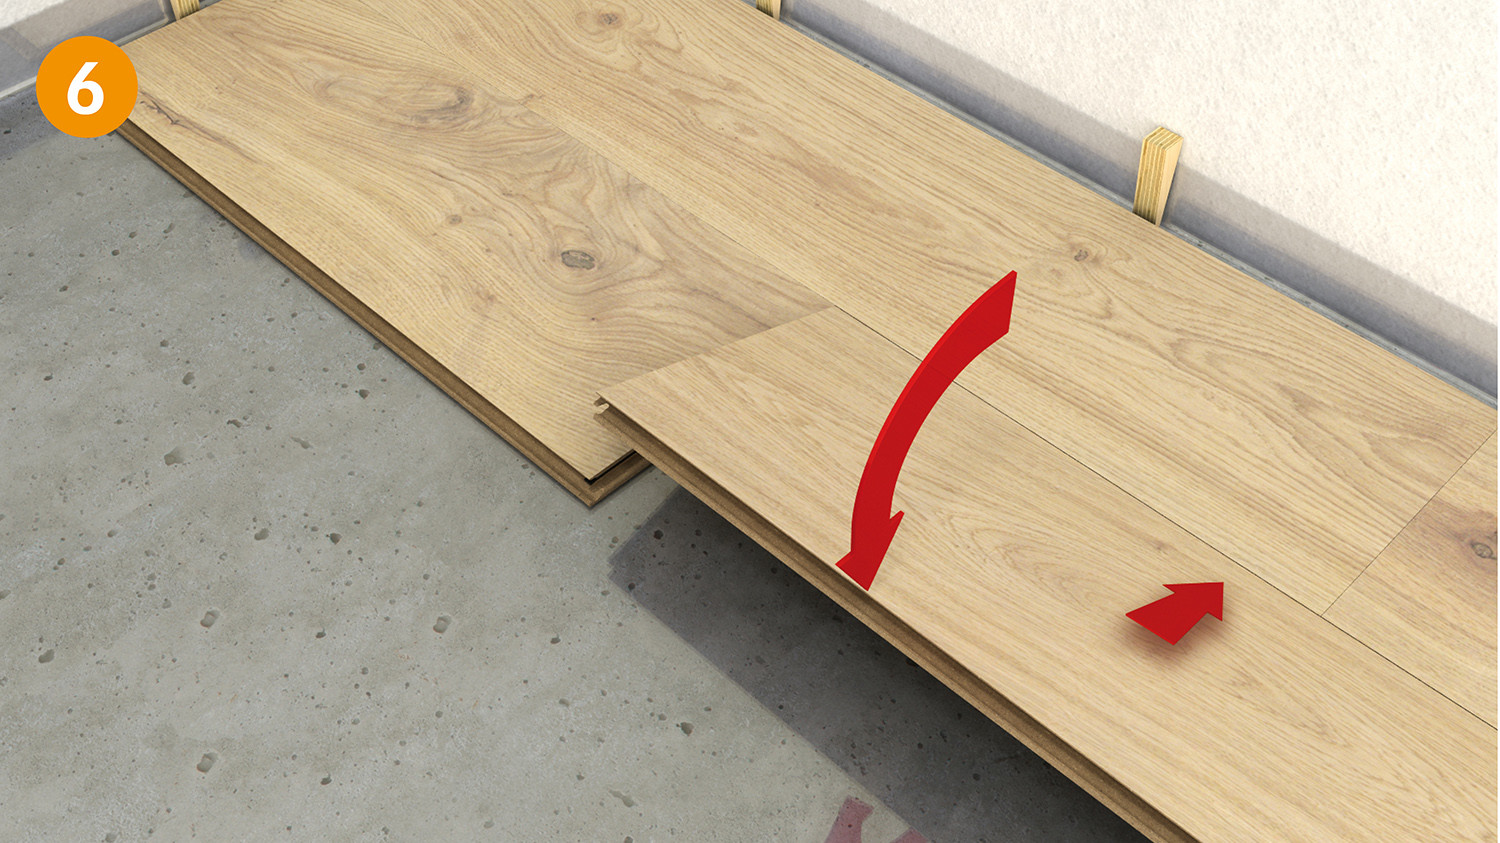
Similarly, the next complete plank is turned into the click connection on the long side and the head end pushed tight against the previous plank before it is lowered. Then press the plank down slowly, using a forward and downward turning motion (Fig. 6). The plank must lock into the row previously laid and the end joint must fit tightly into the previous plank.
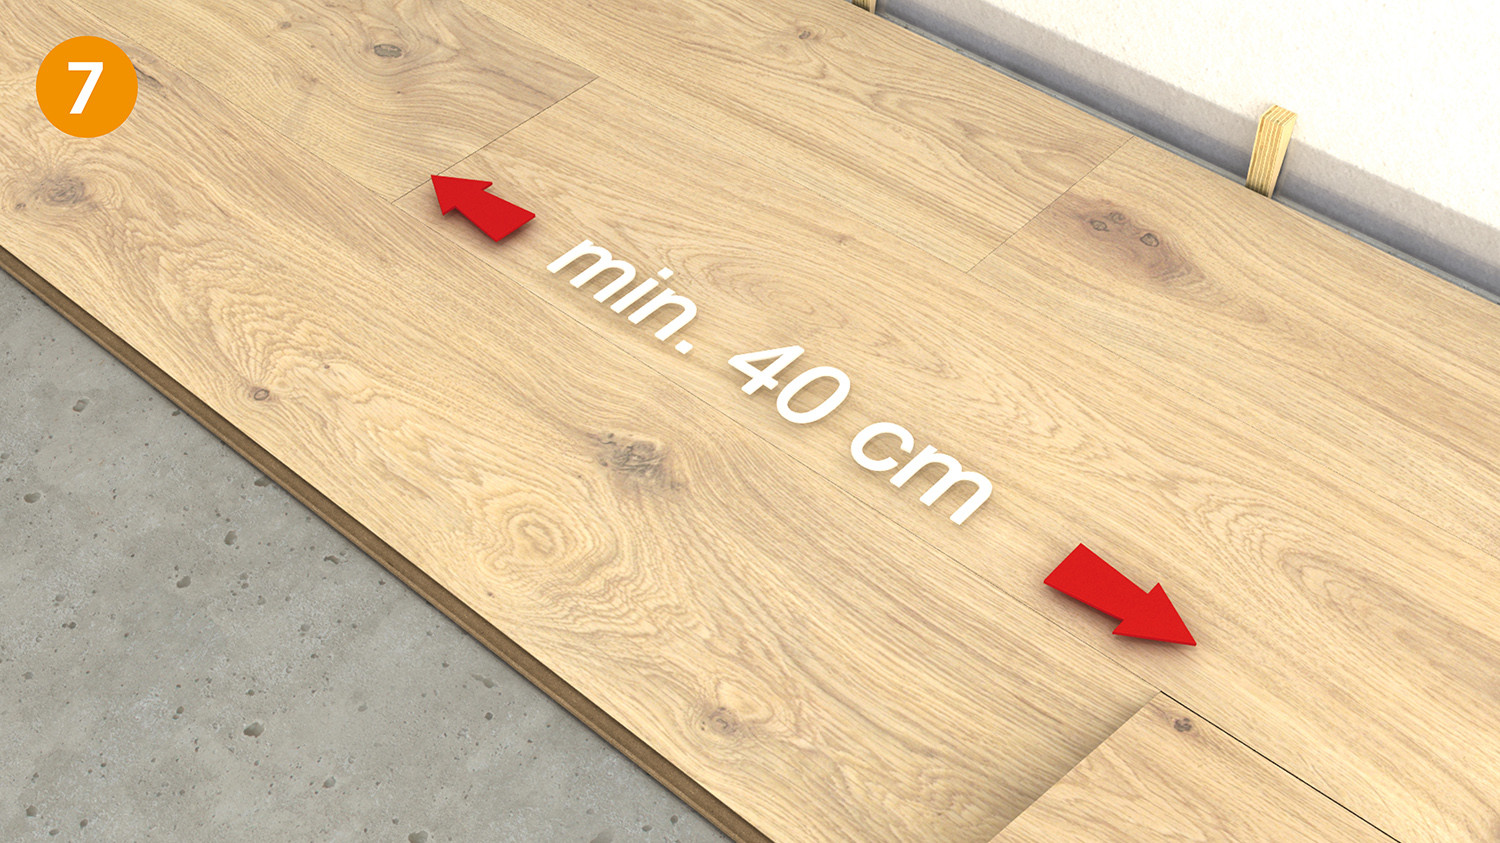
Install the whole area row by row in this way. Remember that the end joints must be offset by at least 40 cm (Fig. 7).
To cut the last row to size, use a spare piece of plank and draw the remaining plank width on it (leaving a gap of at least 15 mm to the wall).
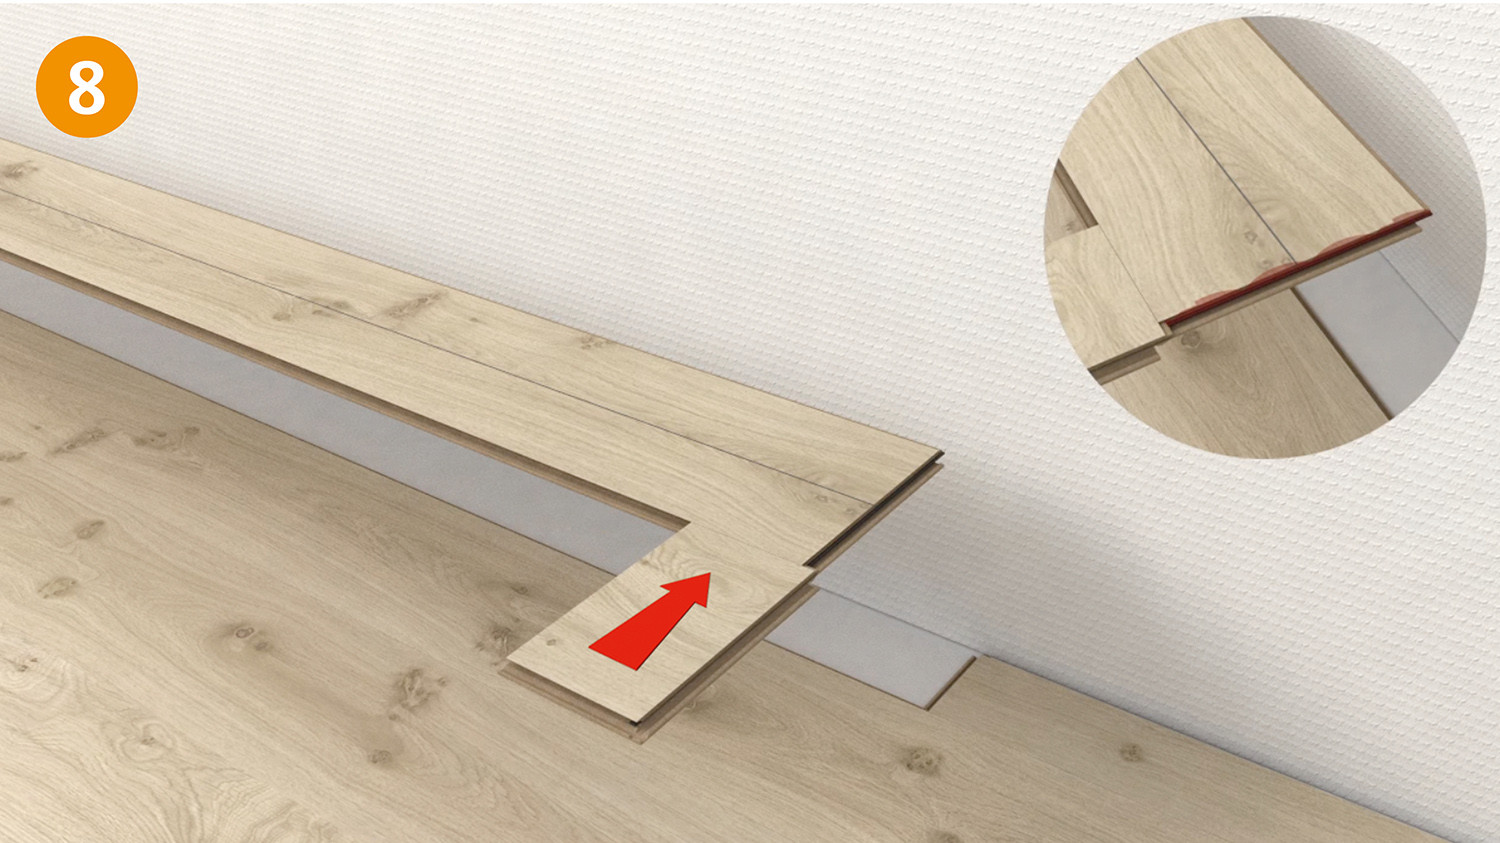
Taking the plank marked for width, push the plastic end tongue forward out of the end groove with the aid of a spare piece of plank (Fig. 8).
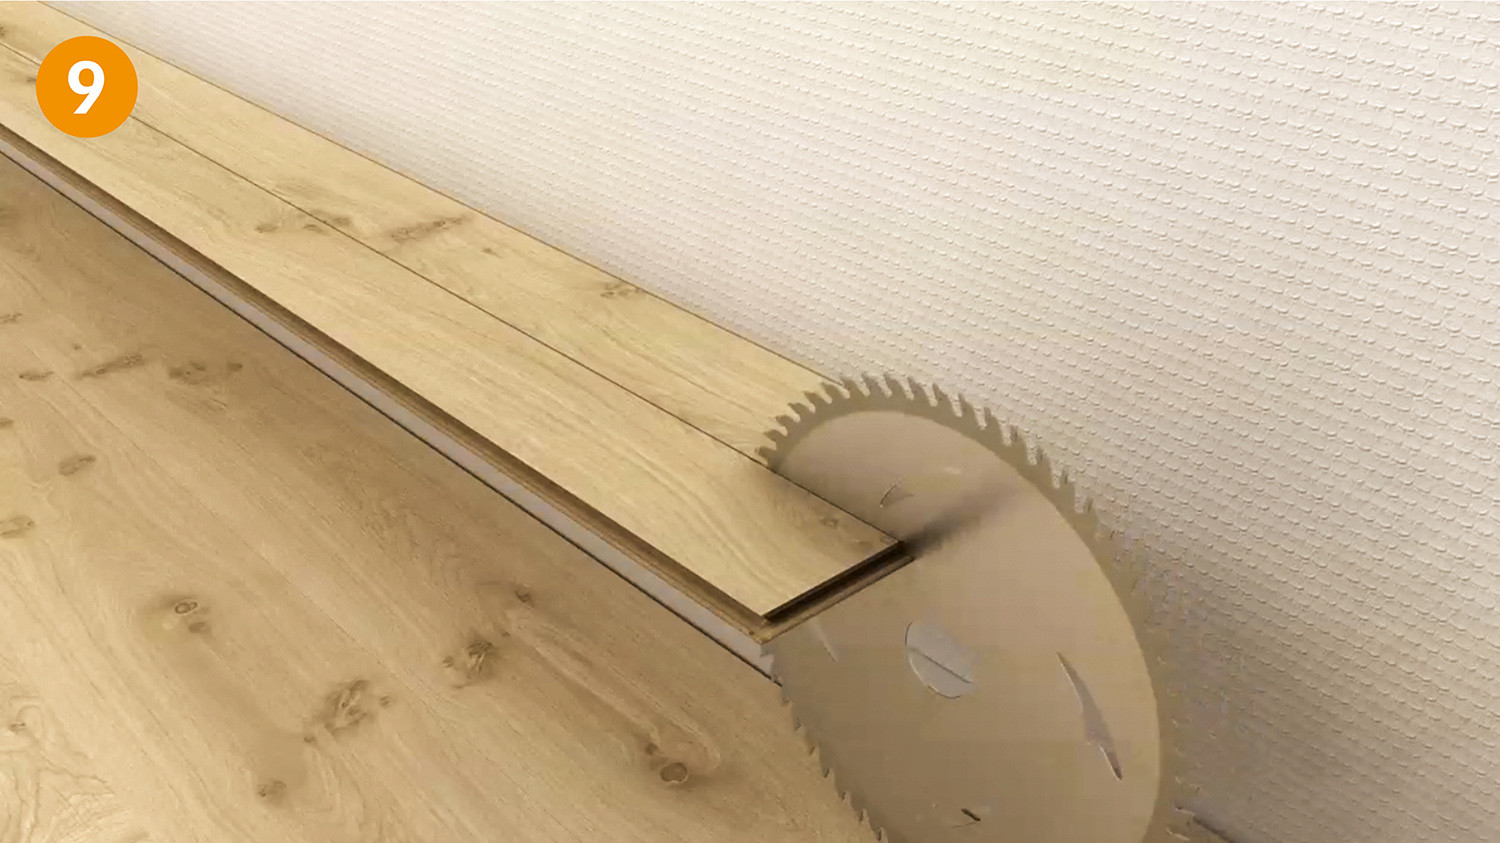
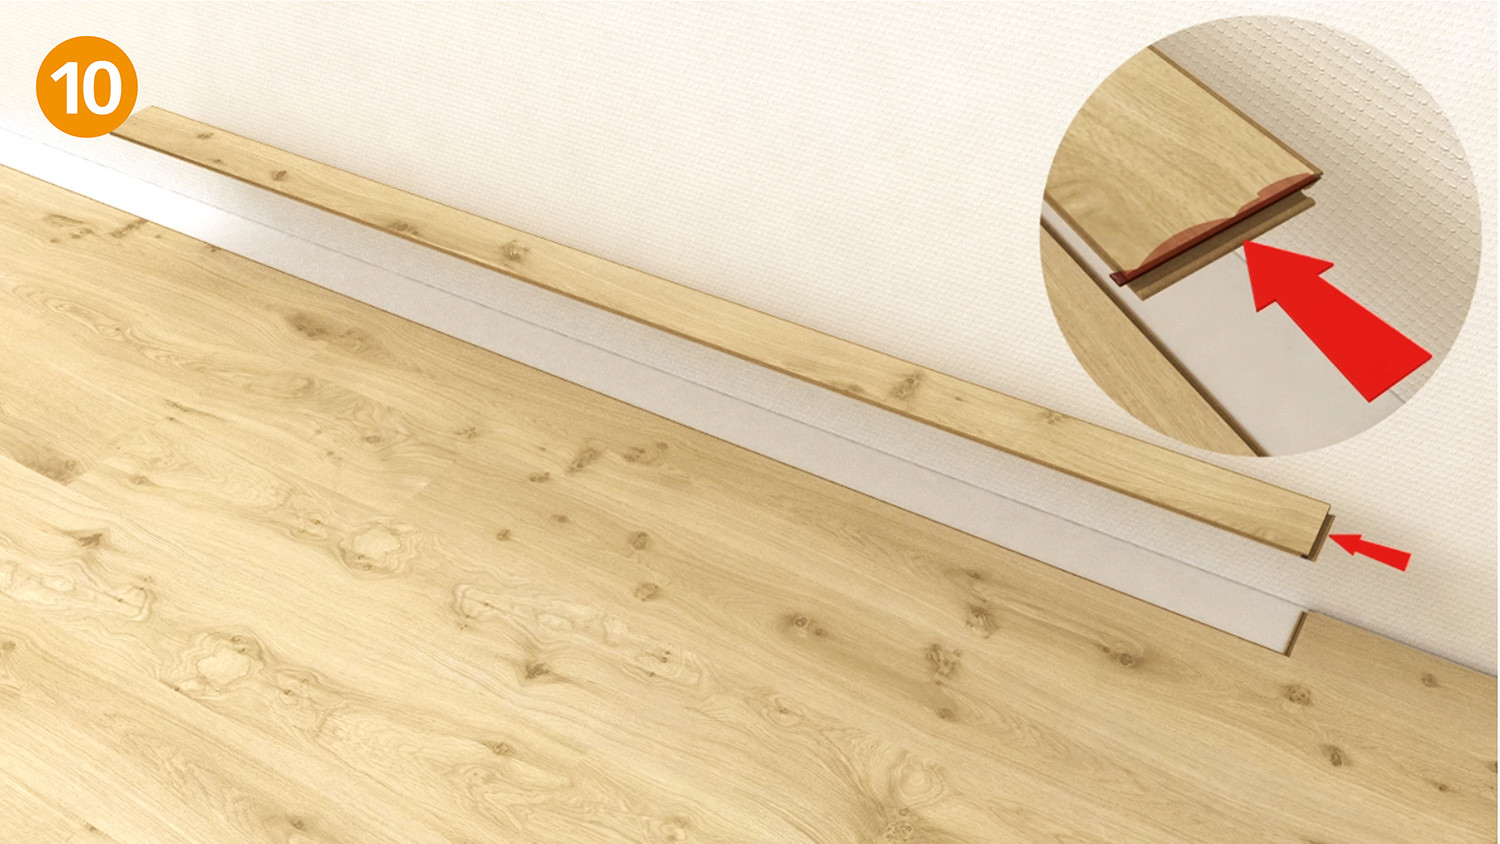
Begin cutting the plank to size at the end of the plastic tongue (Fig. 9). After the plank has been cut to size, push the plastic tongue on the end back into the end groove (Fig. 10).
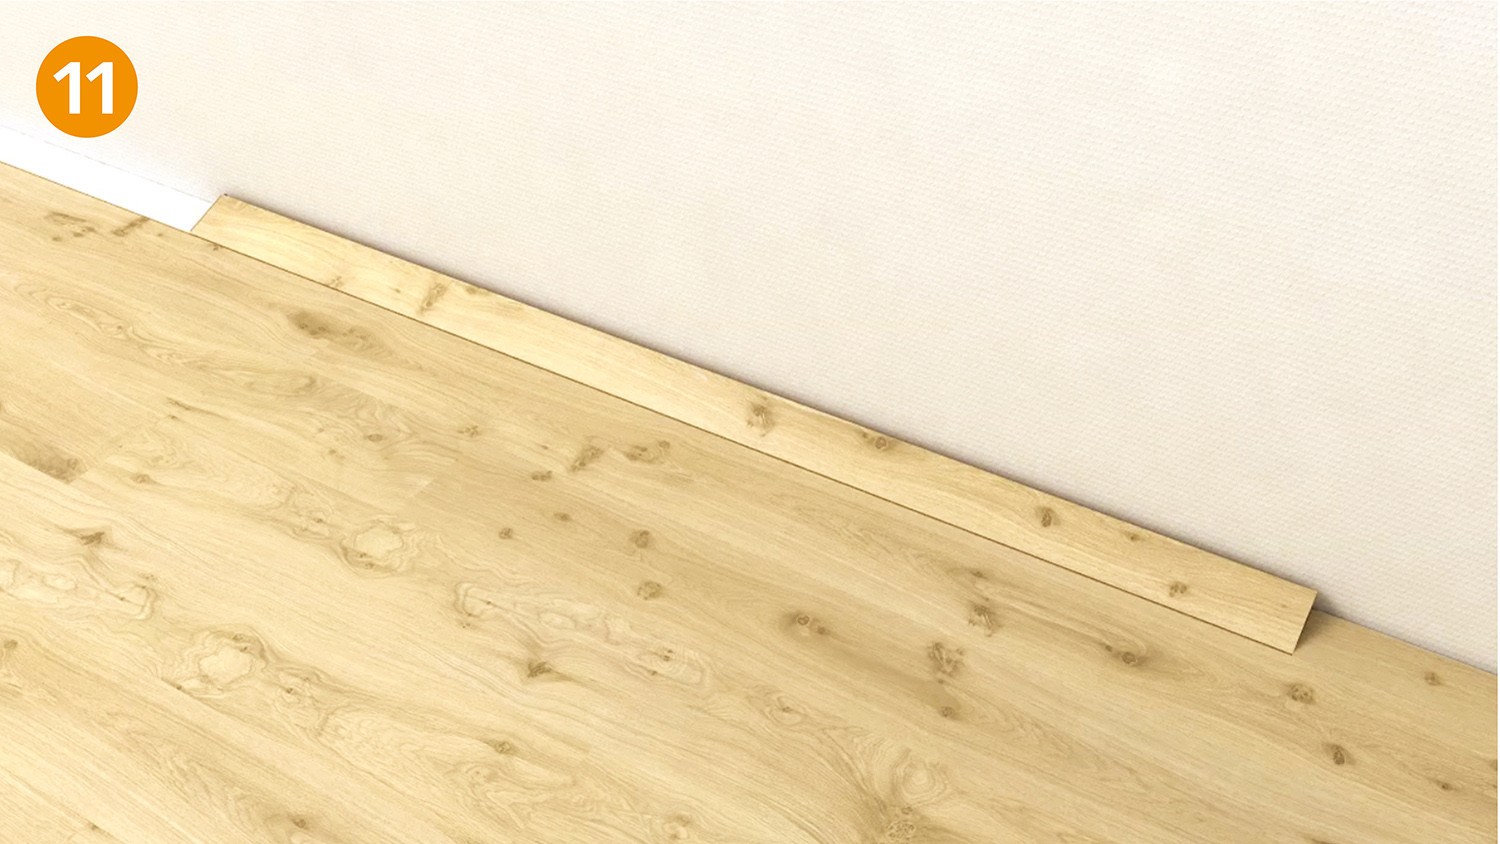
Begin laying the last row in the right hand corner of the room (leaving at least a 15 mm gap to the wall) and angle the sides of the plank into the second-last row. The next plank is pivoted in the same way and lowered down at the end (Fig. 11).
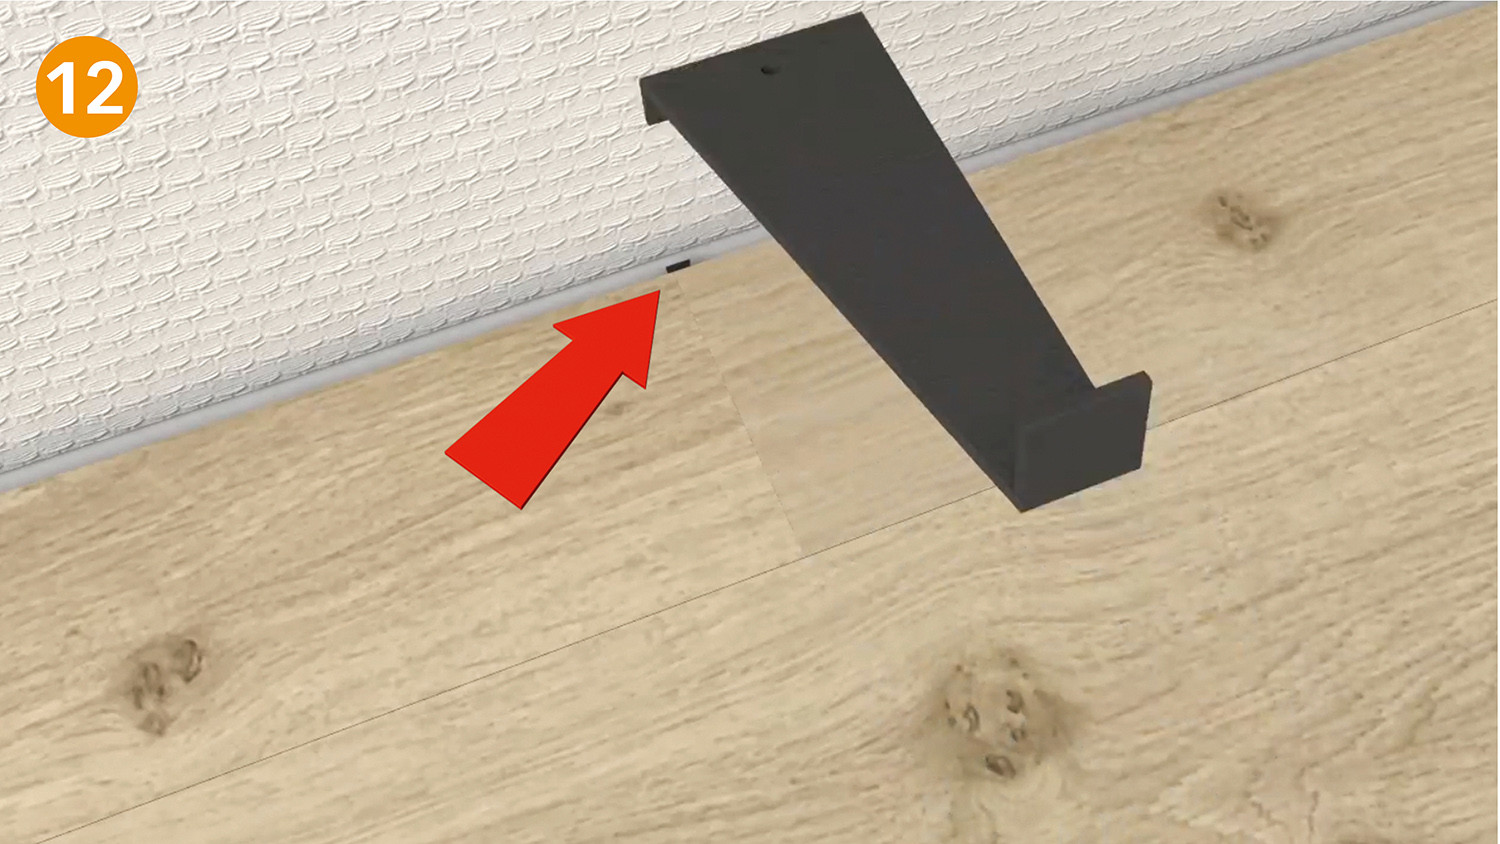
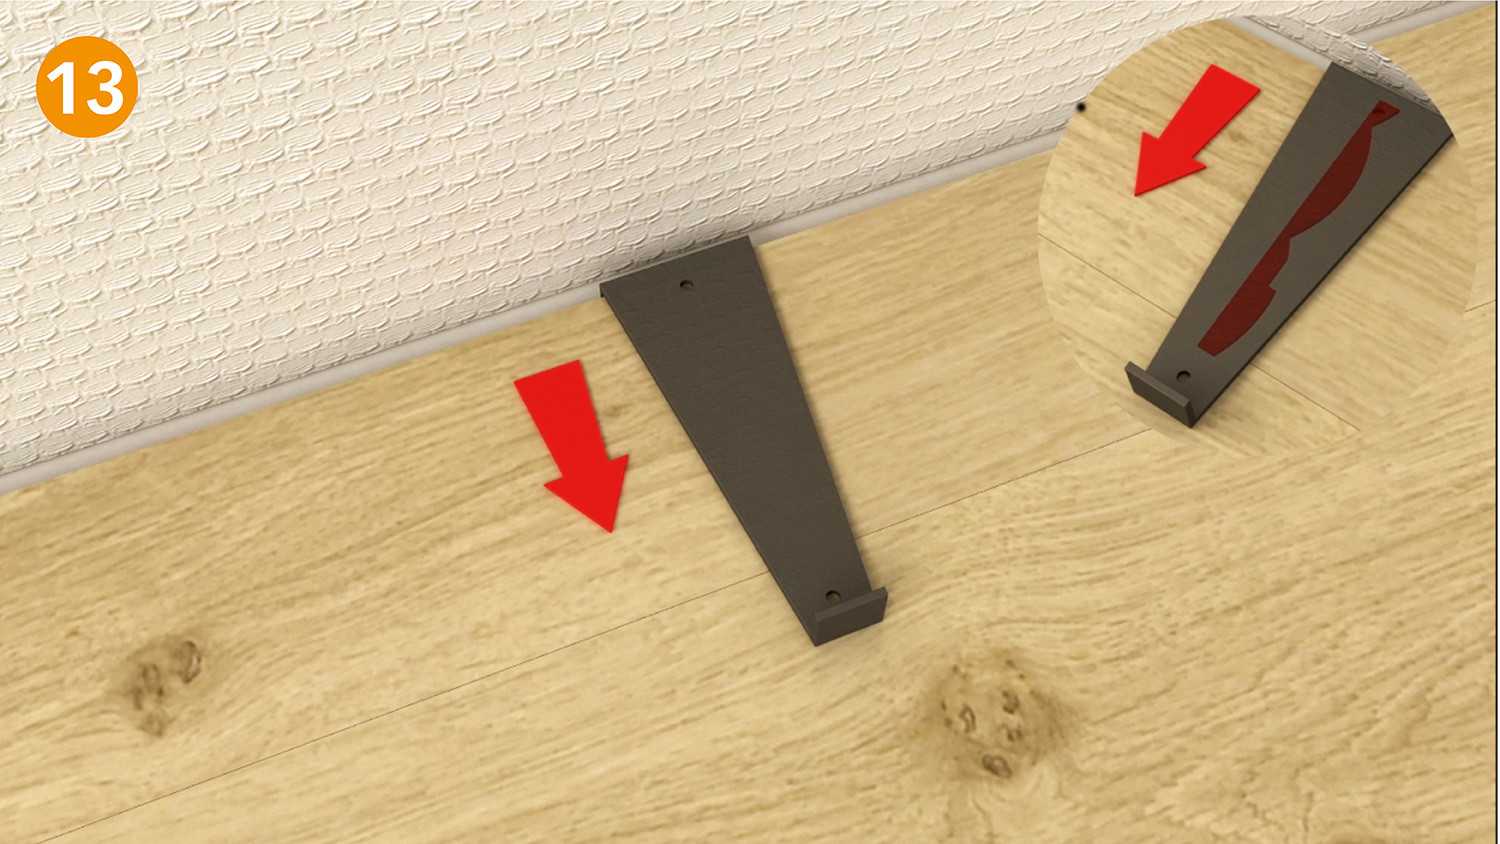
Push the plastic tongue which is pointing out towards the wall (Fig. 12) back into the end connection using a tension rod, scraper, screw driver or similar (Fig. 13).
Before attaching the skirting boards, the wooden wedges along the walls have to be removed. To cover the all-round expansion joints, use MEISTER real wood veneered skirting boards. Please avoid bringing any silicon products into contact with the mouldings.