
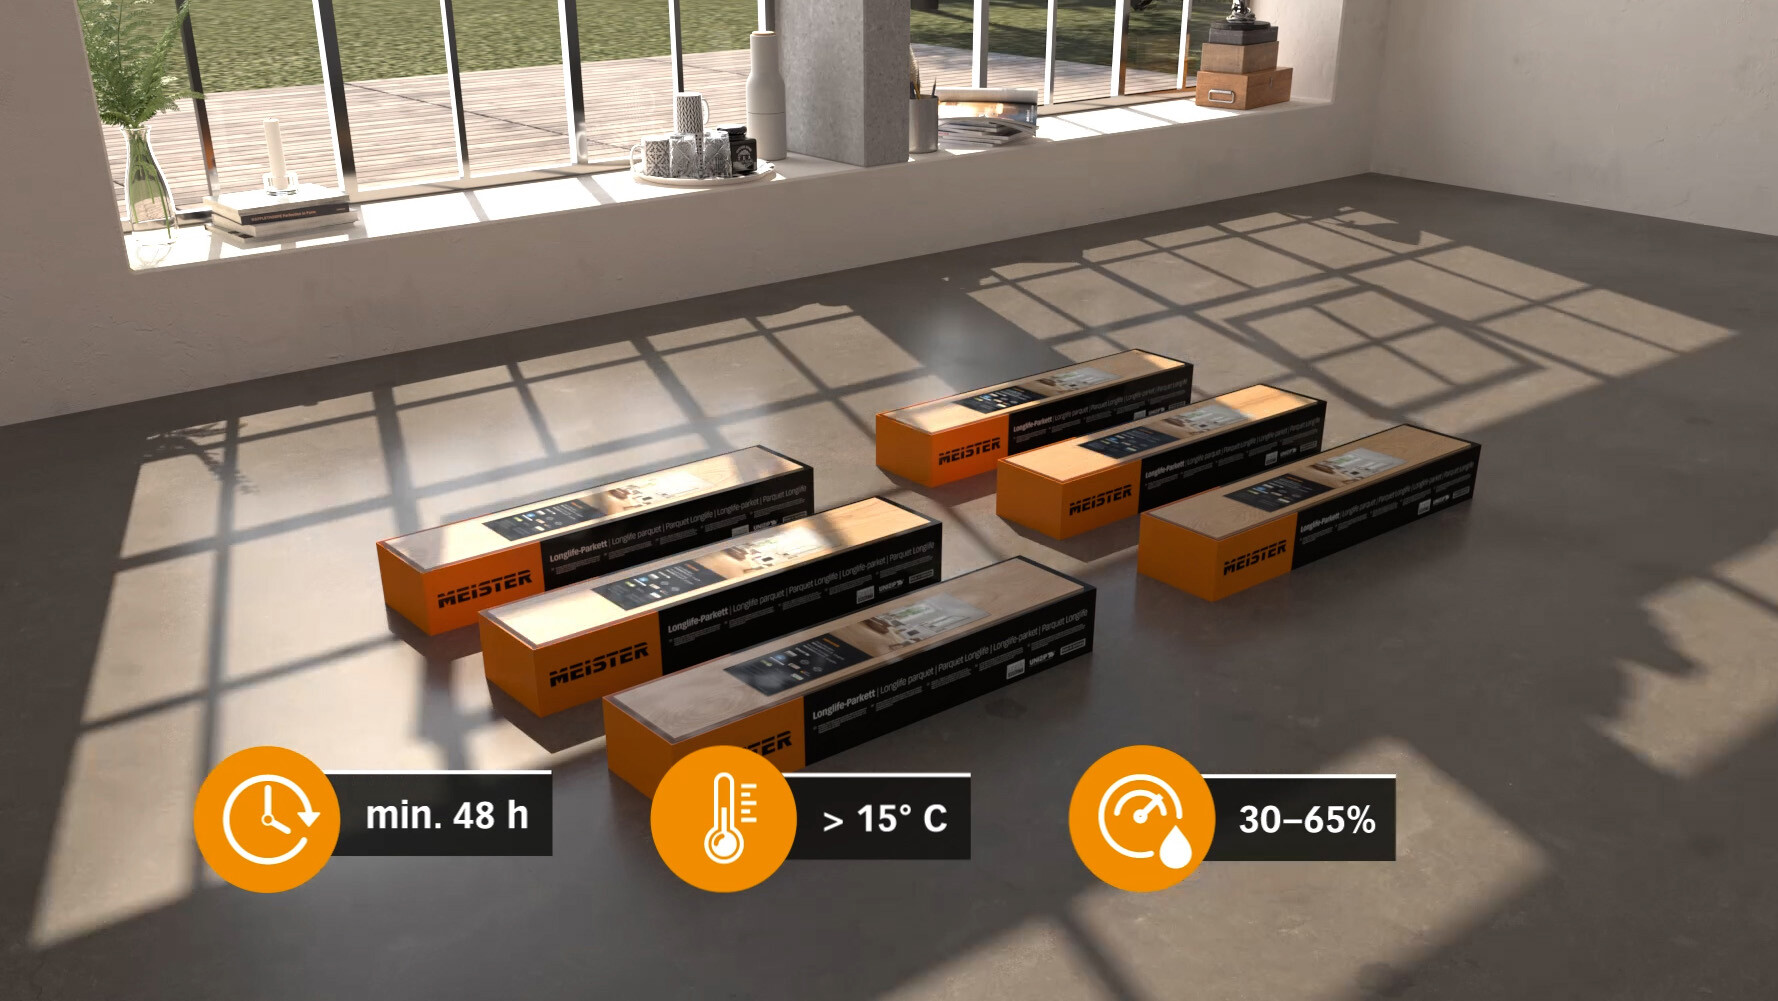
The herringbone parquet must acclimatise before laying. Store the unopened packages for approx. 48 hours (in winter 3–4 days) in the centre of the room where you want to install the floor. The room temperature should be approx. 20°C (at least 15°C), and the relative humidity should be approx. 30–65%.
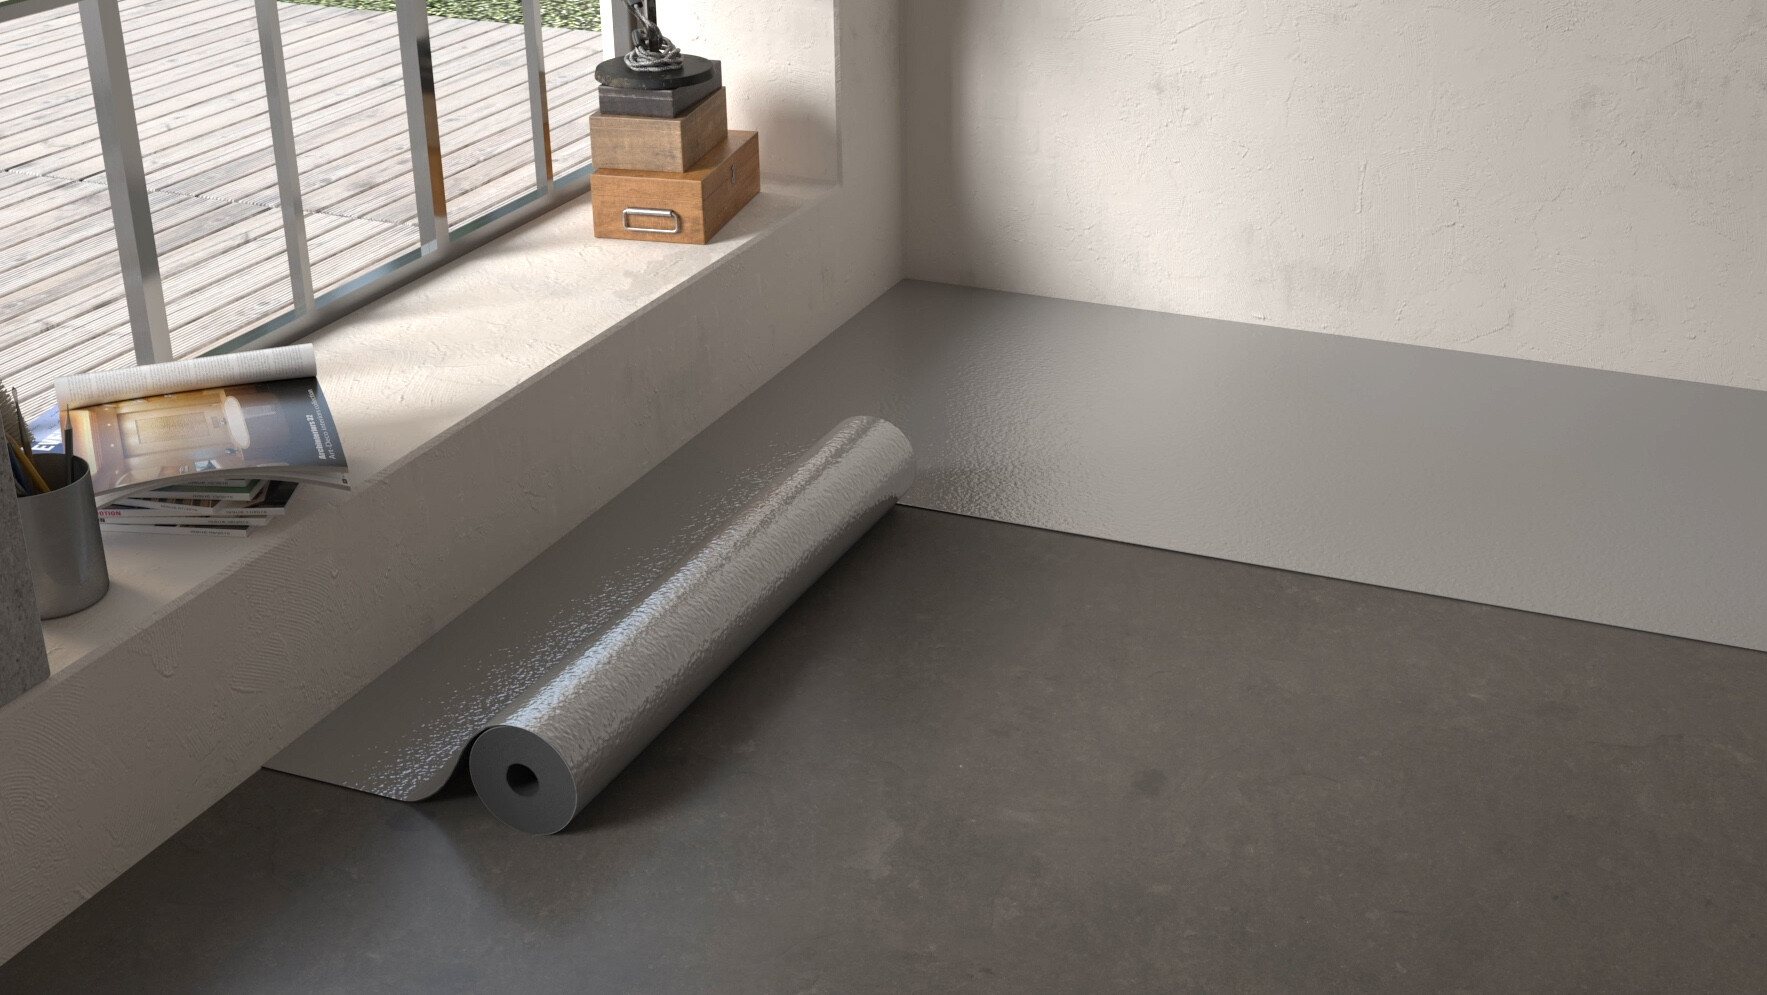
The subfloor must be dry, even, firm and clean. The residual humidity of mineral subfloors, measured using the CM method, must be no more than 2% (1.8% for underfloor heating) and that of anhydrite screeds must be a maximum of 0.5% (0.3% for underfloor heating). Any subfloor unevenness of three or more millimetres for each initial metre and two or more millimetres for each subsequent continuous metre must be evened out. PE film 0.2 mm thick must be laid out to form a “bath” on all mineral subfloors (except poured asphalt screed) as a moisture barrier. The strip edges must overlap by at least 20 cm and the overlapping edges must be masked off.
You should also apply a suitable sound-absorbing cushion (pressure resistance > 15 kPA) prior to laying your parquet flooring. This not only reduces sound in the room on the floor below, but also the footfall noise in the room itself. Additionally, a high-quality sound cushioning underlay can be used to offset an uneven floor, providing maximum stability and extra comfort as you walk. Alternatives to two separate underlays, MEISTER also offers insulating underlays that combine a sound-absorbing cushion and PE film (e.g., MEISTER Silence 25 DB, 15 DB and MEISTER Twin Control). The underlay required for your parquet flooring depends on the properties of the subfloor.
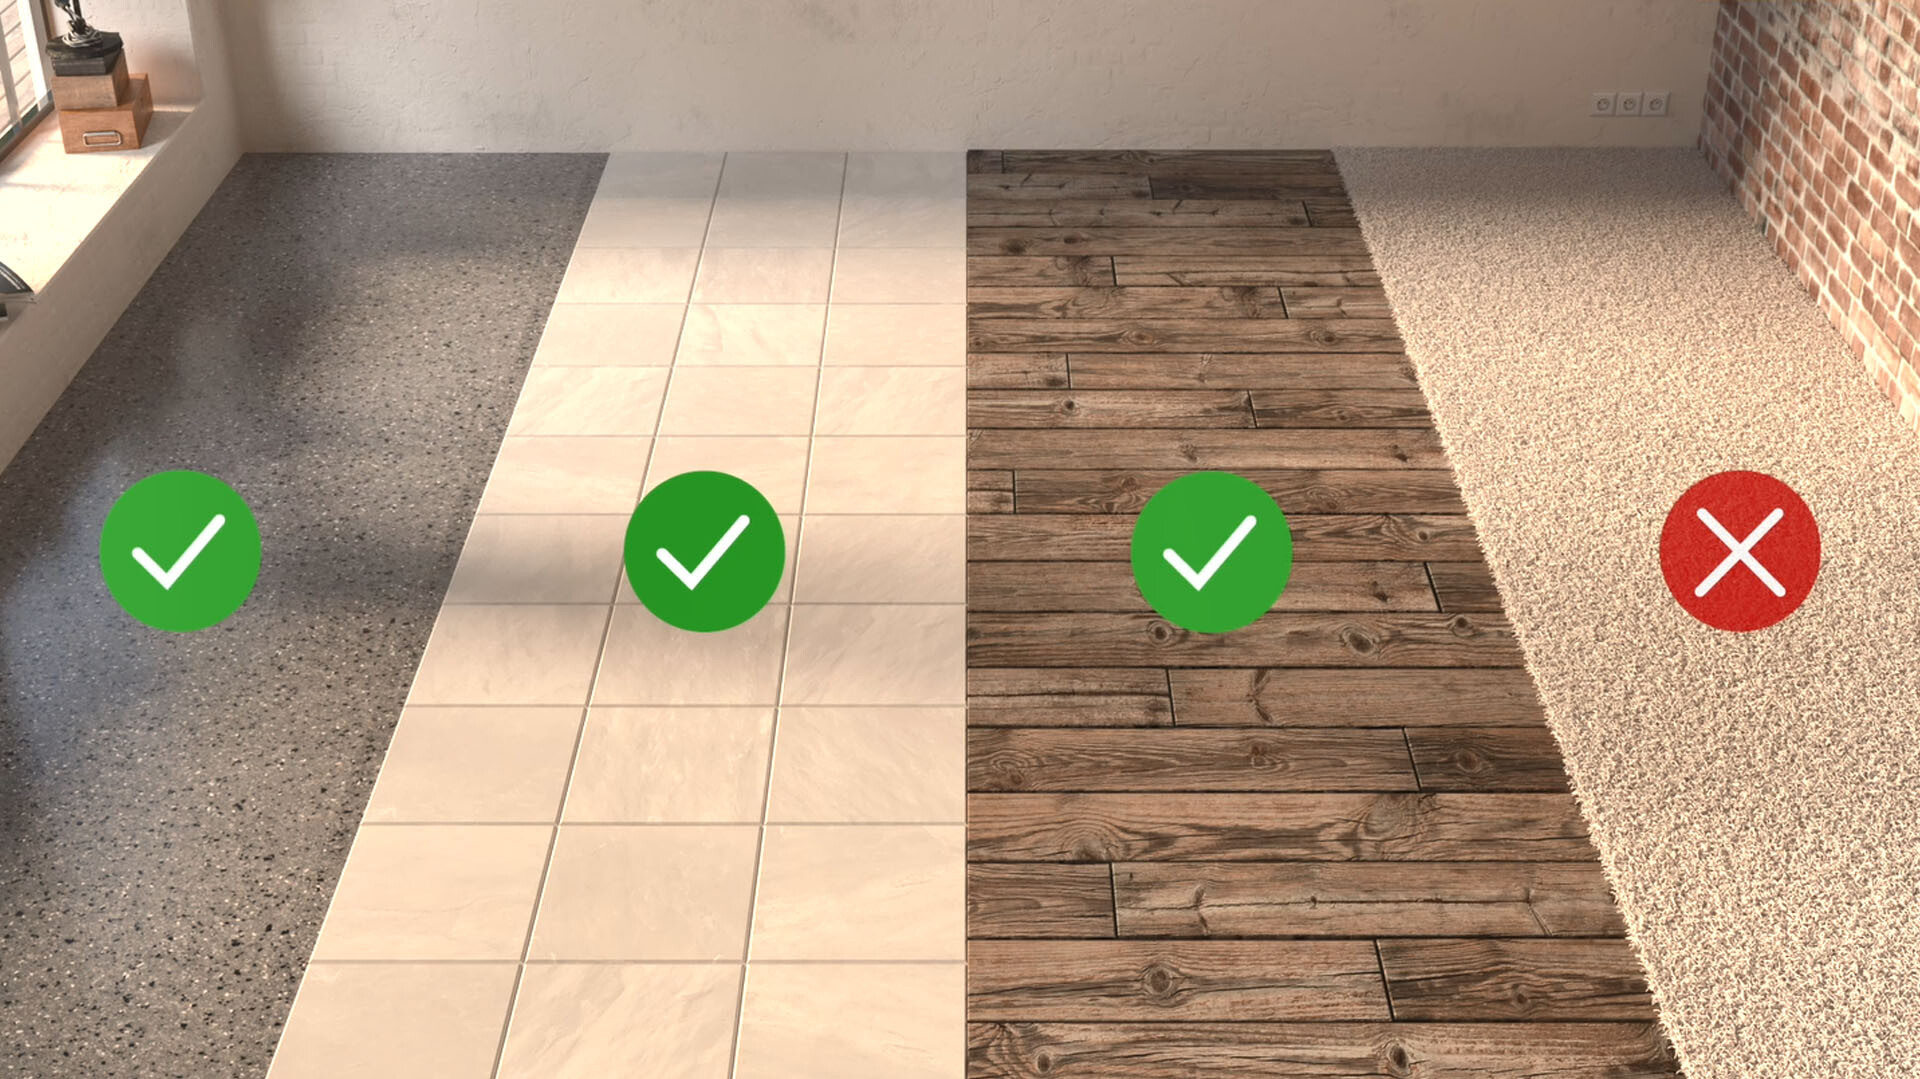
You can also install MEISTER flooring on existing floors (plastic/ceramic tiles/stone with PE film as a separating layer), as long as they are glued on firmly. On PVC, wooden planks, wood-based boards, OSB boards, drywall elements etc., no moisture barrier should be used. For hygienic reasons and on account of its instability, we don’t recommend installing the floor on carpet.
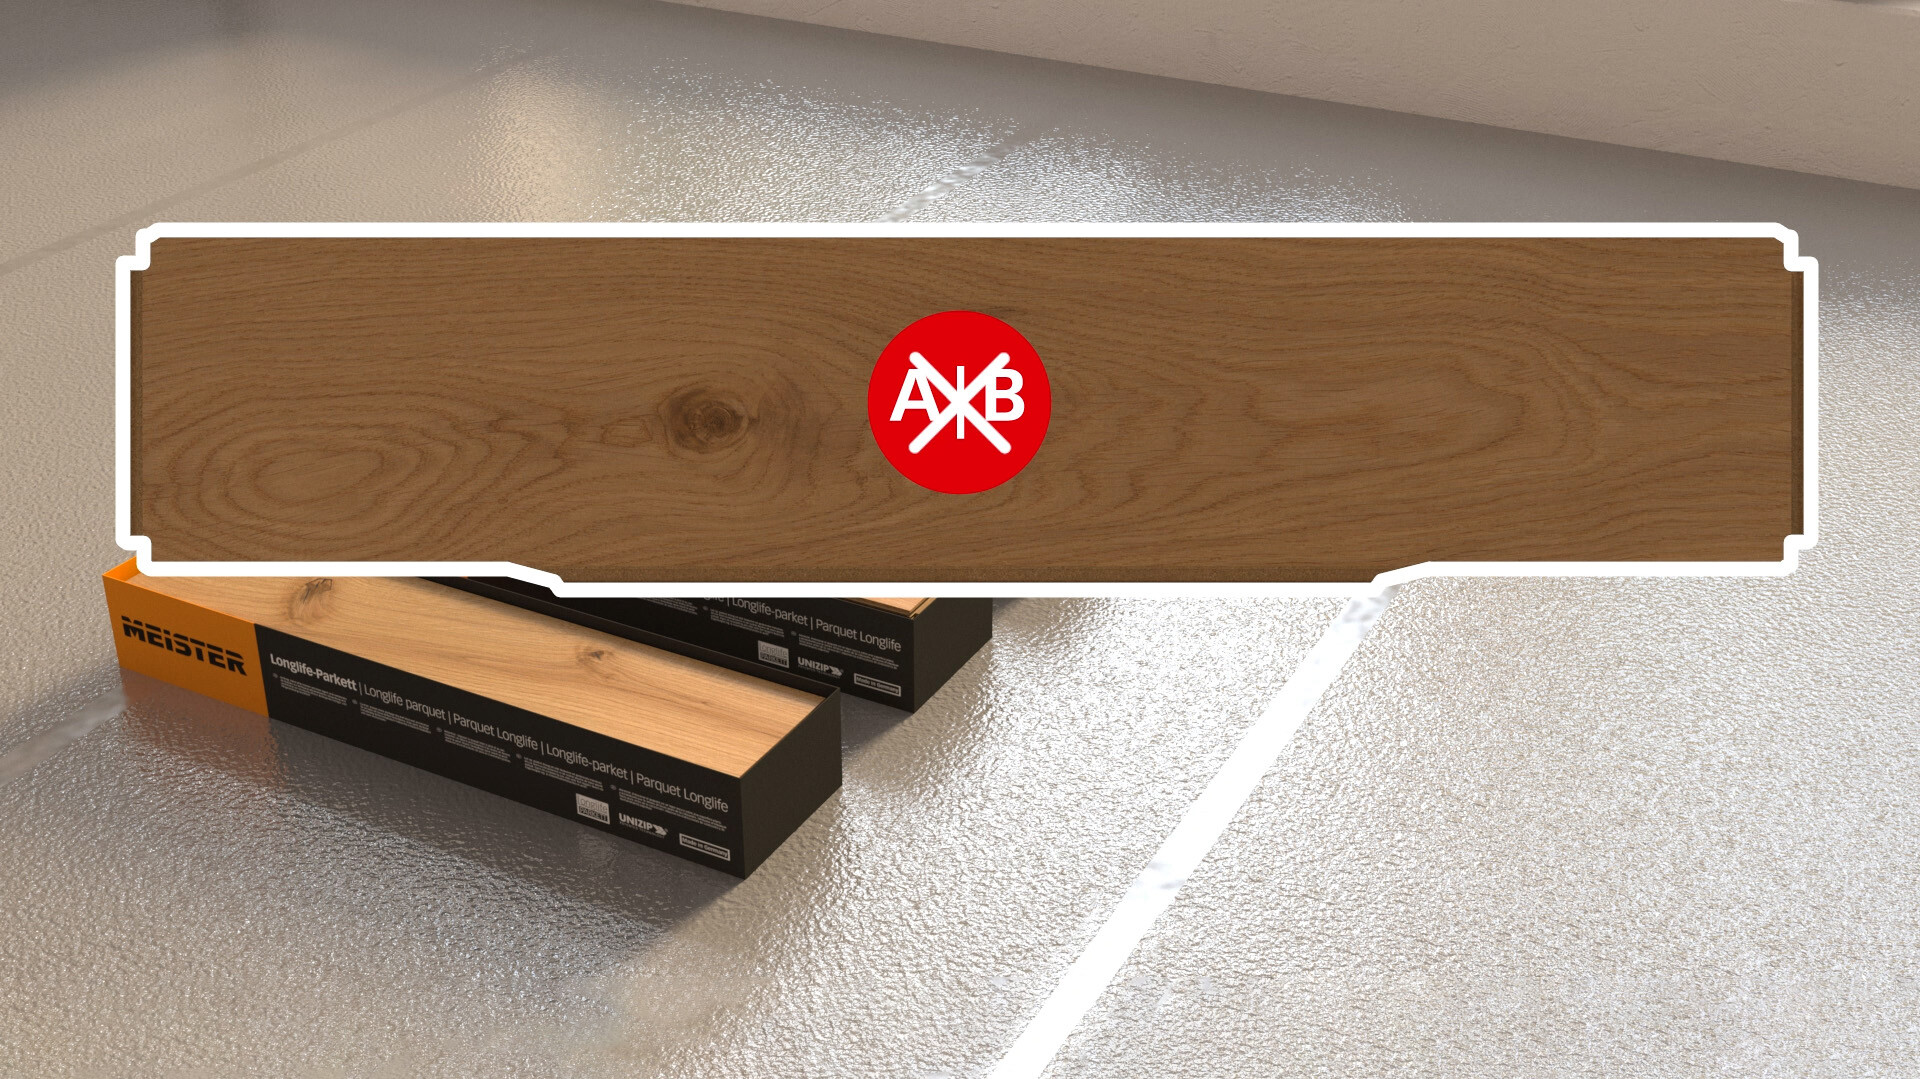
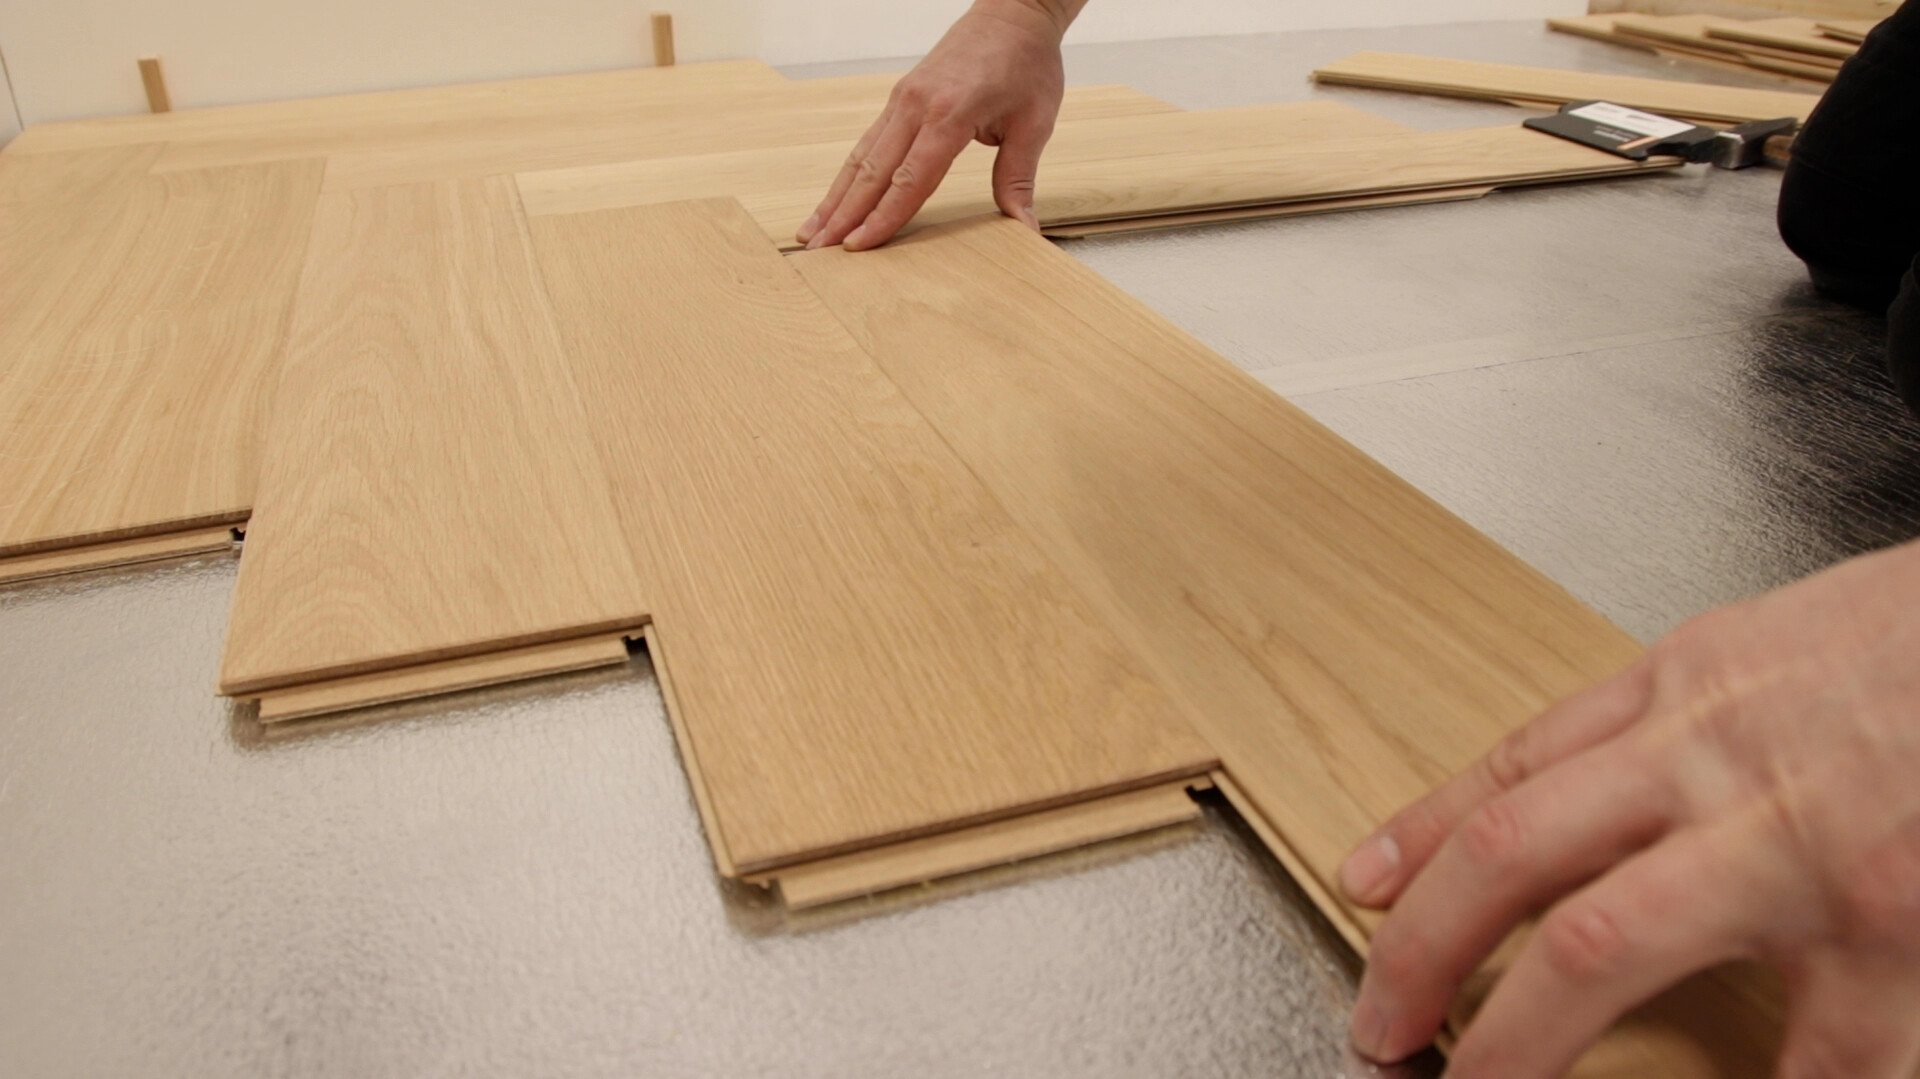
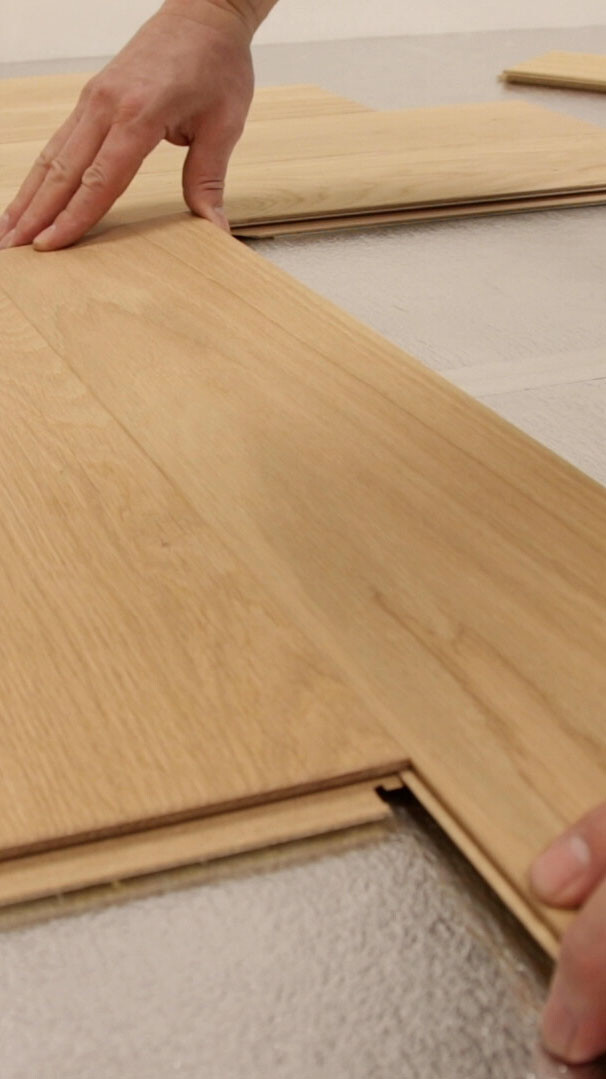
Thanks to the patented new UniZip click system, even herringbone parquet can be laid as a floating installation without glue. With only one type of plank, instead of A planks and B planks, installation is now even easier.
The herringbone pattern can be laid diagonally in the room (see Option 1) or centred in the room (Option 2).
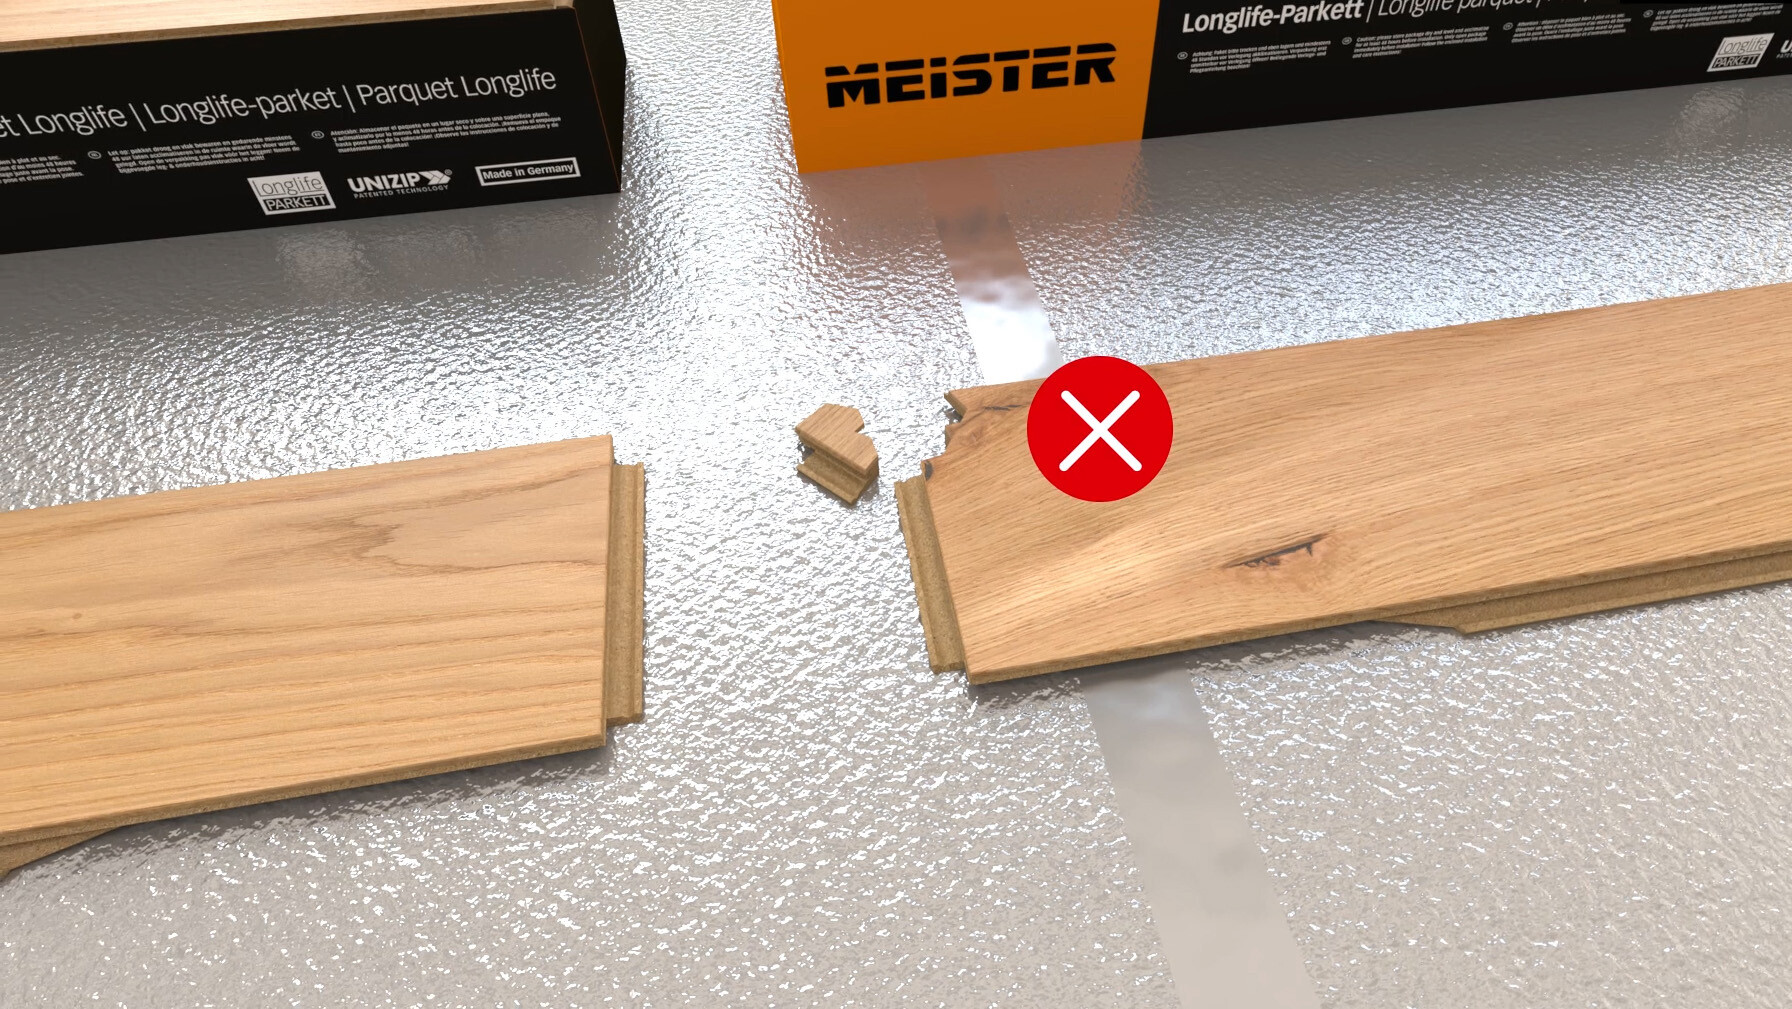
Remove any dirt, small stones, etc. from the subfloor prior to installation.
Before installation, check all planks in daylight for recognisable faults in colour and structure. Goods already installed cannot be claimed for later. Please note that parquet flooring is a natural product. Slight differences in colour and structure are an expression of its authenticity.
Install a mixture of planks from different packages and sort the planks in advance to ensure the desired mixture of colours and structures in the herringbone pattern.
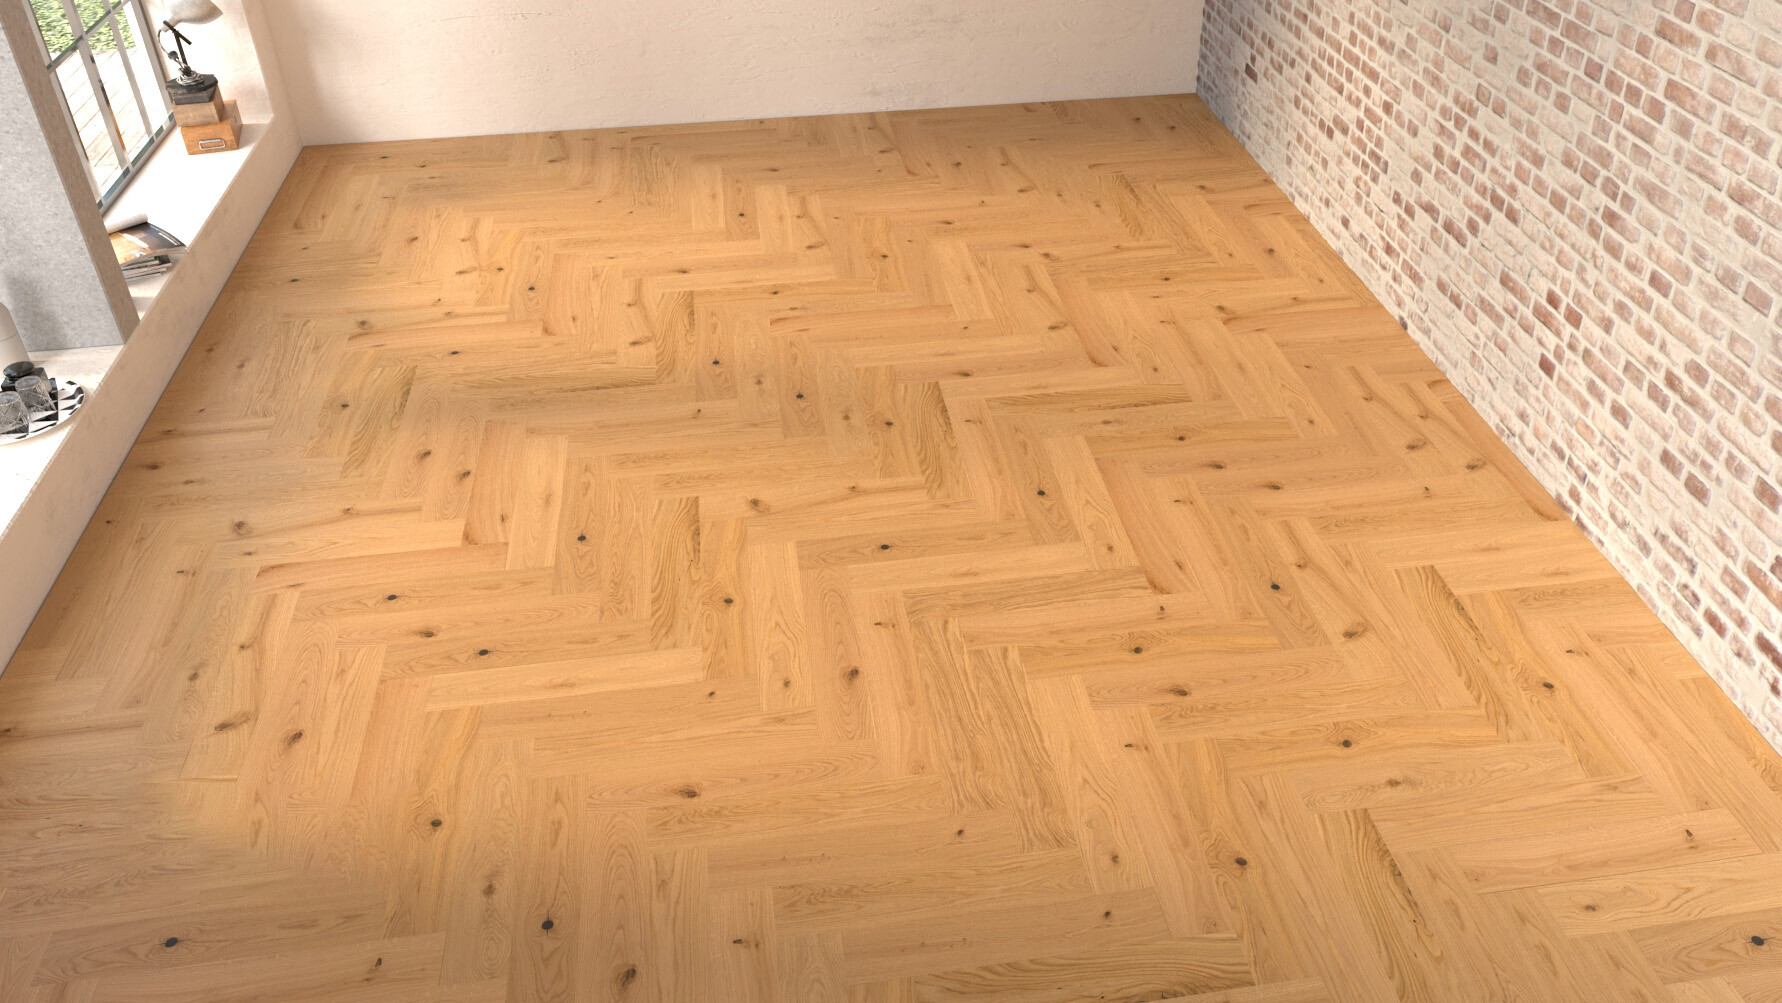
For this pattern, the herringbone pattern starts in the corner of the room and is placed diagonally throughout the room.
To ensure a uniform distance to all walls, draw a guide line using a chalk line.
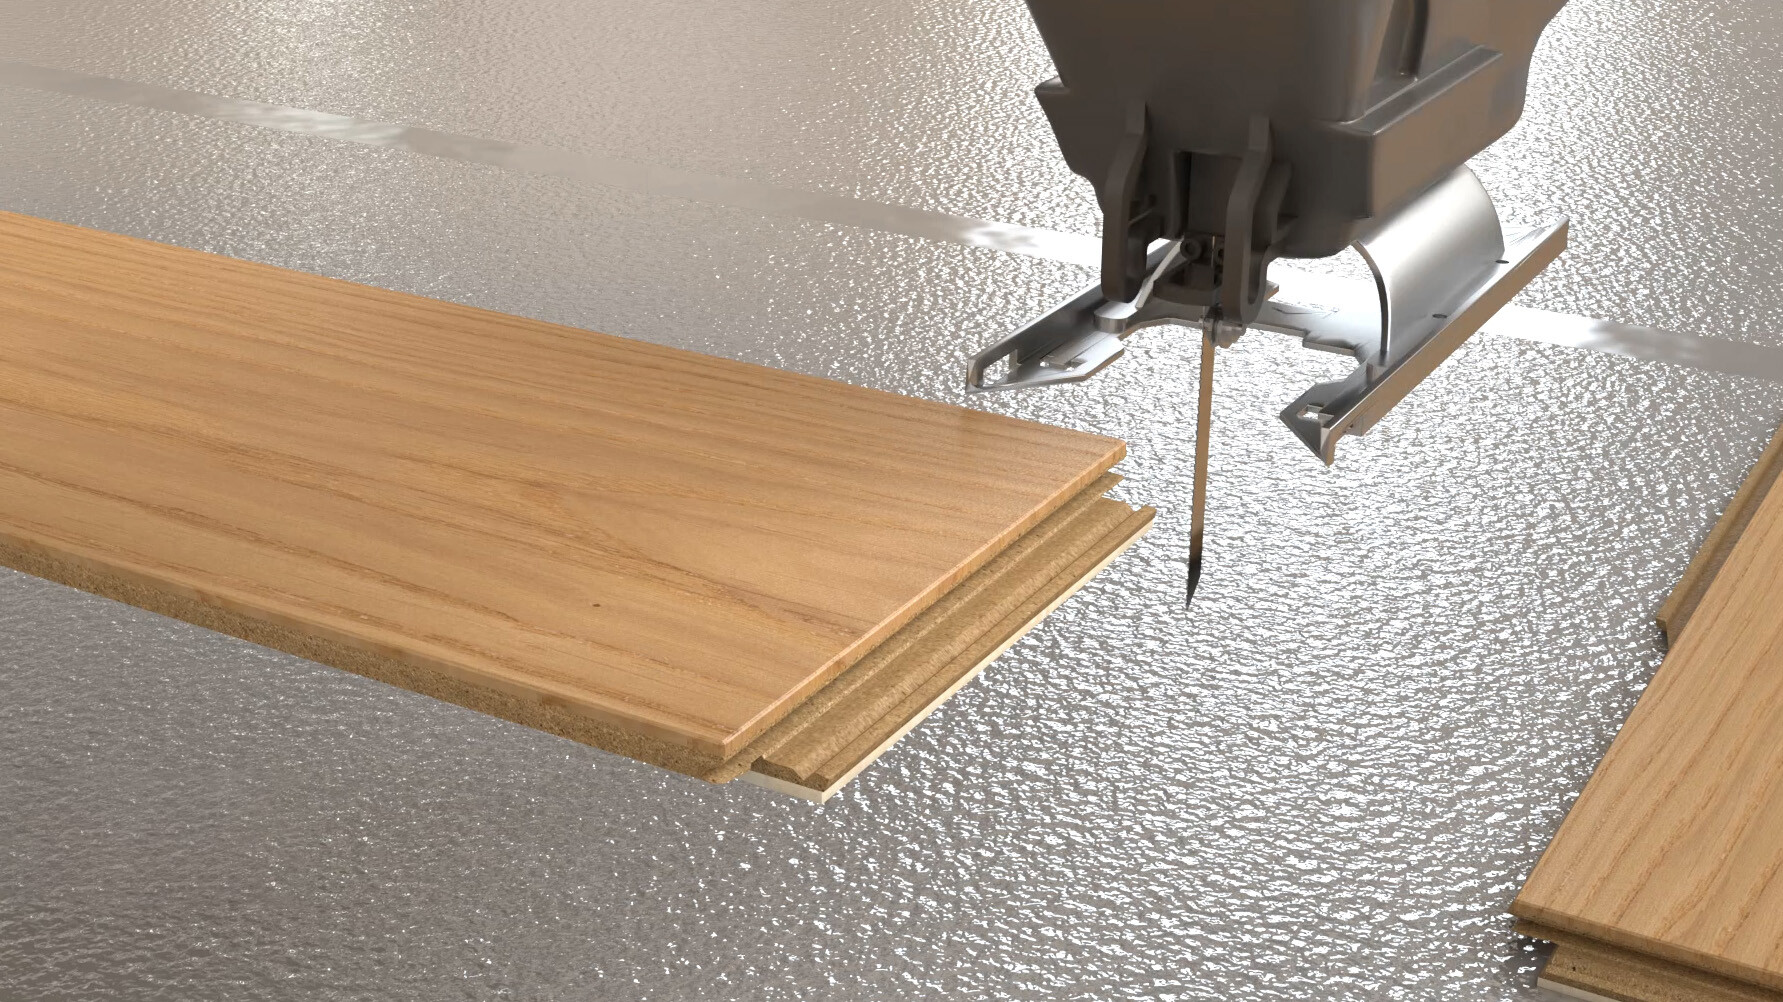
Start the laying process in a corner of the room. Saw the tongues off the first plank, both on the short and the long side.
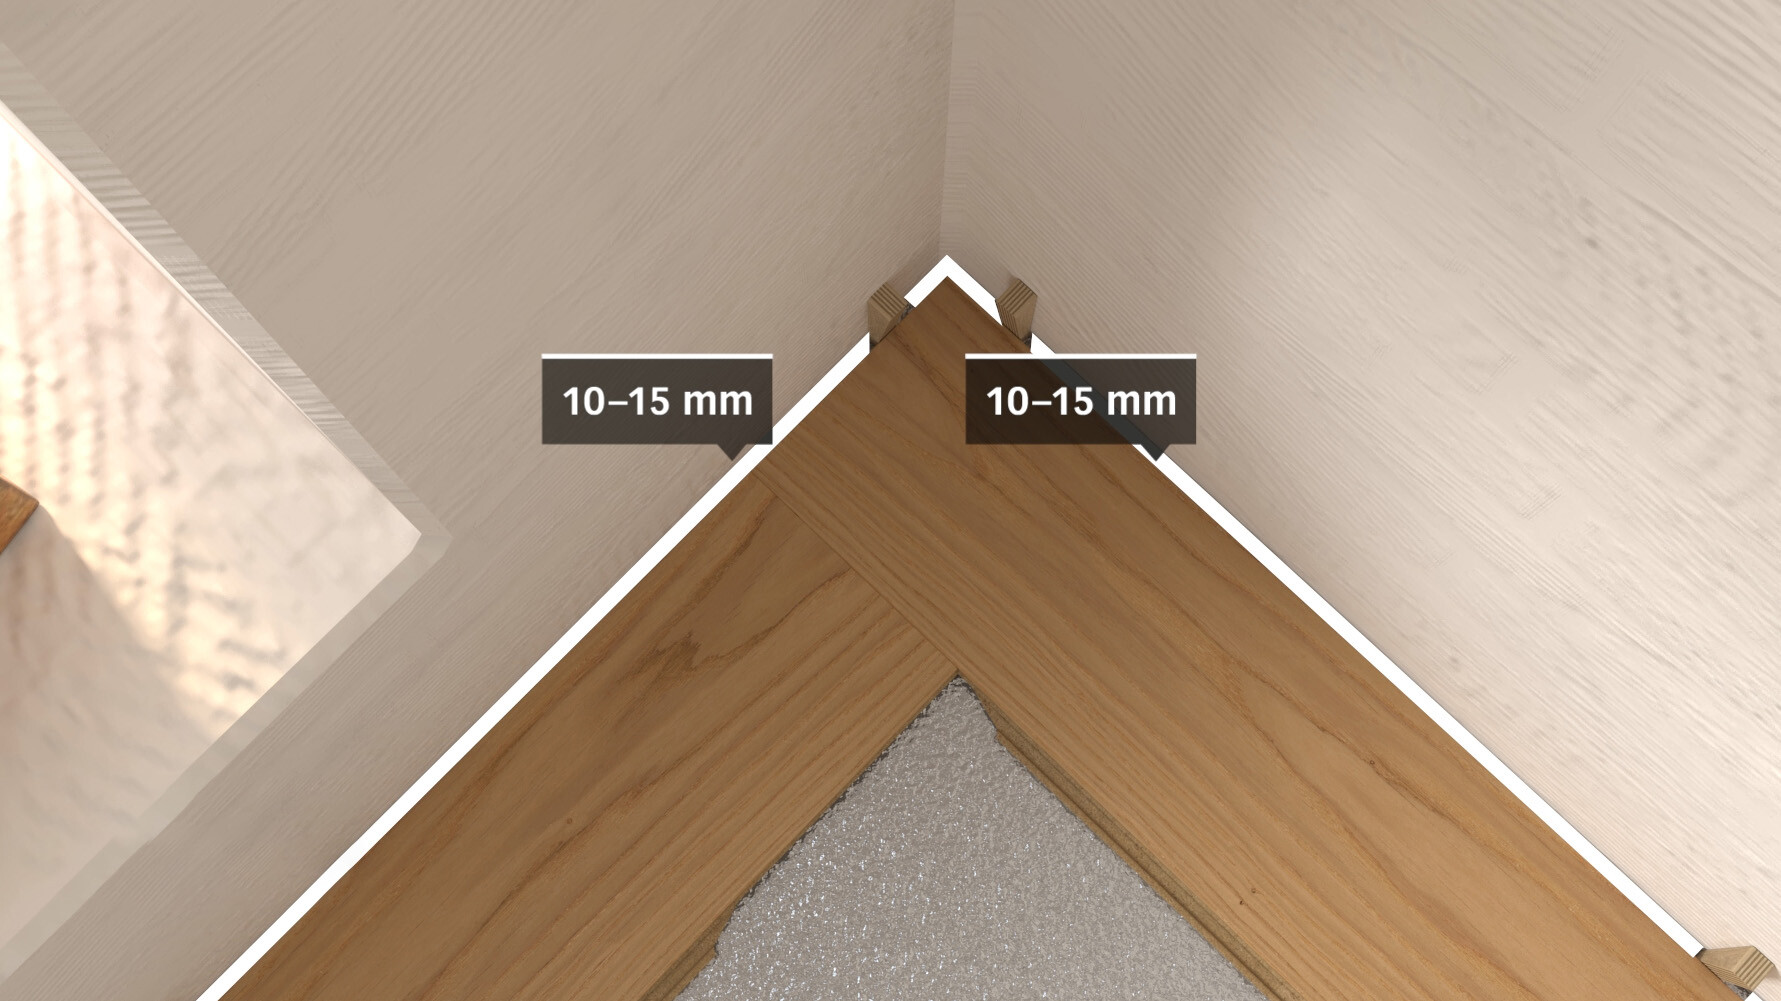
Using wedges, you can easily keep a gap of 10–15 mm from the wall. On the second plank, only the tongue on the long side has to be cut off.
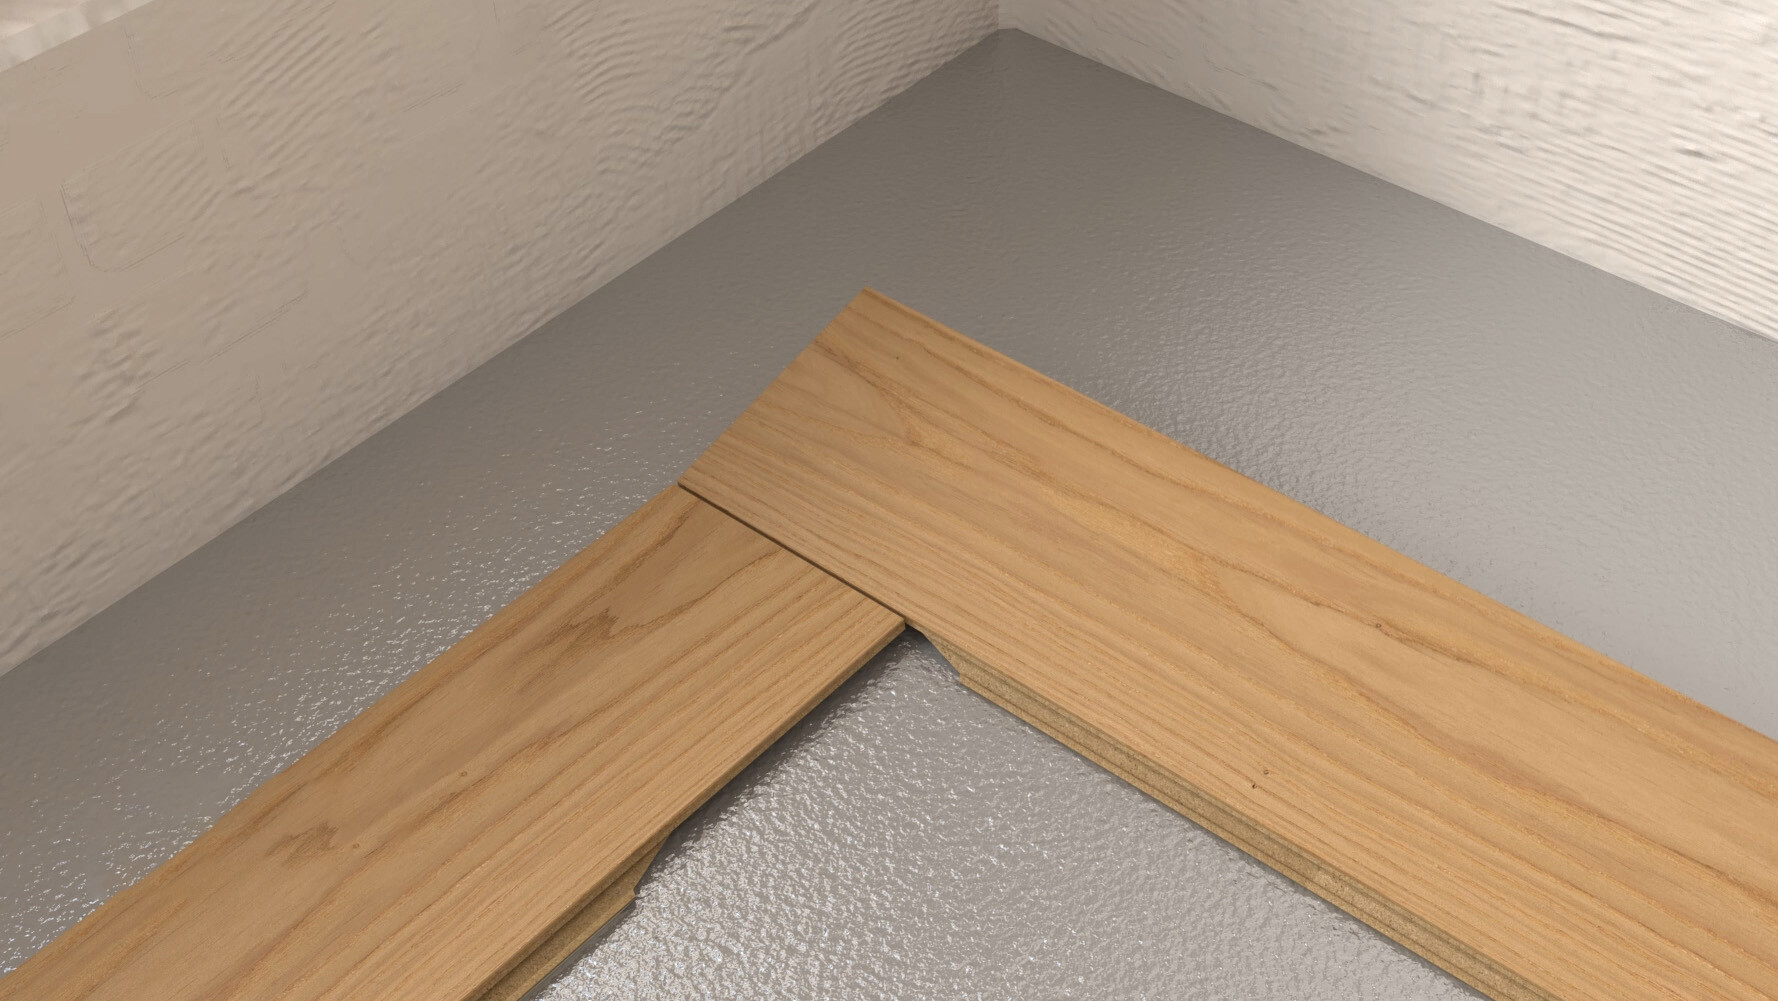
Now angle the head end of the second plank into the long side of the first plank.
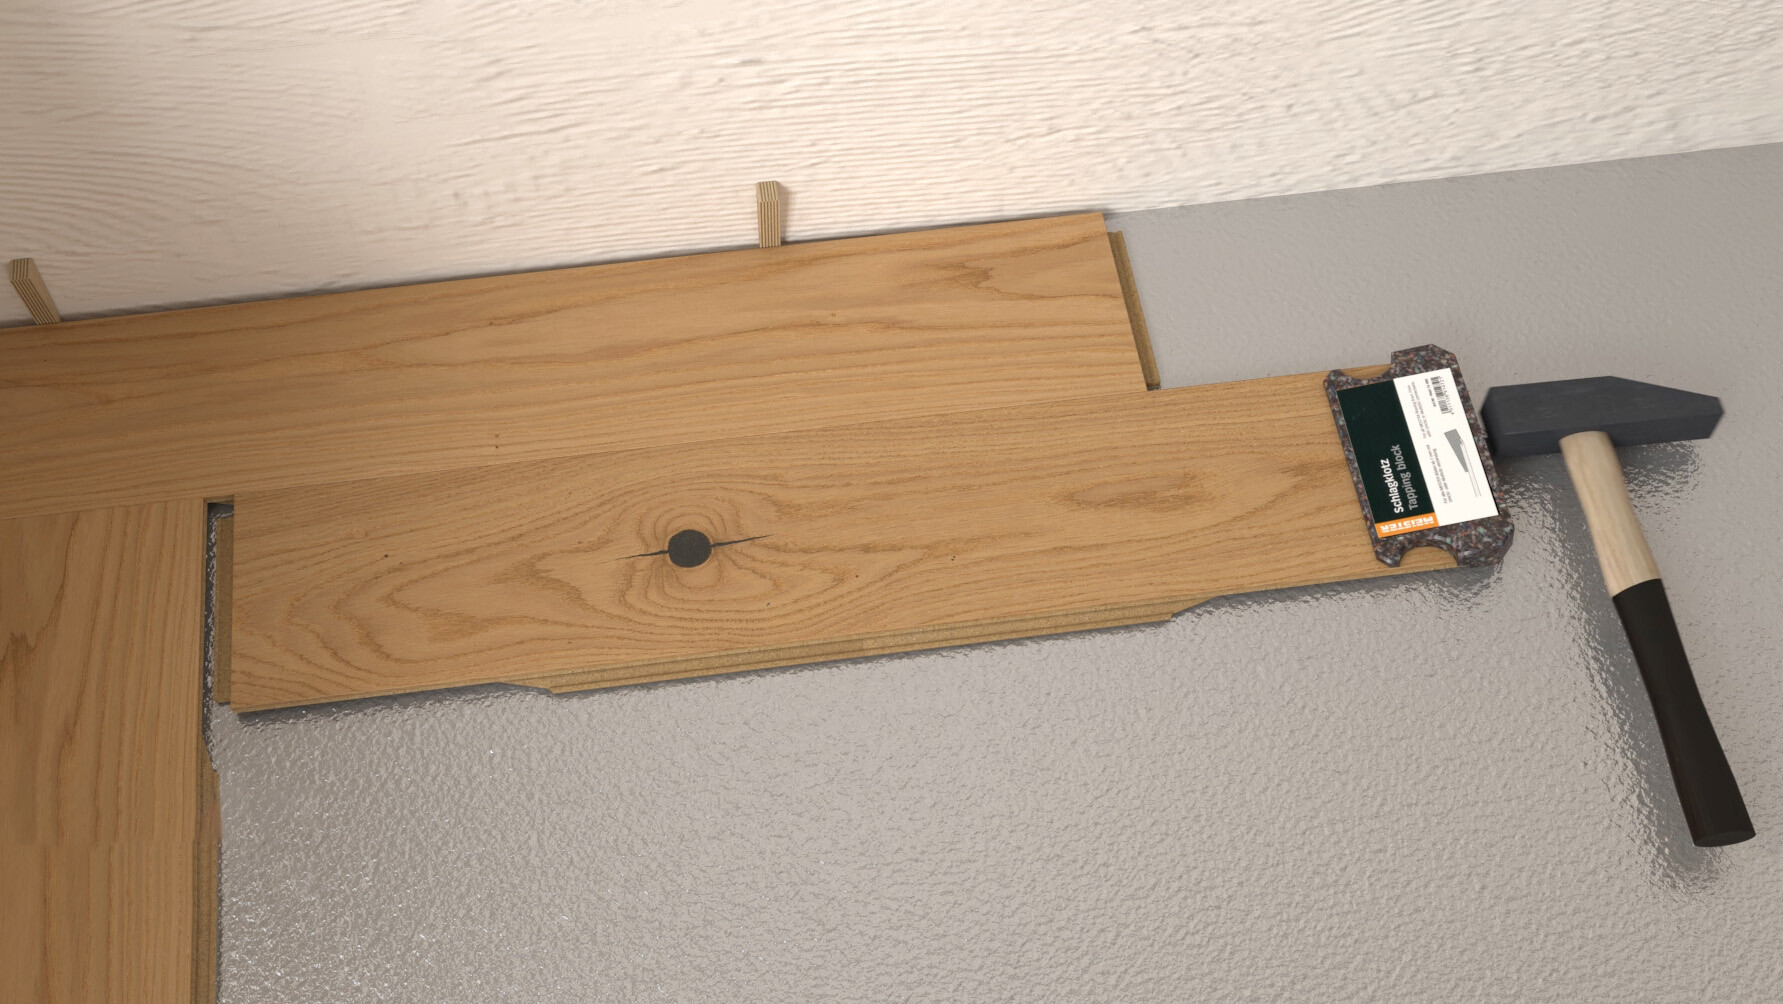
Then angle the long side of the third plank into the first plank. Now interlock the short side of the third plank into the second plank using the MEISTER tapping block.
Follow this process to continue laying. Make sure that the long sides of the planks are angled in first before interlocking the planks on their short sides.
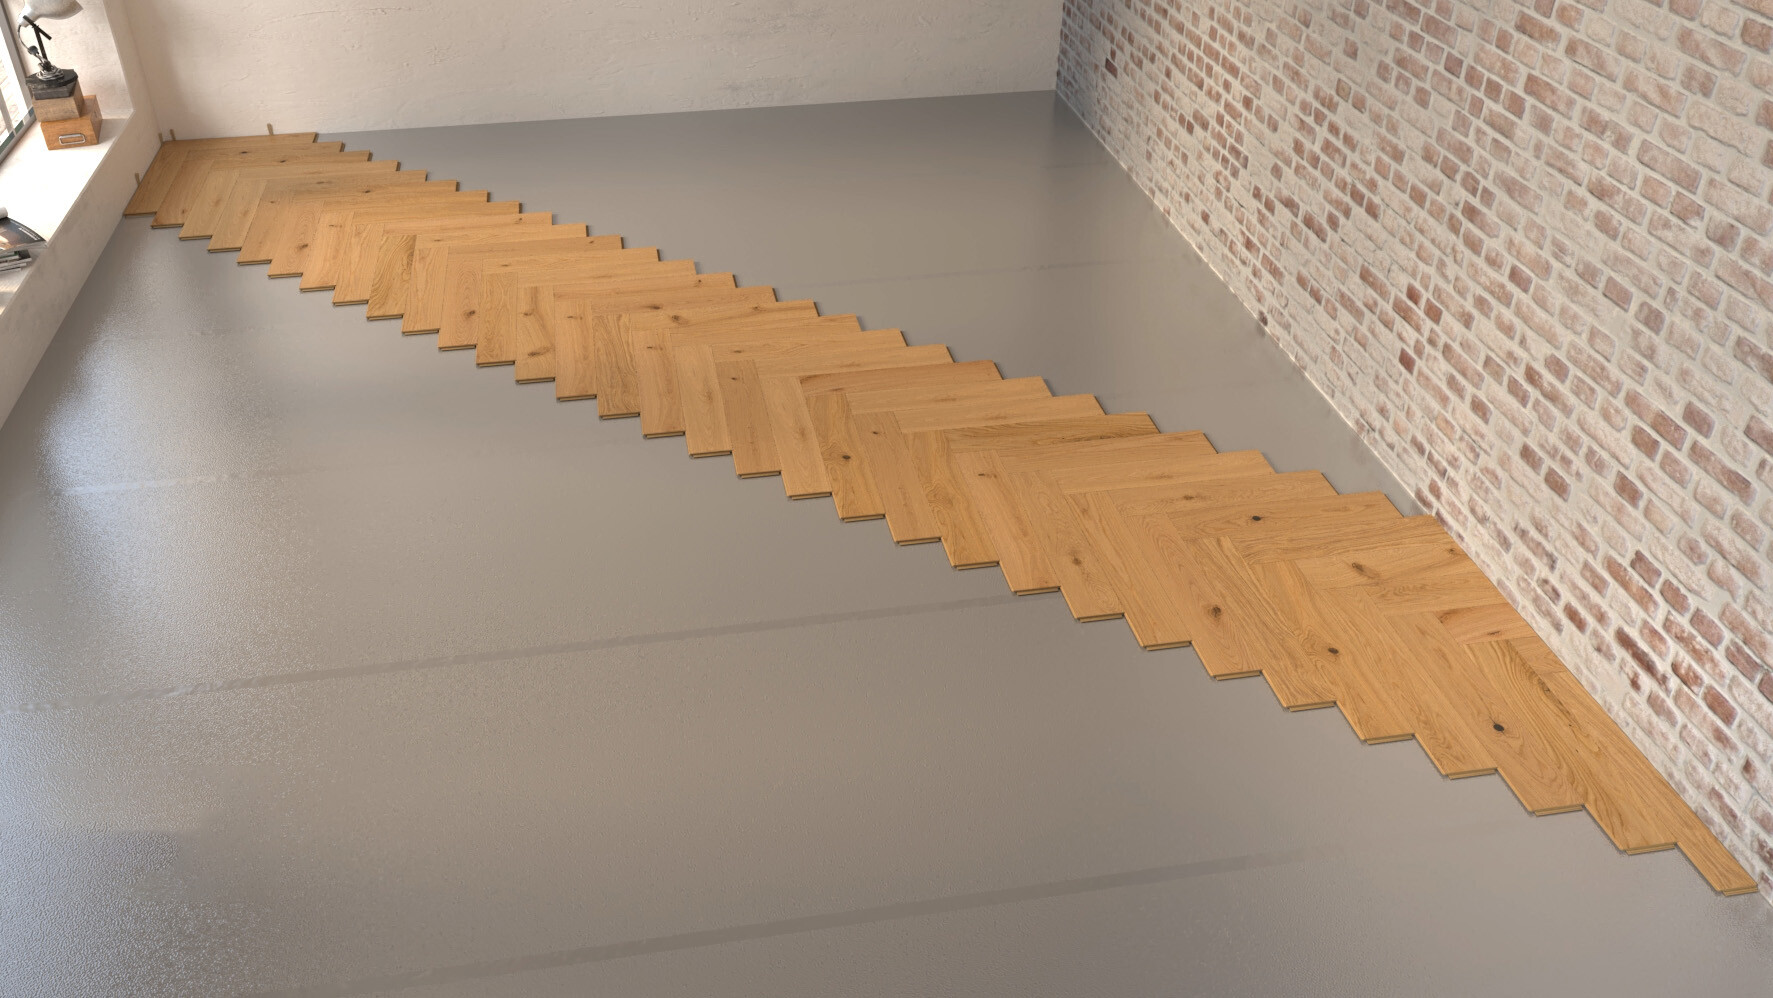
Lay the first zig-zag as far as the wall/corner of the room. The leftover pieces of planks there can possibly be used at the start of the next row. The first zig-zag has to be fixed with wedges so that the braid does not slide during the subsequent laying process.
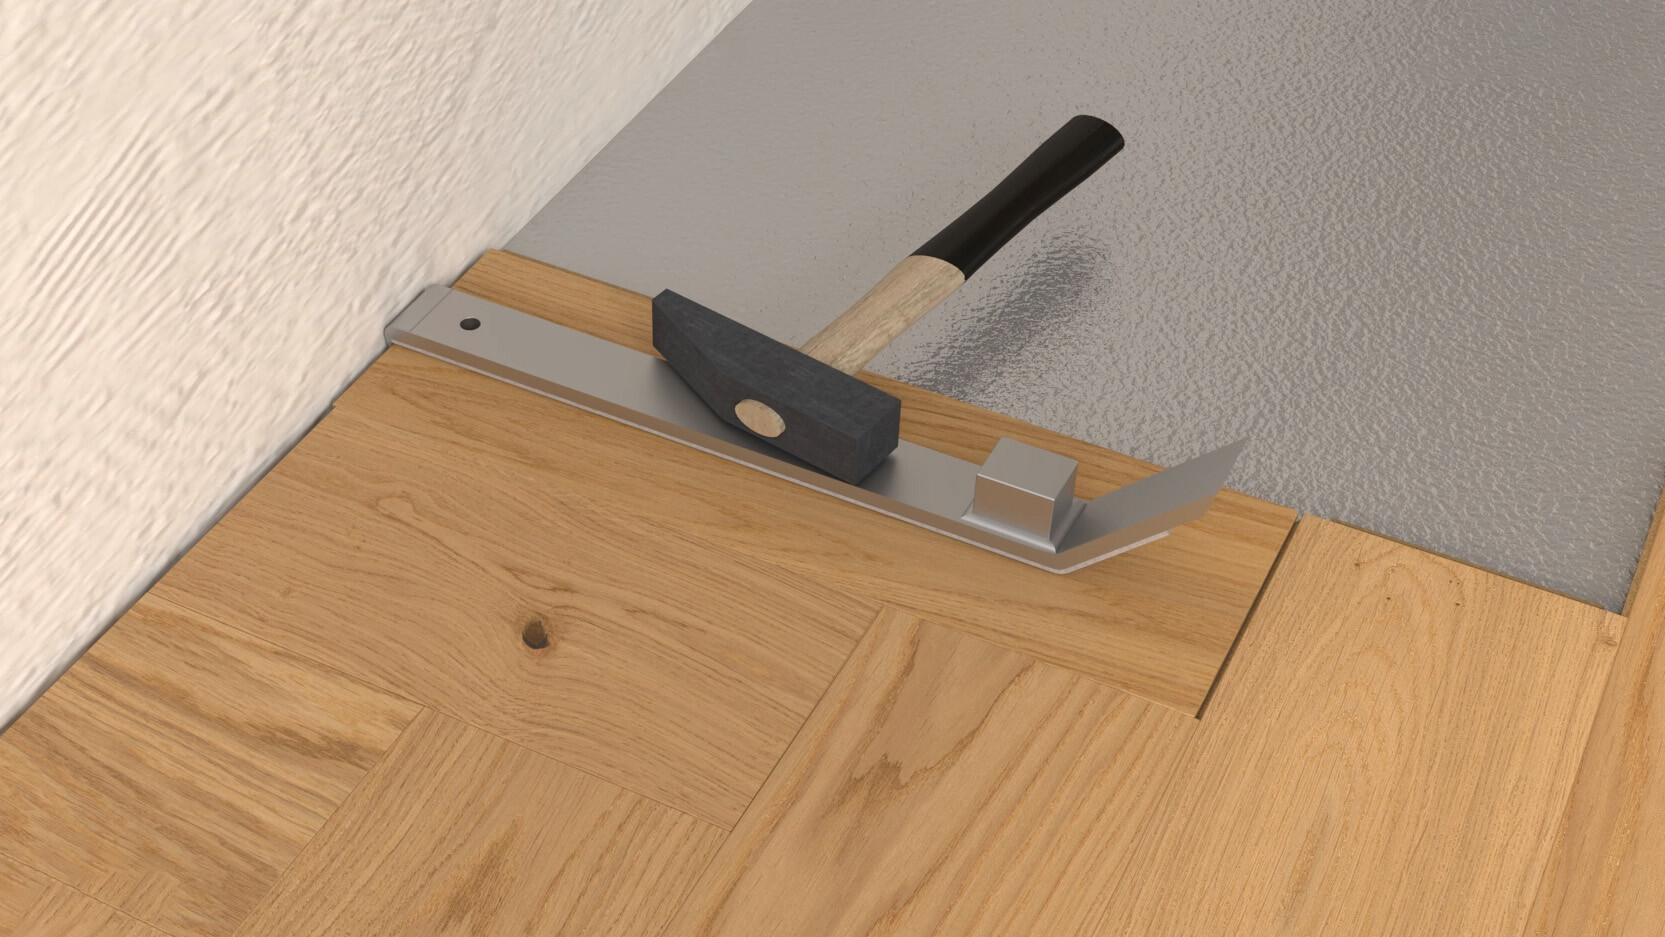
Before starting with the next row, check if there are any leftover pieces that could be used. While continuing with the laying, ensure that the long sides of the planks are angled in first and only then interlock the head ends. In certain situations, it is not possible to angle in the long side first before interlocking the head end. The special connection technique allows the plank to be interlocked in any conceivable direction, meaning the head end can be angled in first and the element can be interlocked via the long side, for example. Following this sequence, lay the surface up to the end of the room. The planks that end at the wall are cut to size so that a gap of 10–15 mm to the wall is taken into account.
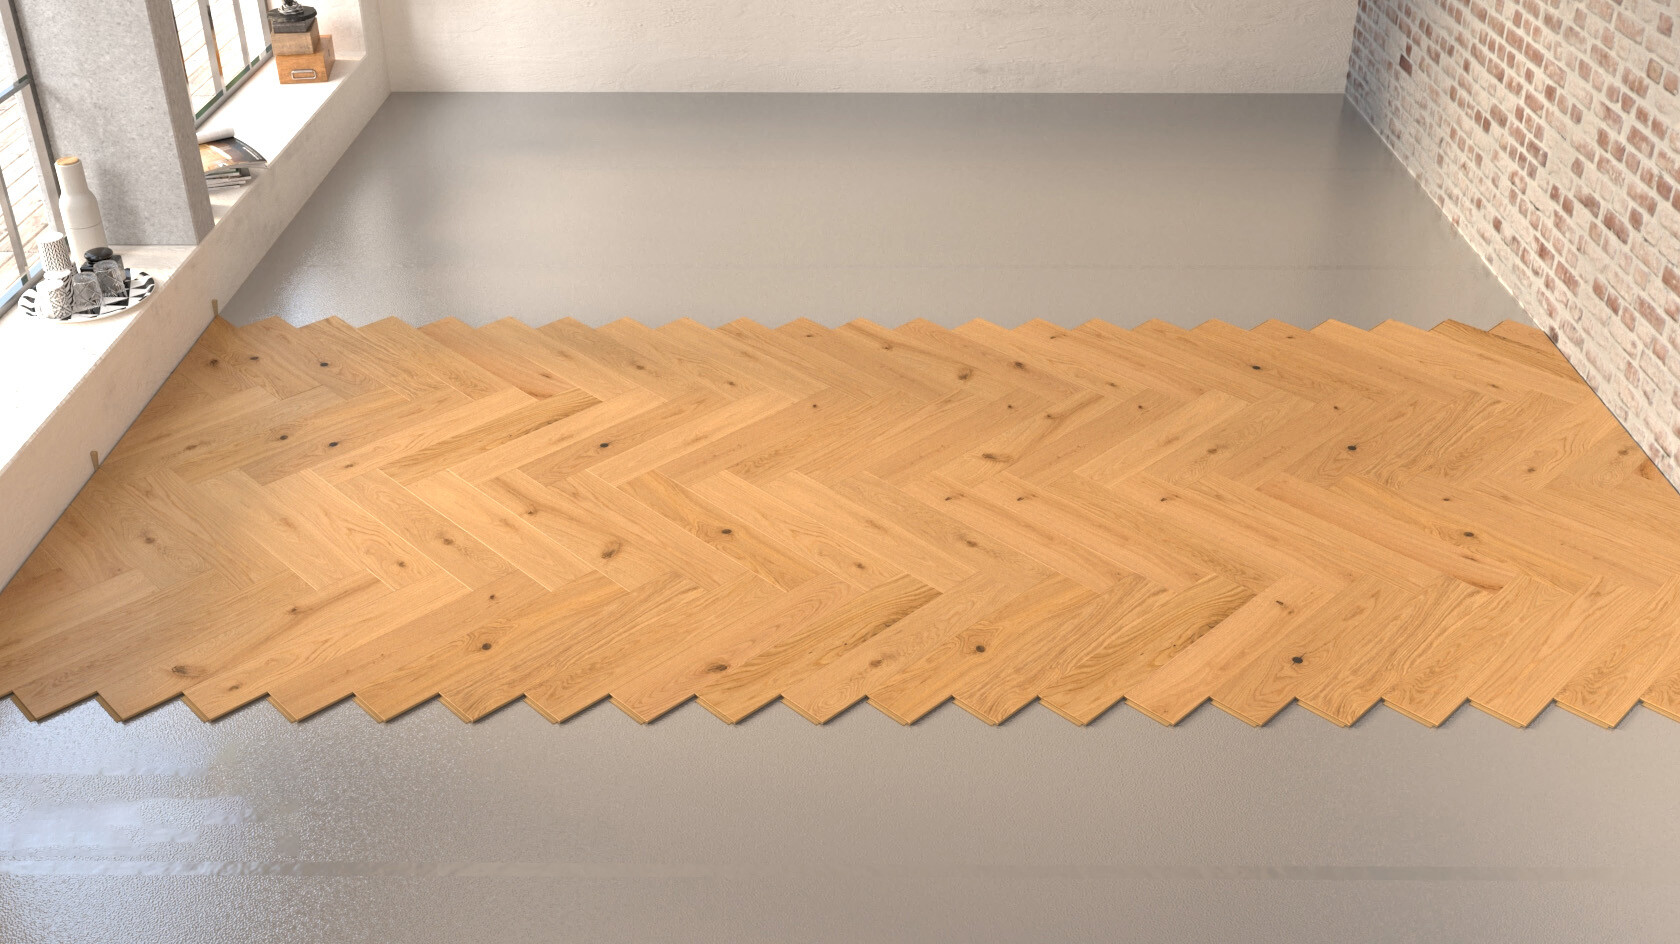
For this pattern, you start with the first zig-zag of the herringbone pattern in the centre of the room, and continue the pattern to the left and right.
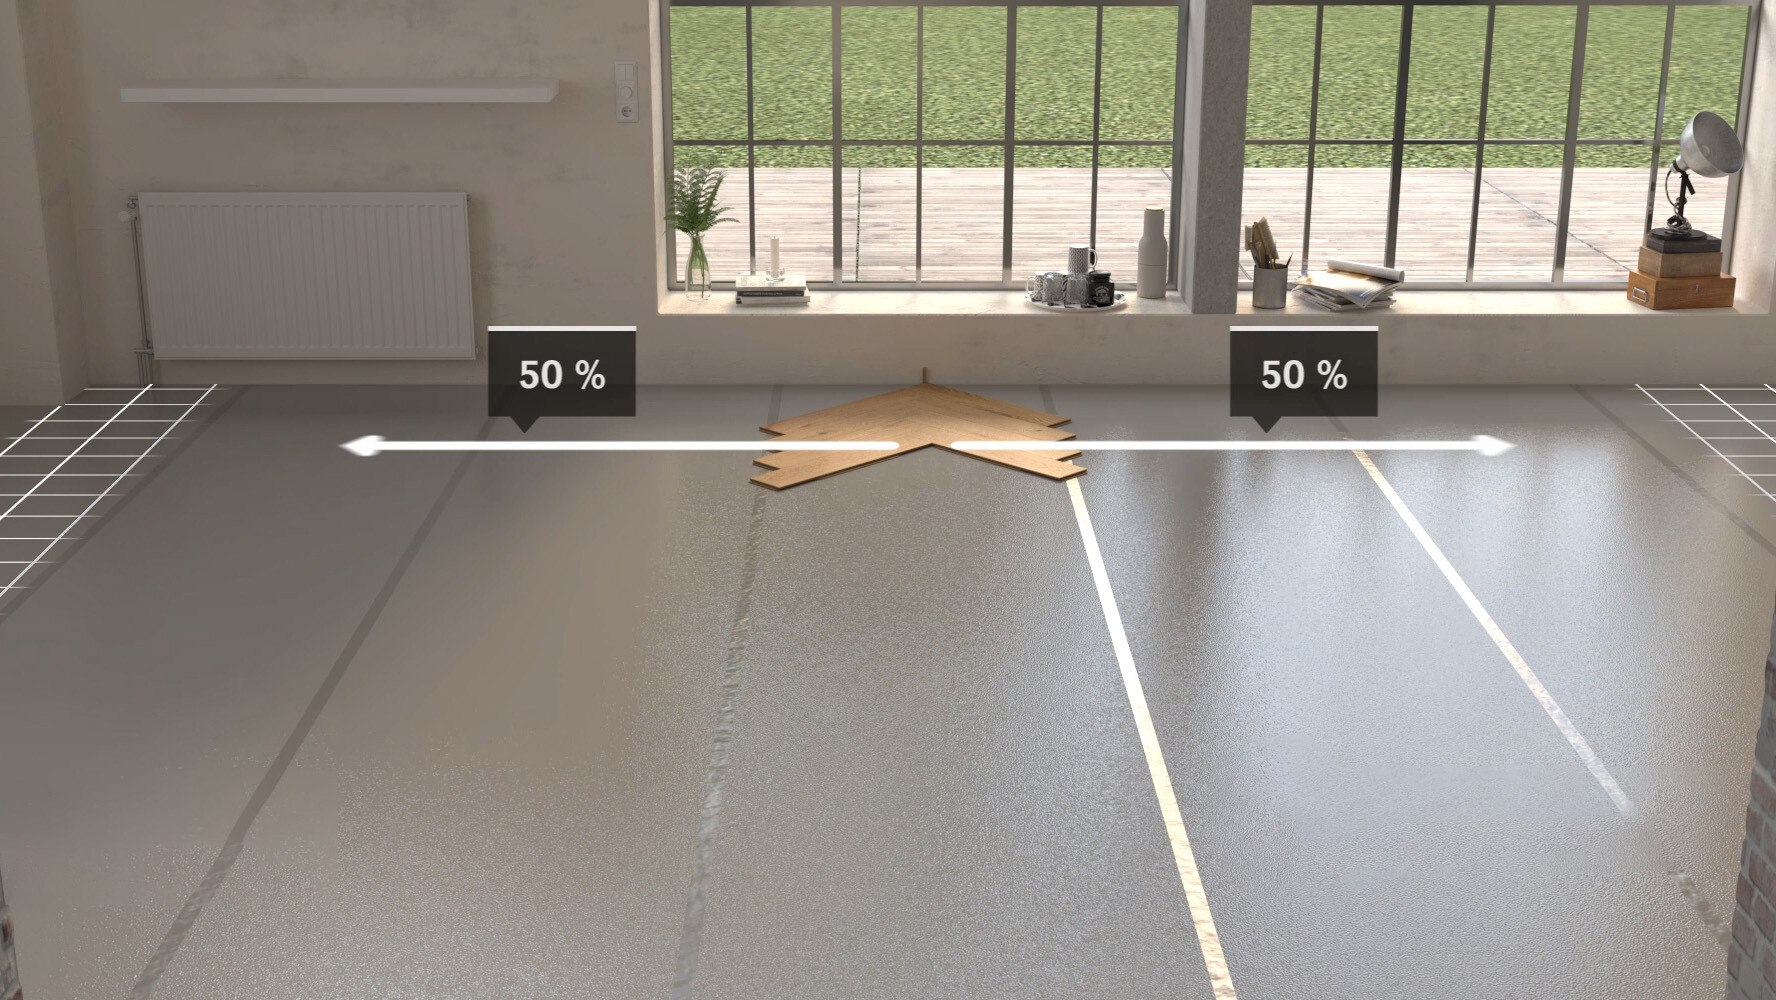
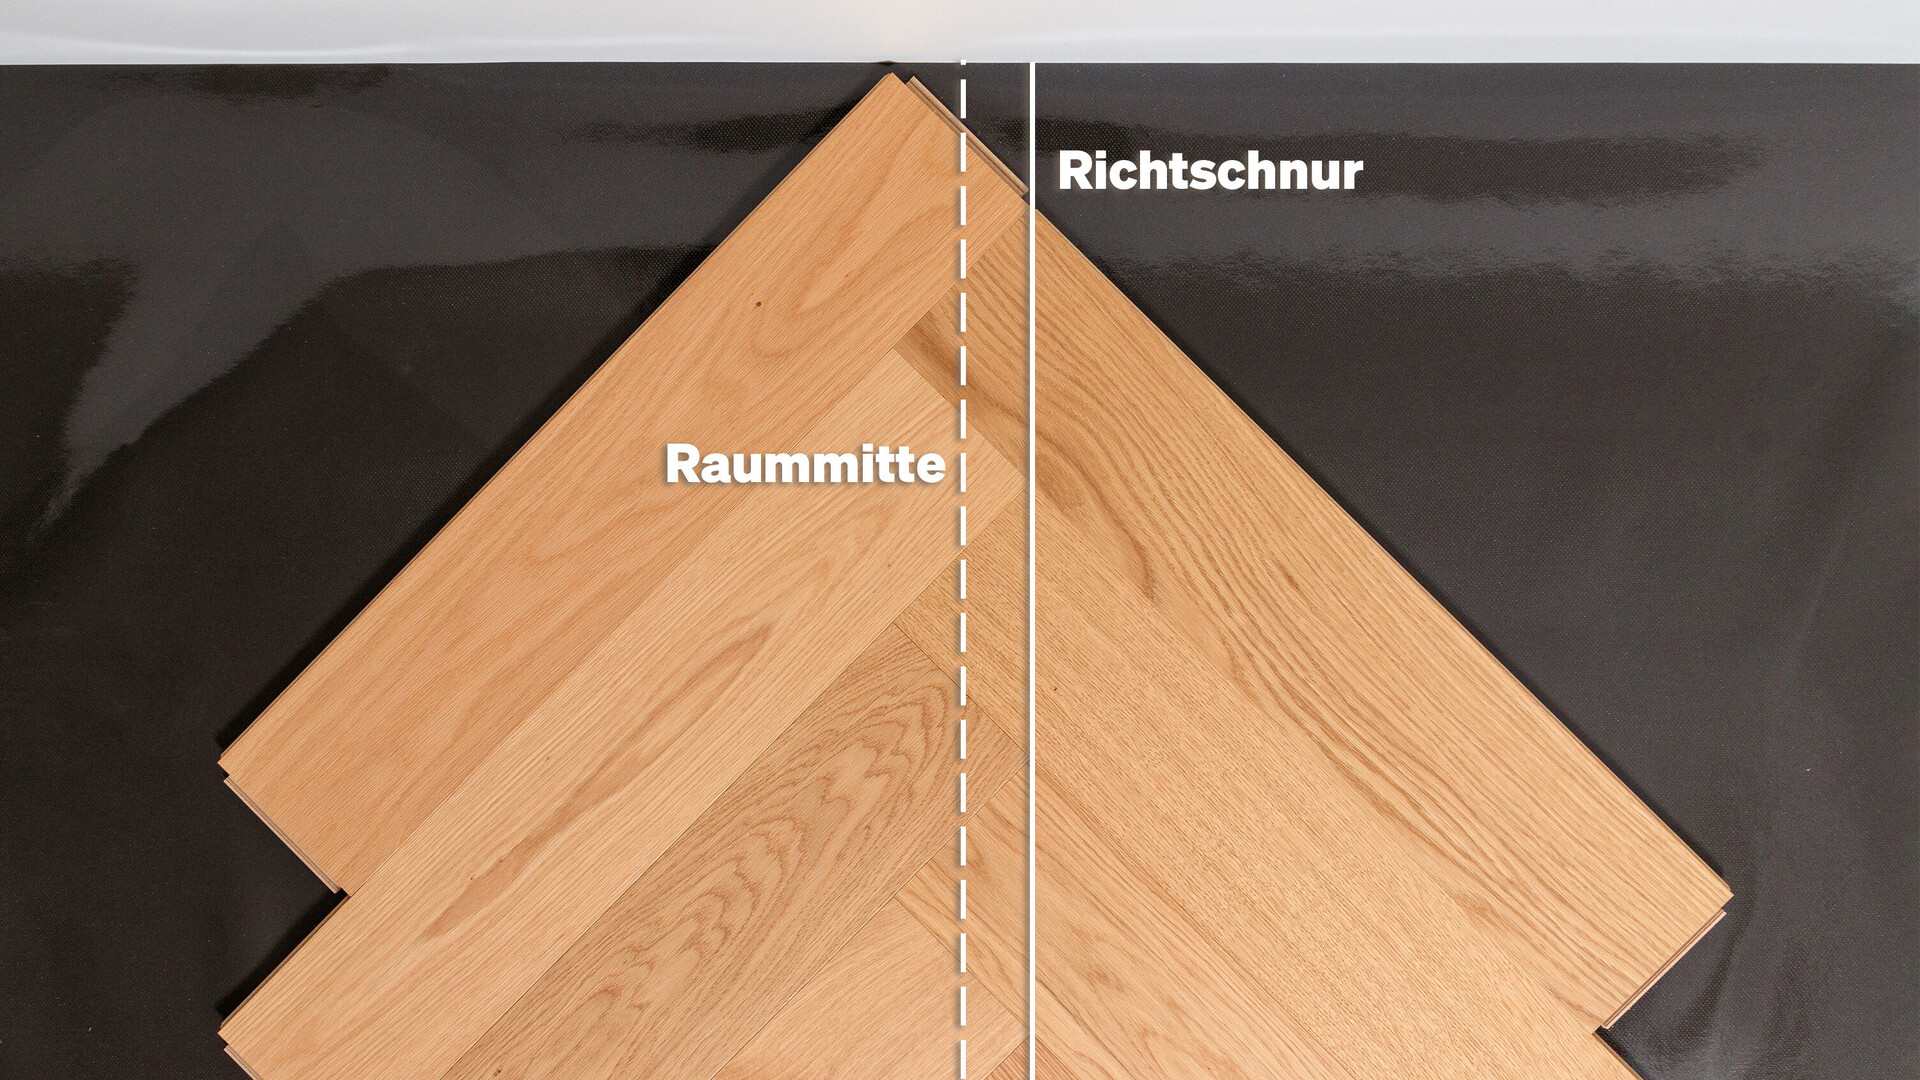
To ensure a uniform distance to all walls, draw a guide line using a chalk line. Start the laying process in the middle of the room facing a wall. To ensure symmetrical laying, the laying line must be shifted by ¼ of the mitre width (PS 500: 50.2 mm; PS 400: 35.4 mm) from the centre of the room.
Angle the head end of the second plank into the long side of the first plank.
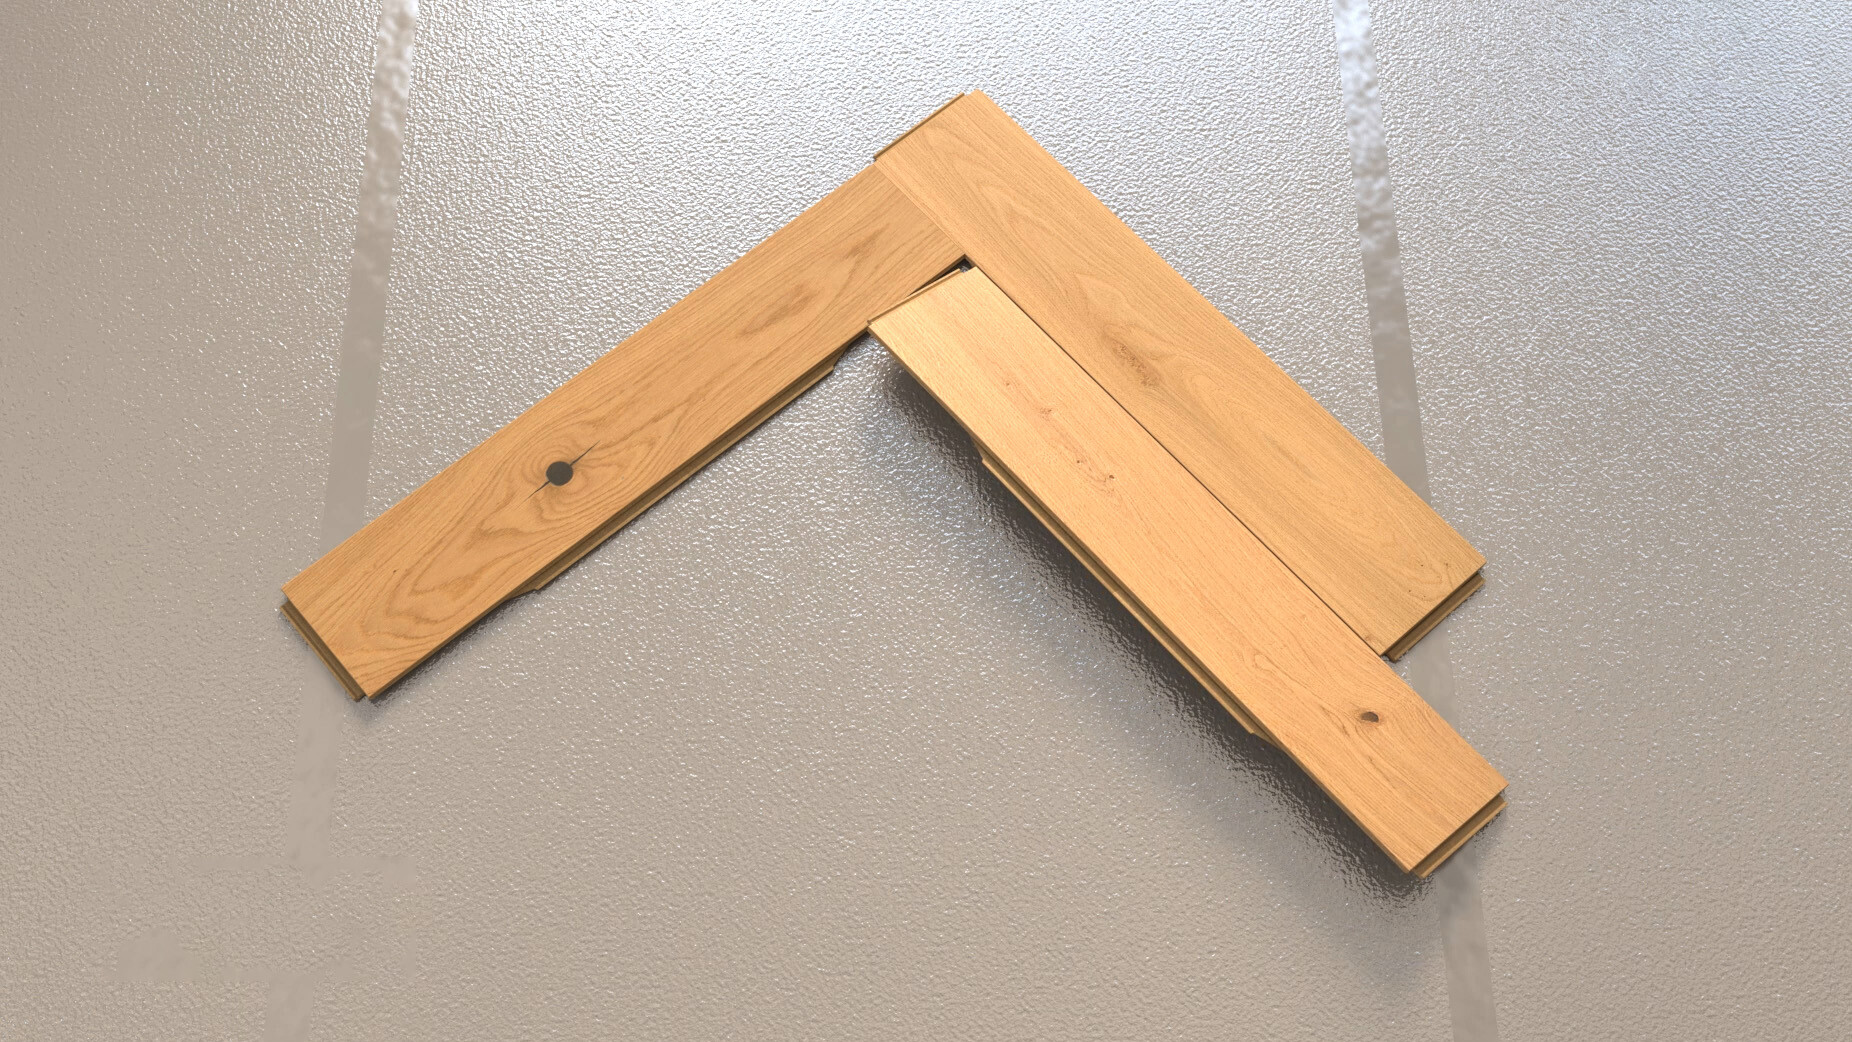
Then angle the long side of the third plank into the first plank. Now interlock the short side of the third plank into the second plank using the MEISTER tapping block.
Follow this process to continue laying as far as the sixth plank. Align the planks with the laying line and cut them parallel to the wall. You can now align what is known as the head (in the shape of a triangle) at an even distance of 10–15 mm from the wall along the laying line and fix it in place with wedges. Make sure that the long sides of the planks are angled in first before interlocking the planks on their short sides.
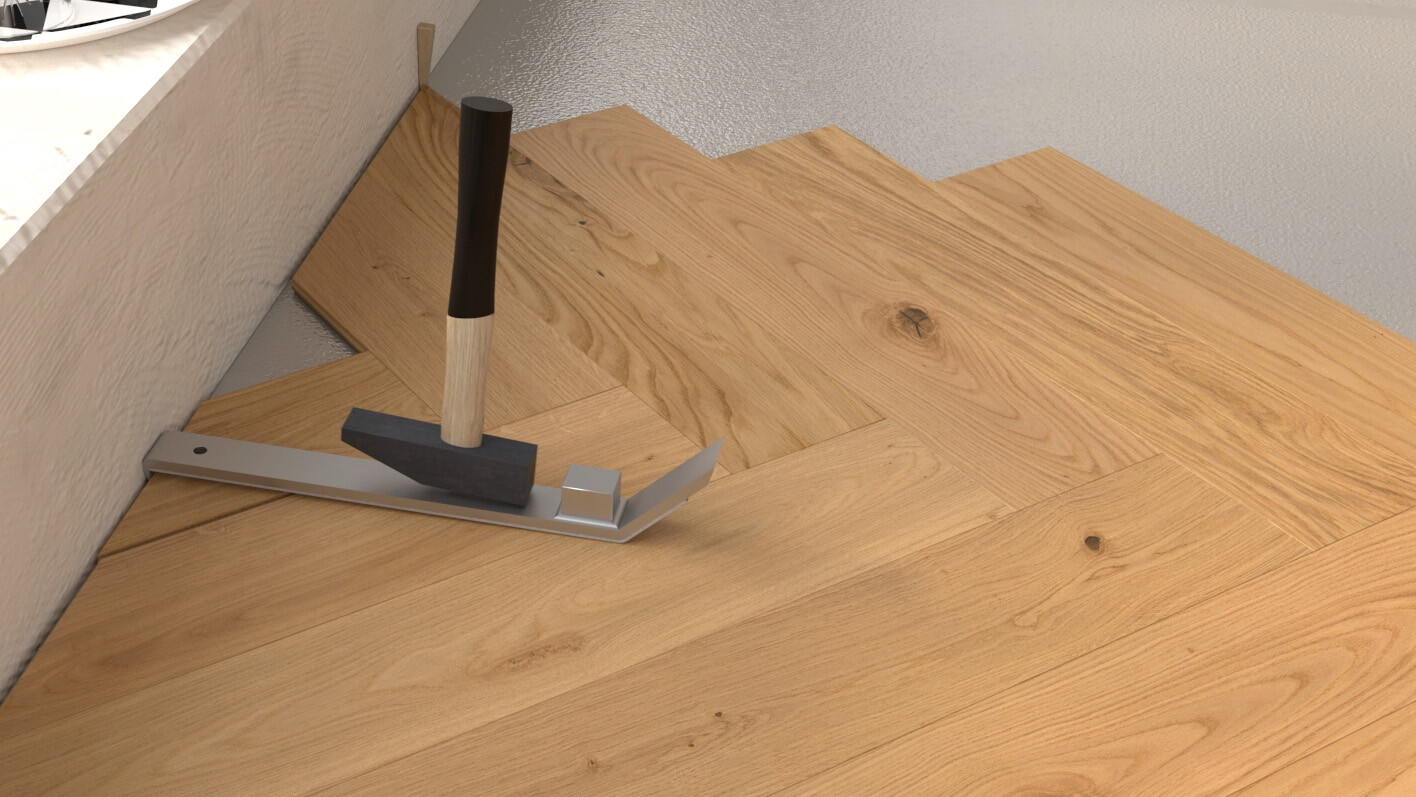
Lay the first zig-zag as far as the opposite wall. The leftover pieces of planks there can possibly be used at the start of the next row. The first zig-zag has to be fixed with wedges so that the braid does not slide during the subsequent laying process.
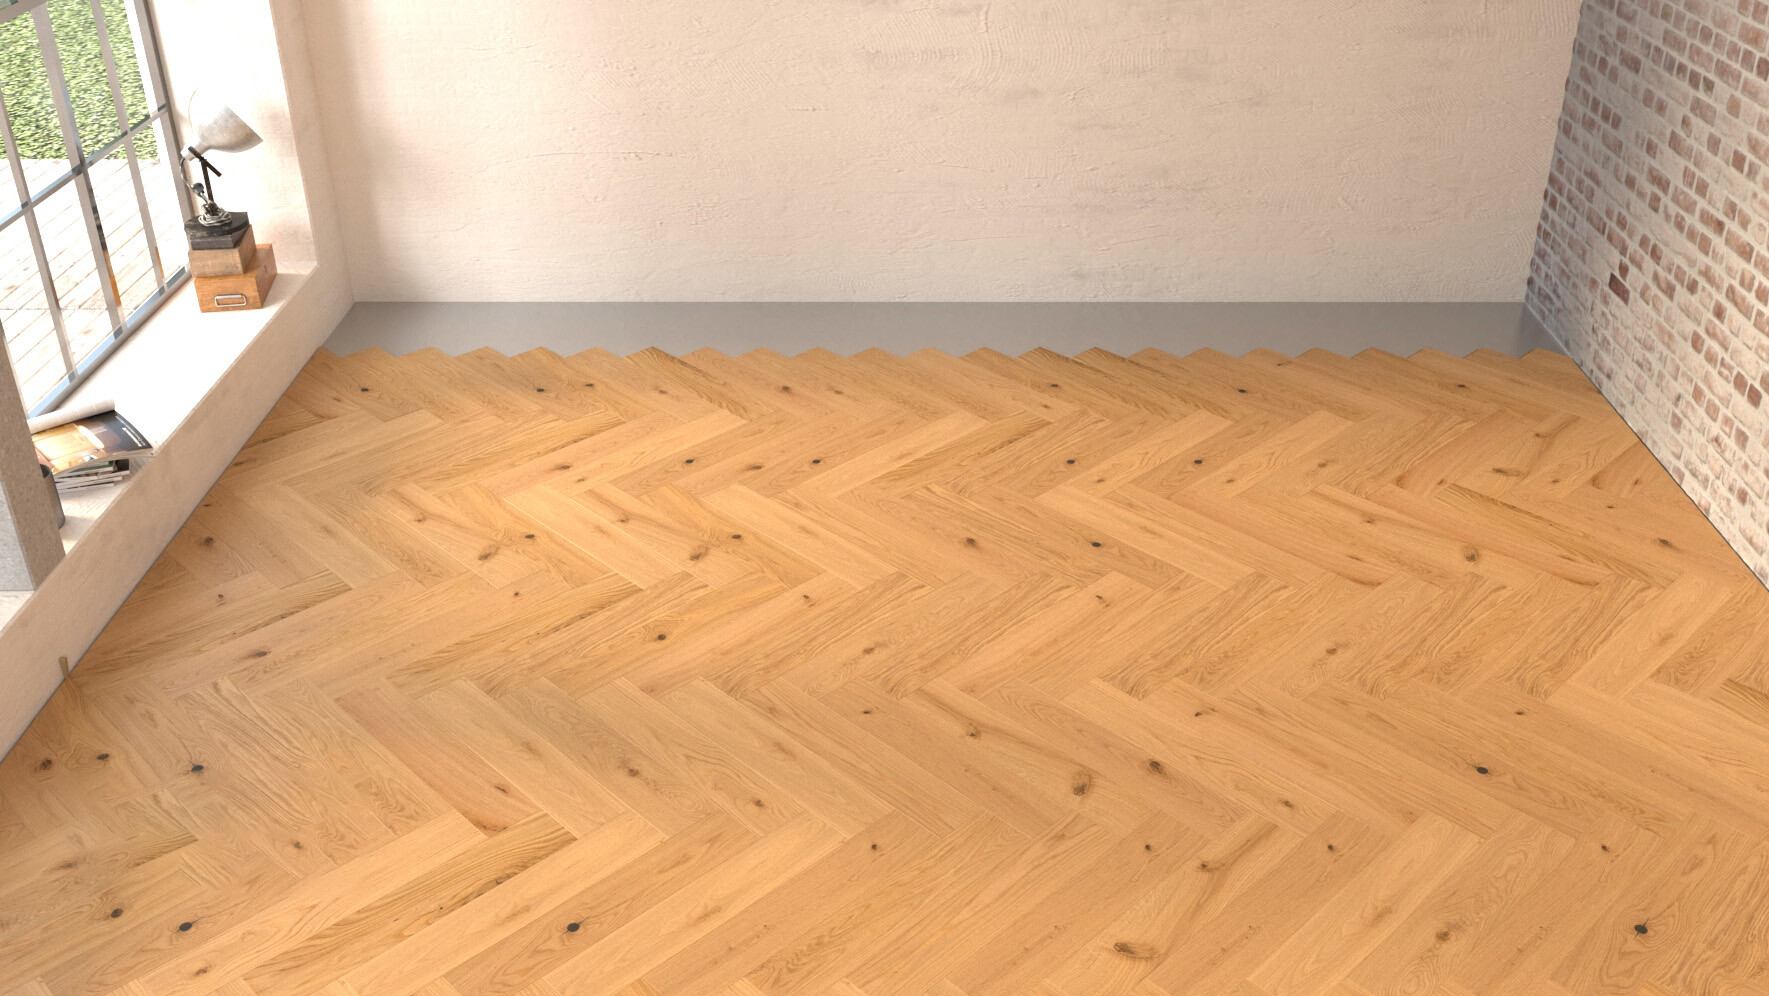
Before starting with the next row, check if there are any leftover pieces that could be used. While continuing with the laying, ensure that the long sides of the planks are angled in first and only then interlock the head ends. In certain situations, it is not possible to angle in the long side first before interlocking the head end. The special connection technique allows the plank to be interlocked in any conceivable direction, meaning the head end can be angled in first and the element can be interlocked via the long side, for example. Following this sequence, lay the surface up to the end of the room. The planks that end at the wall are cut to size so that a gap of 10–15 mm to the wall is taken into account.
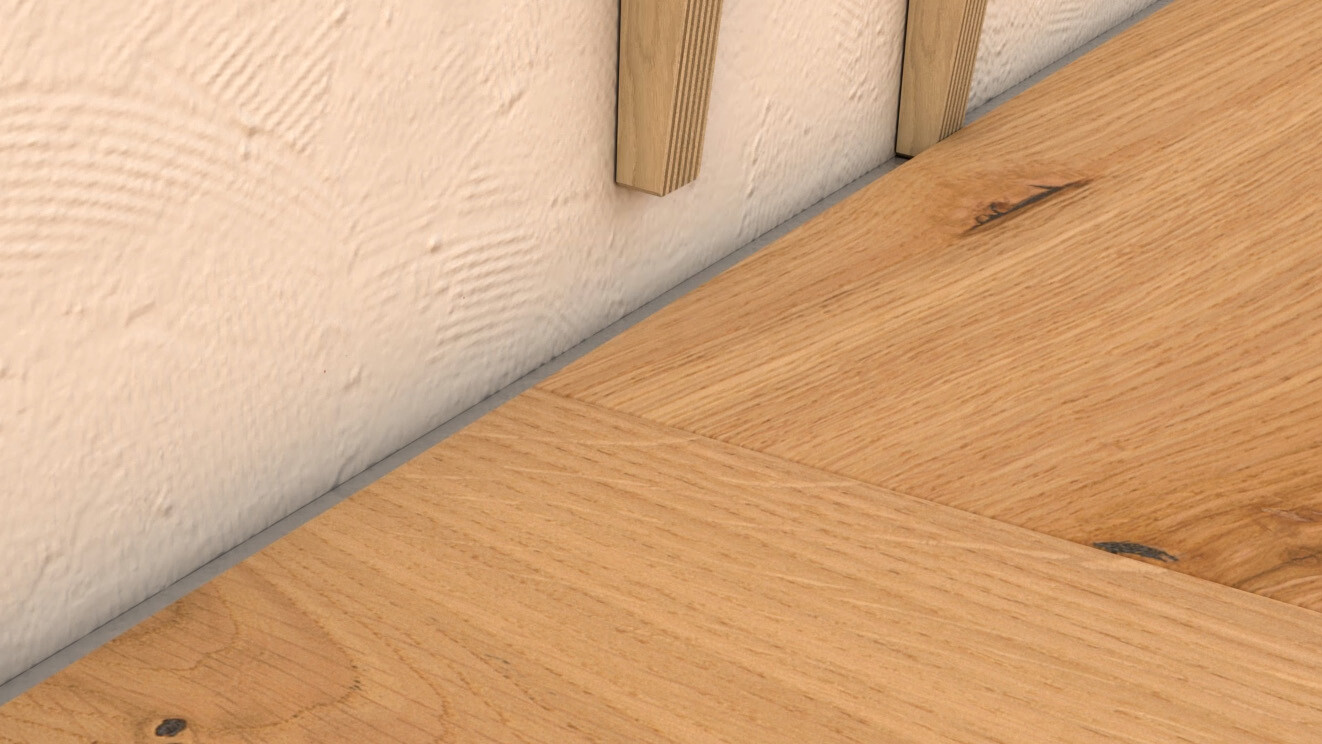
Remove the wooden wedges along the wall.
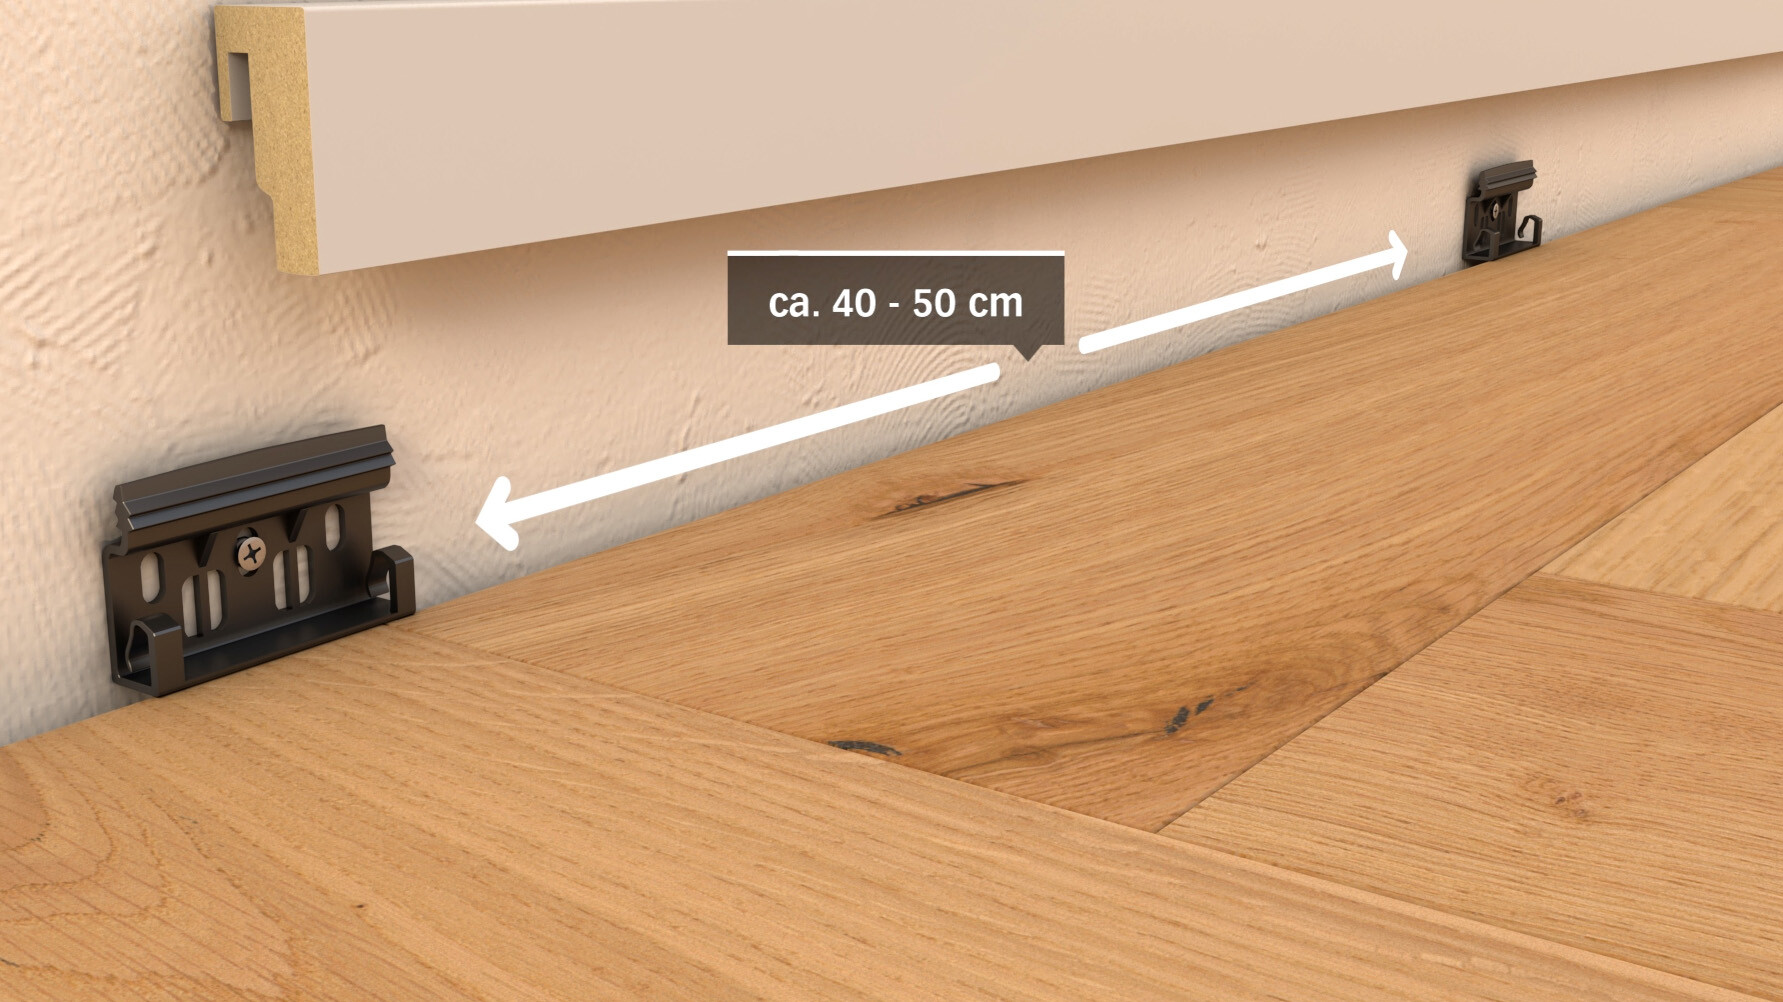
Screw the moulding clips to the wall at intervals of 40–50 cm. To ensure that the skirting board fits tightly, do not position it on an uneven wall.
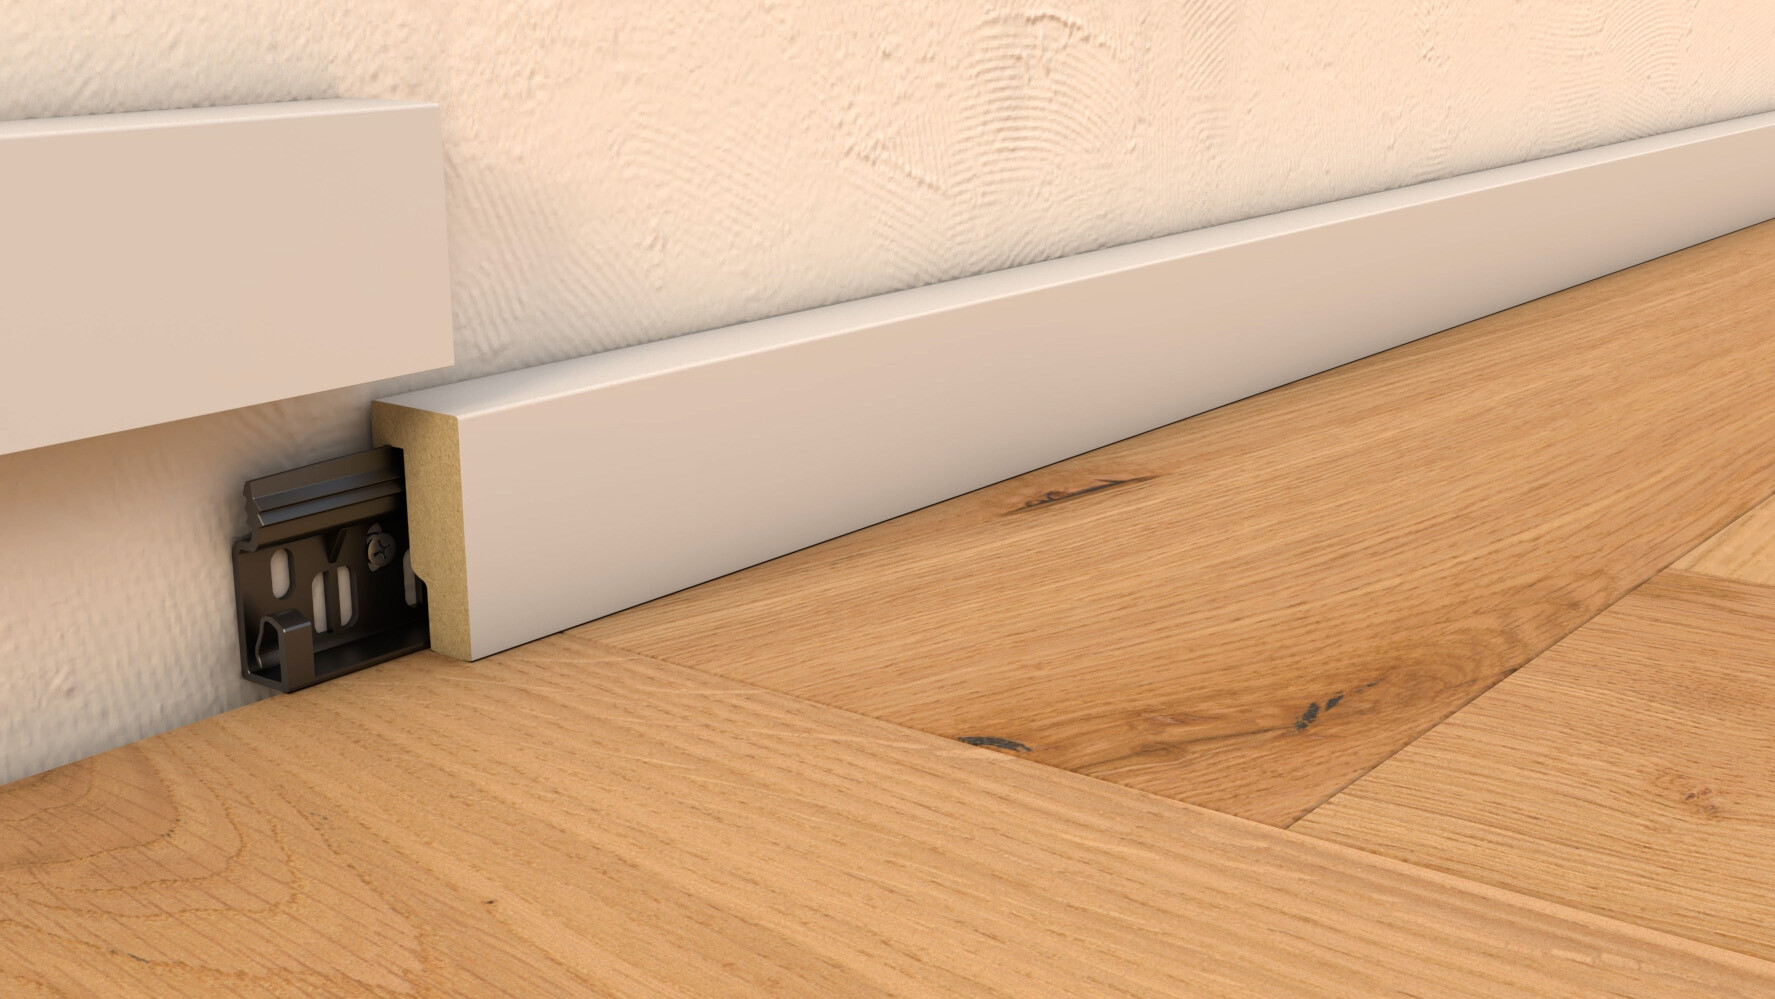
The moulding is placed on the clip from above and pressed down. For the length joints of the mouldings, the clip is placed on the joint with a half overlap to ensure a good hold. Please avoid bringing any silicon products into contact with the mouldings.