
The parquet flooring must acclimatise before laying: Store them unopened for approx. 48 hours (in winter 3–4 days) in the centre of the room in which you want to install the floor. The room temperature must be approx. 20°C (at least 15°C), and the relative humidity must be approx. 30–65%.
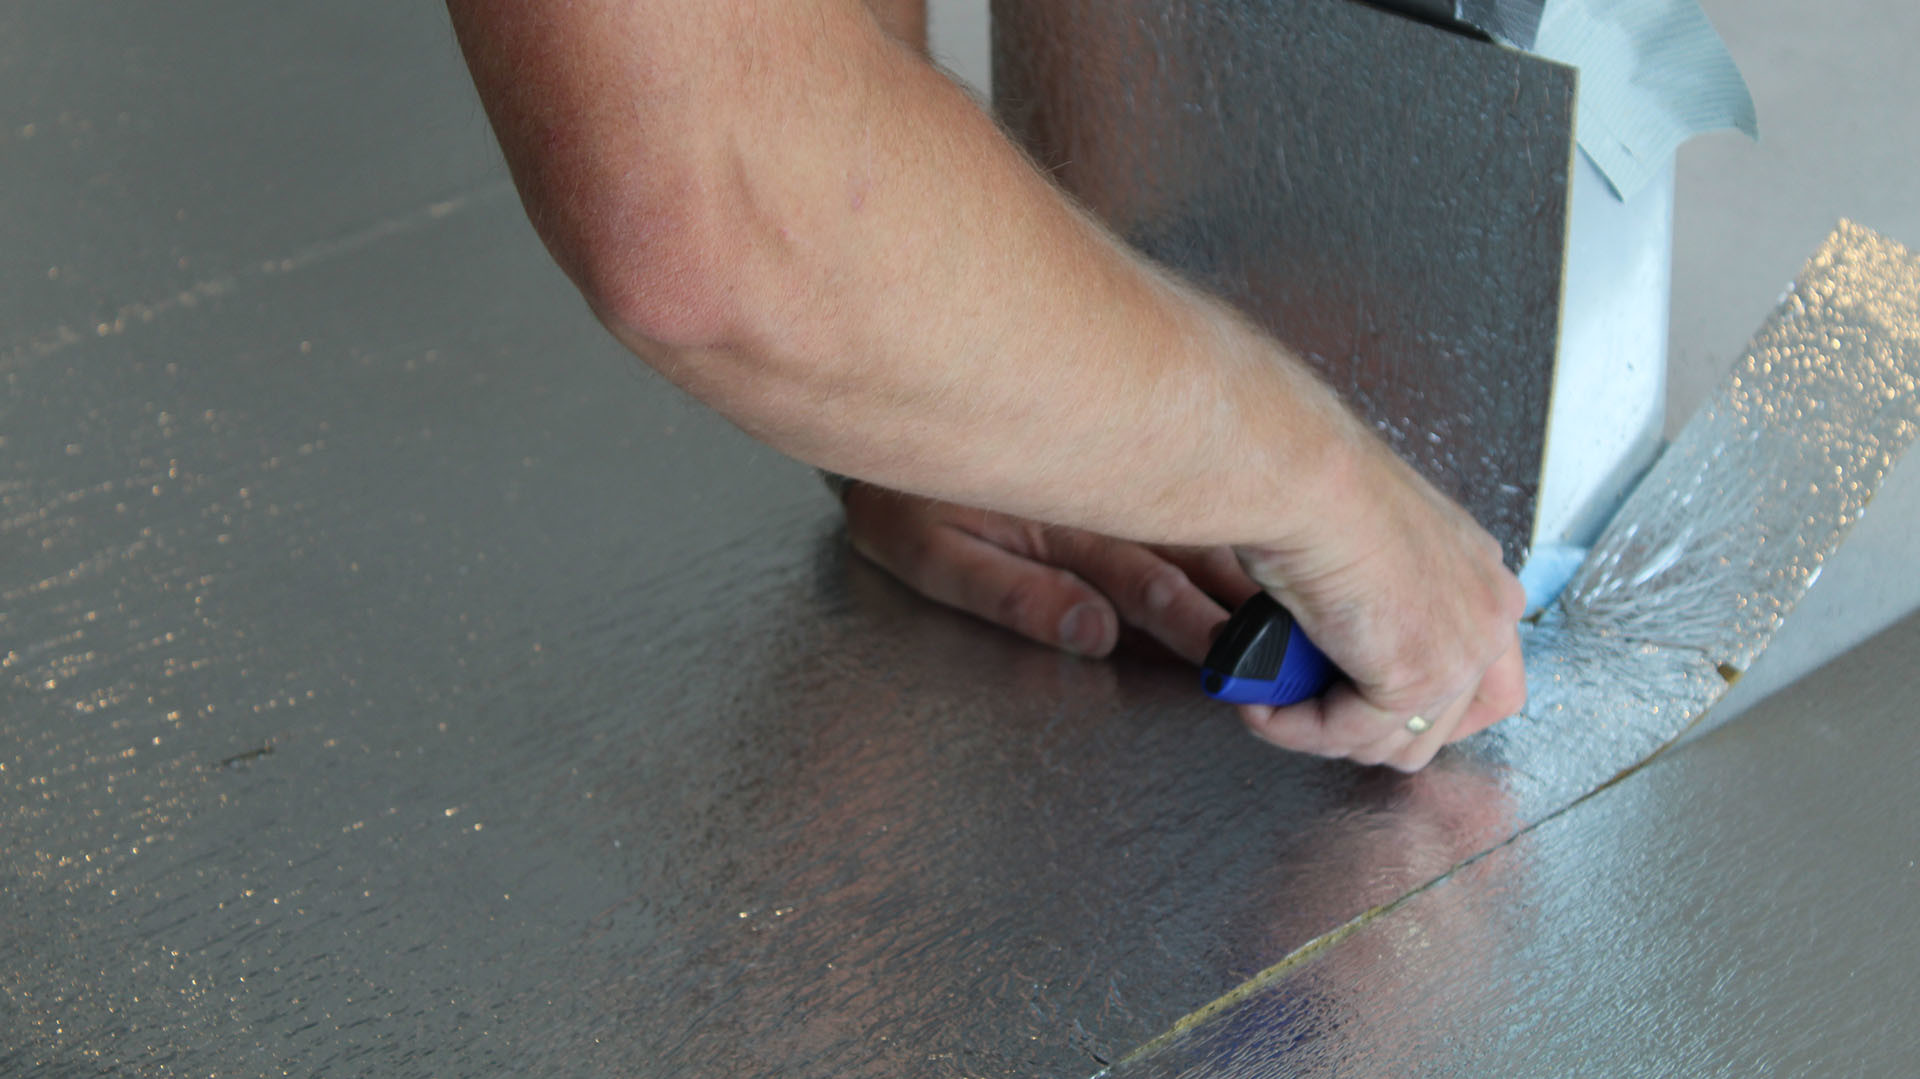
The subfloor must be dry, even, firm and clean. The residual humidity, measured using the CM method, of mineral subfloors must be no more than 2 percent (1.8 percent for underfloor heating) and that of anhydrite screeds must be a maximum of 0.5 percent (0.3 percent for underfloor heating). Any subfloor unevenness of three or more millimetres for each initial metre and two or more millimetres for each subsequent continuous metre must be evened out.
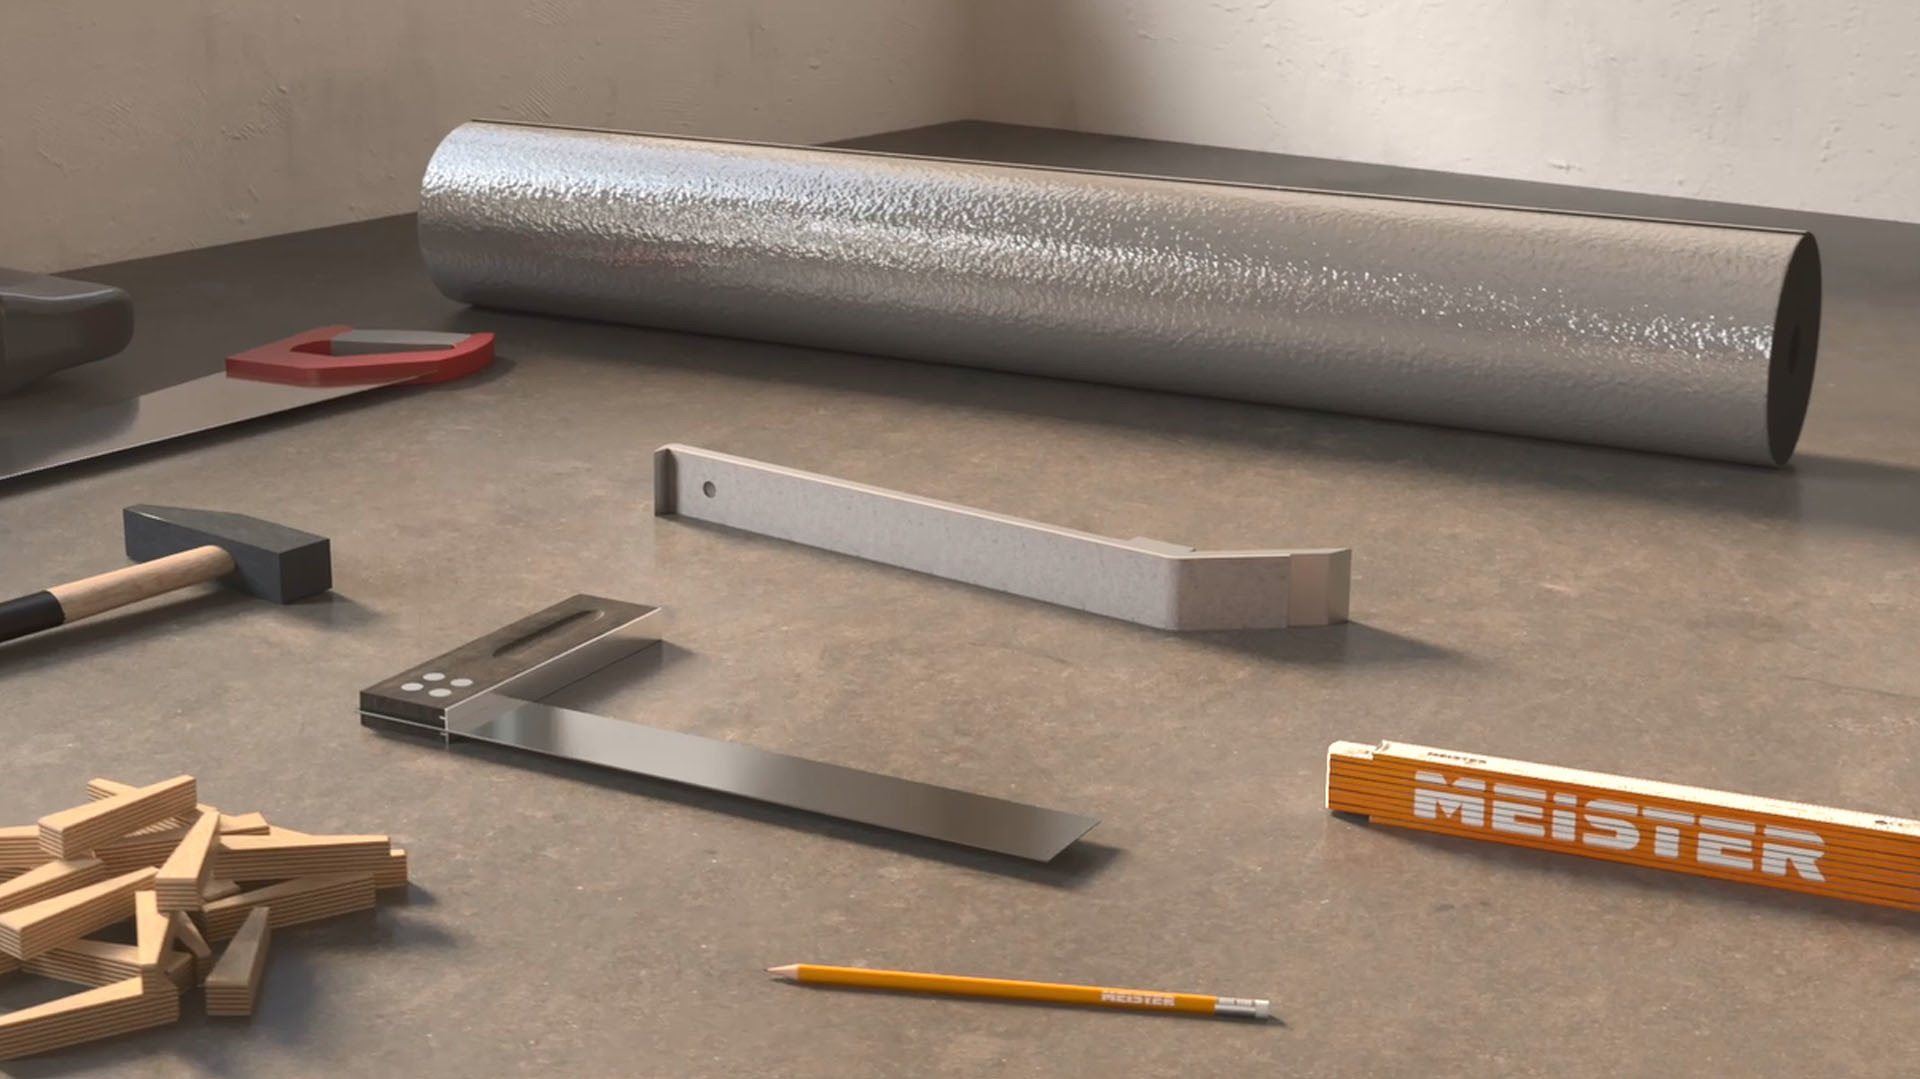
You should apply a suitable sound-absorbing cushion prior to laying your parquet flooring. This not only reduces sound in the room on the floor below, but also the footfall noise in the room itself. Additionally, a high quality sound cushioning underlay can be used to offset an uneven floor, providing maximum stability and extra comfort as you walk. The underlay required for your parquet flooring depends on the properties of the subfloor.
If the floor area is longer or wider than 10m, you must provide an expansion joint. Cover this with a transition profile. It is also important to provide these joints between two adjacent rooms, in doorways, passageways and rooms with a lot of angles. Always use a jointing profile for clean transitions to adjacent, lower areas or floor coverings and an end profile next to higher adjacent thresholds, tiles or the like. Give stairs a clean finish with the stair edge profile.
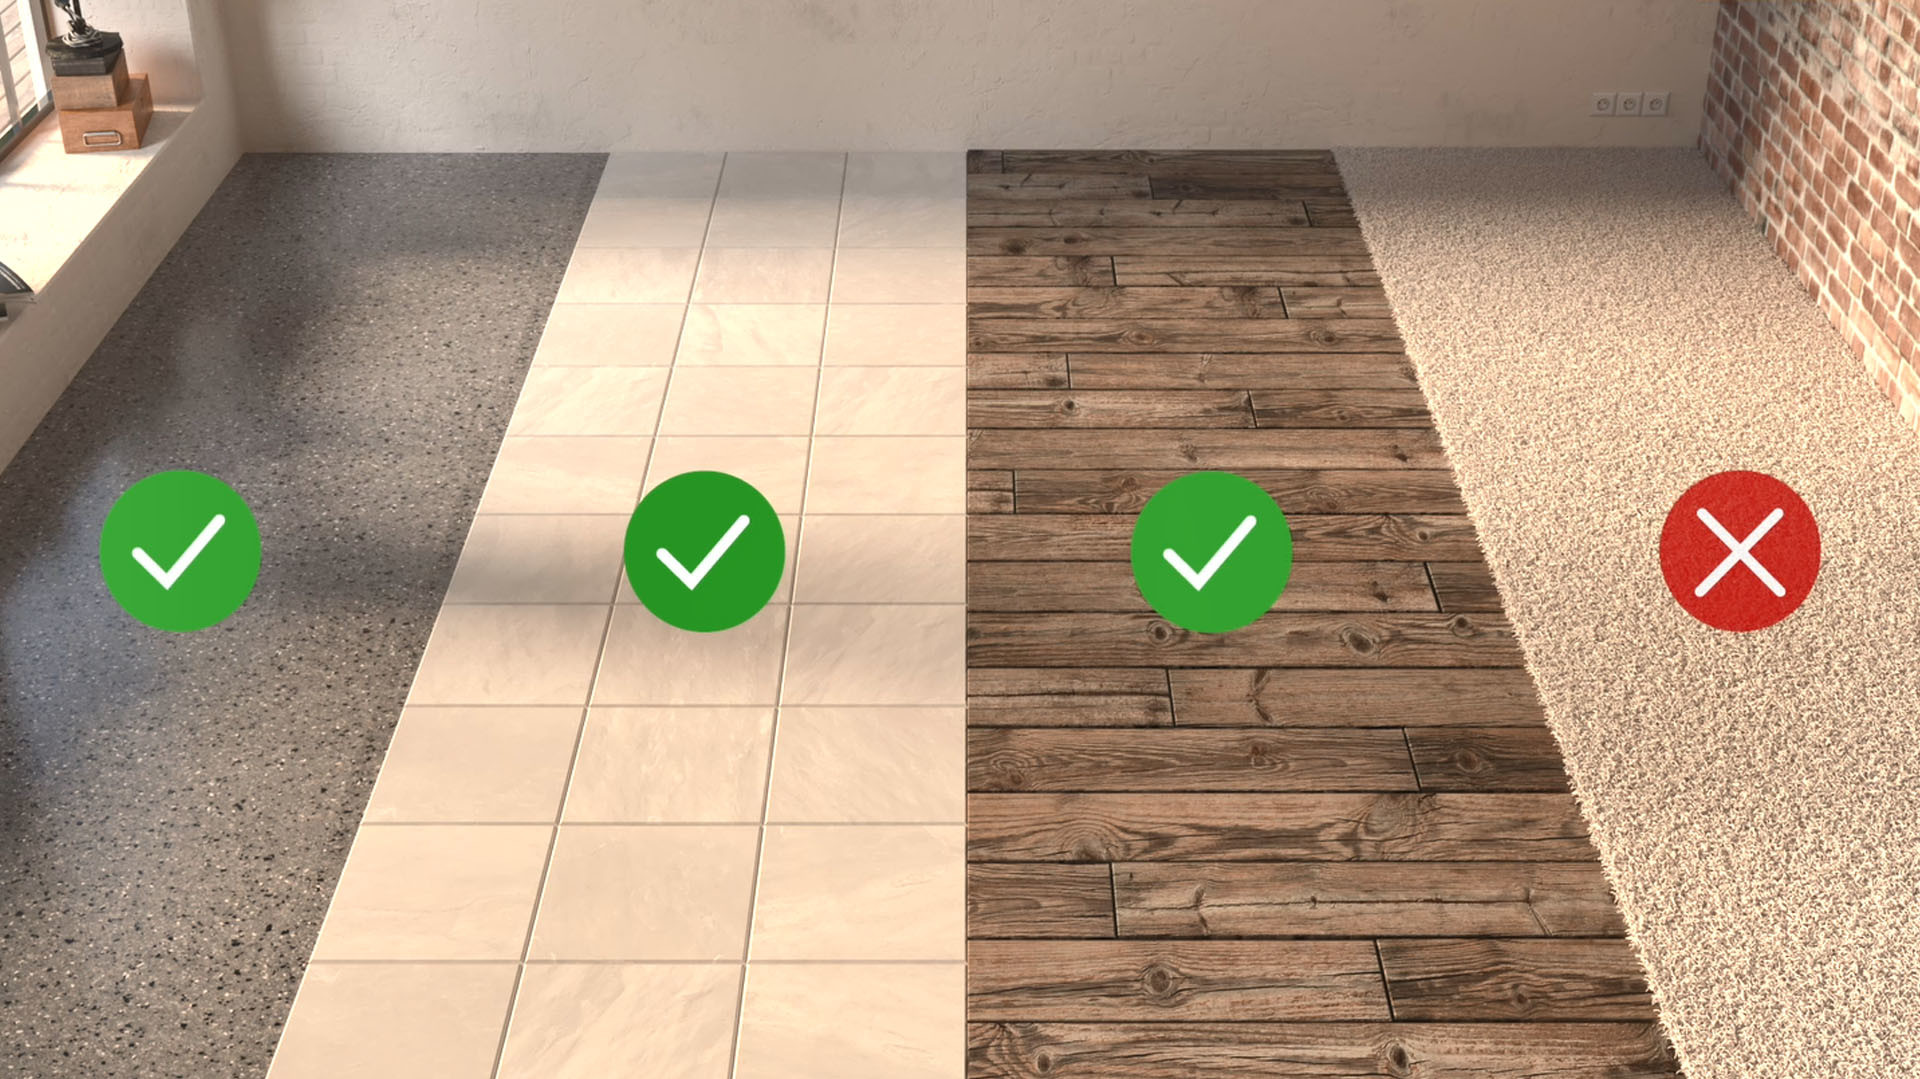
Additionally, you can install MEISTER flooring on existing floors (plastic/ceramic tiles/stone) as long as they are glued on firmly. For hygienic reasons and on account of its instability, we don’t recommend installing the floor on carpet.
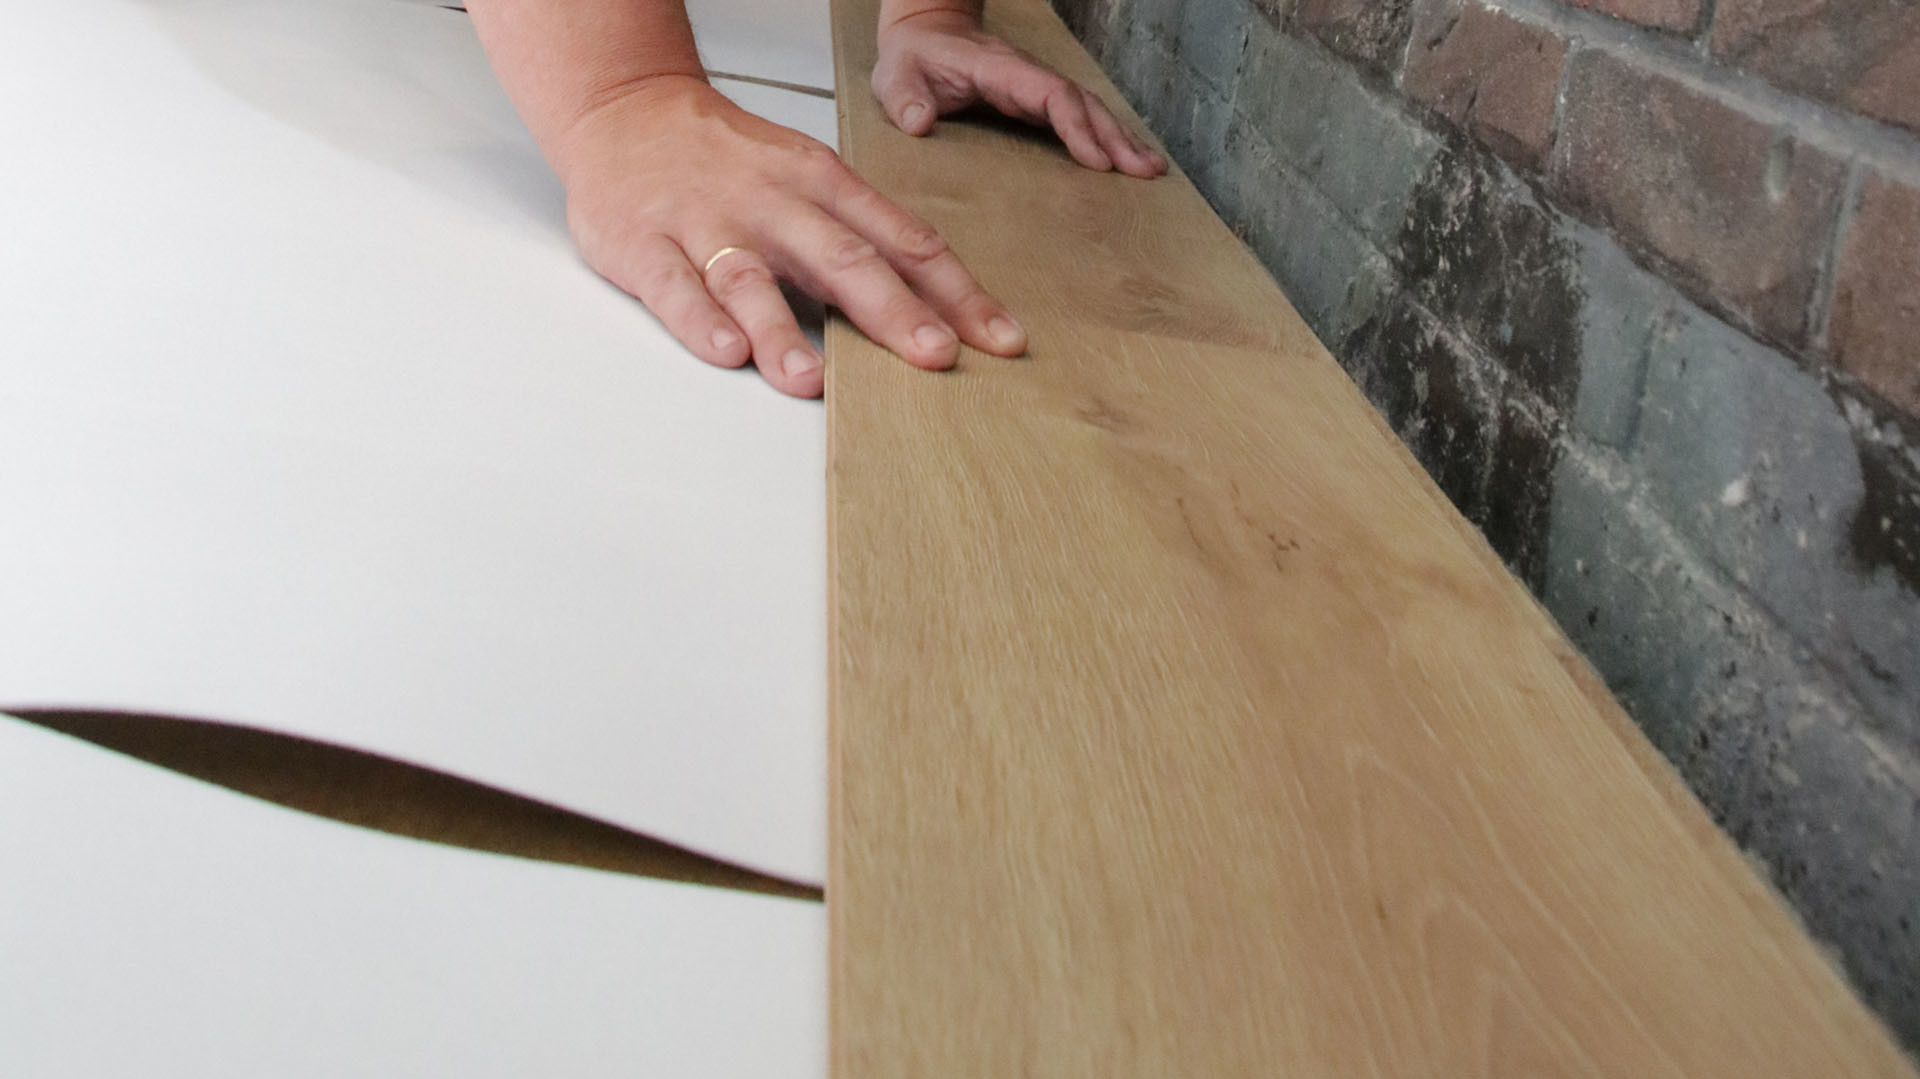
Start by laying the first complete plank in the left-hand corner of the room with the tongue sides facing the wall.
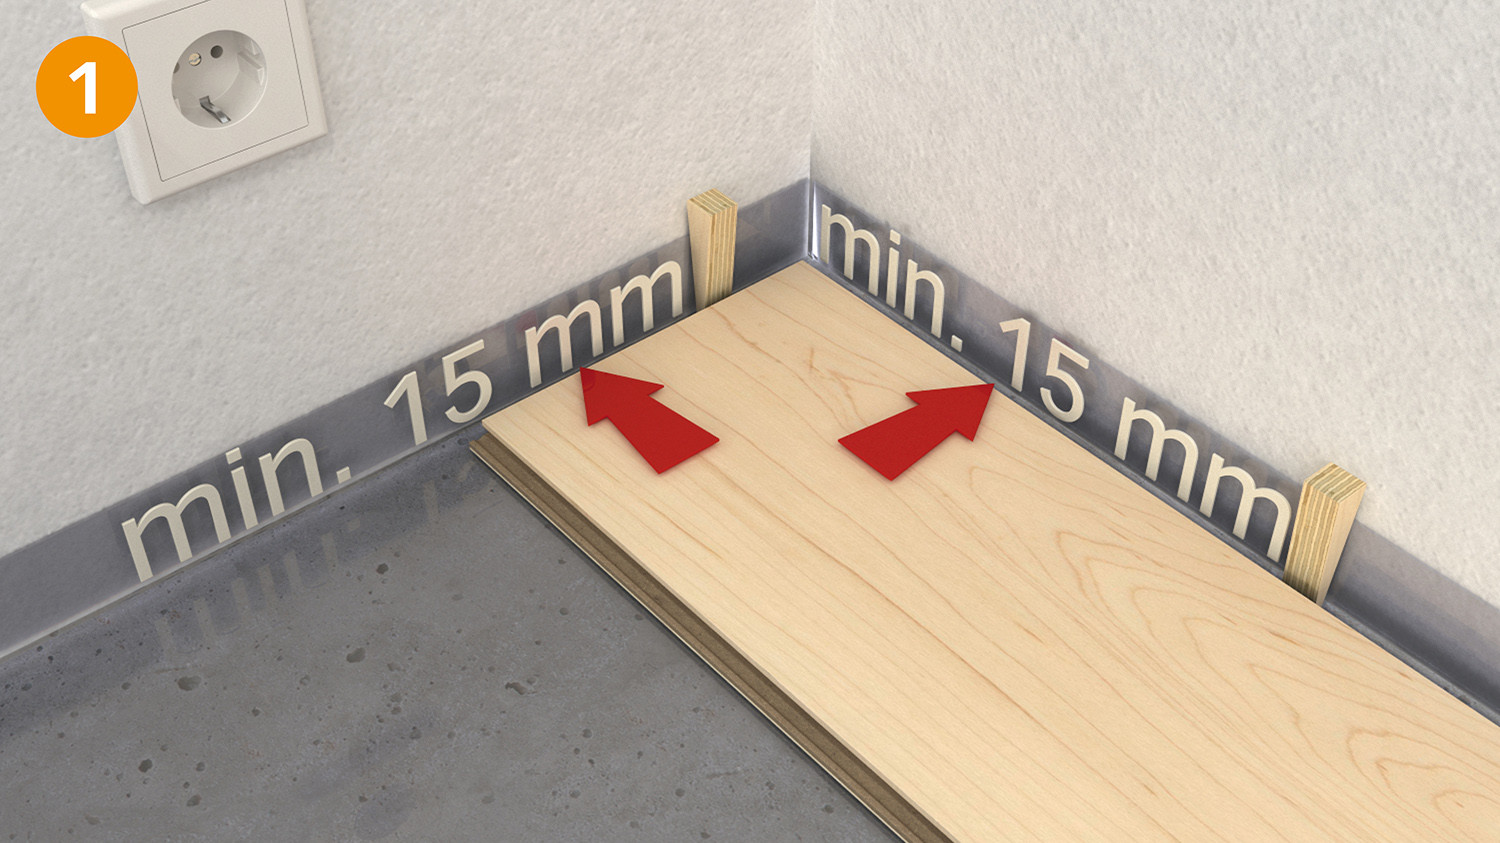
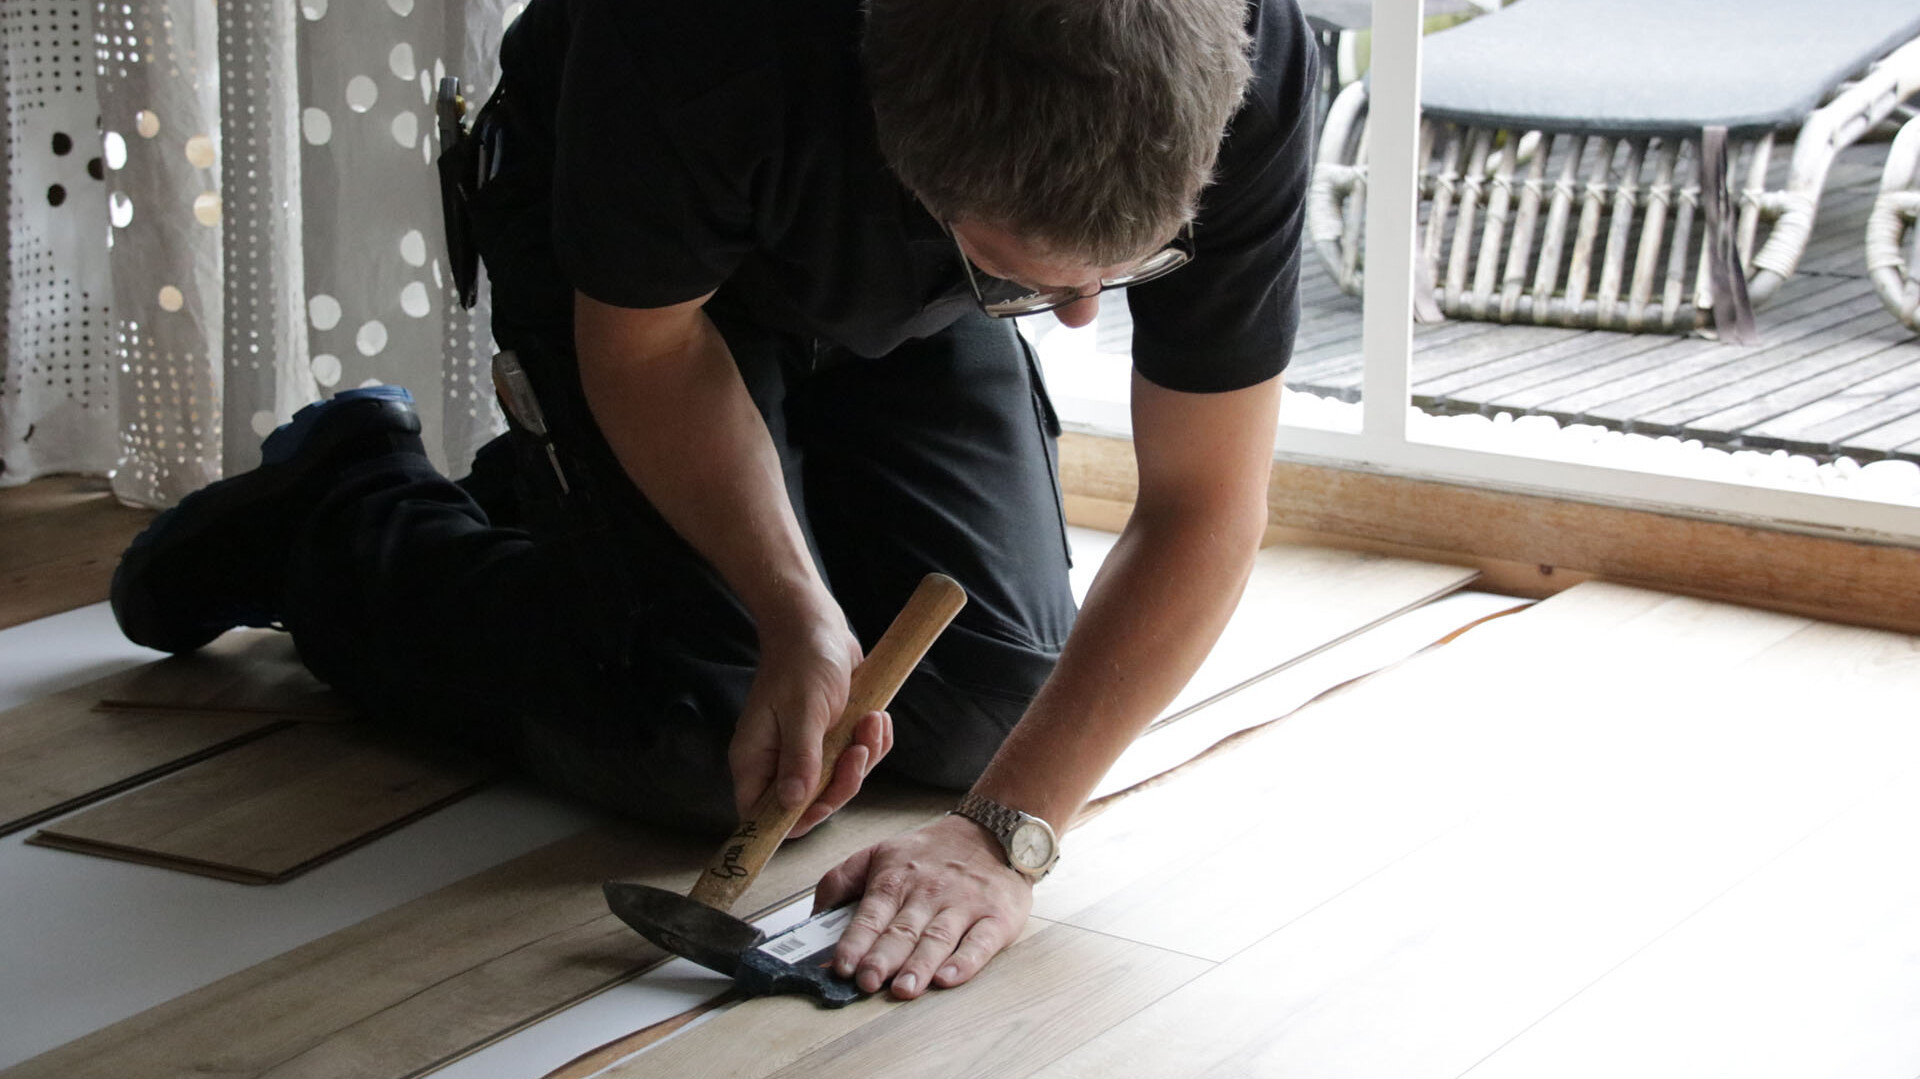
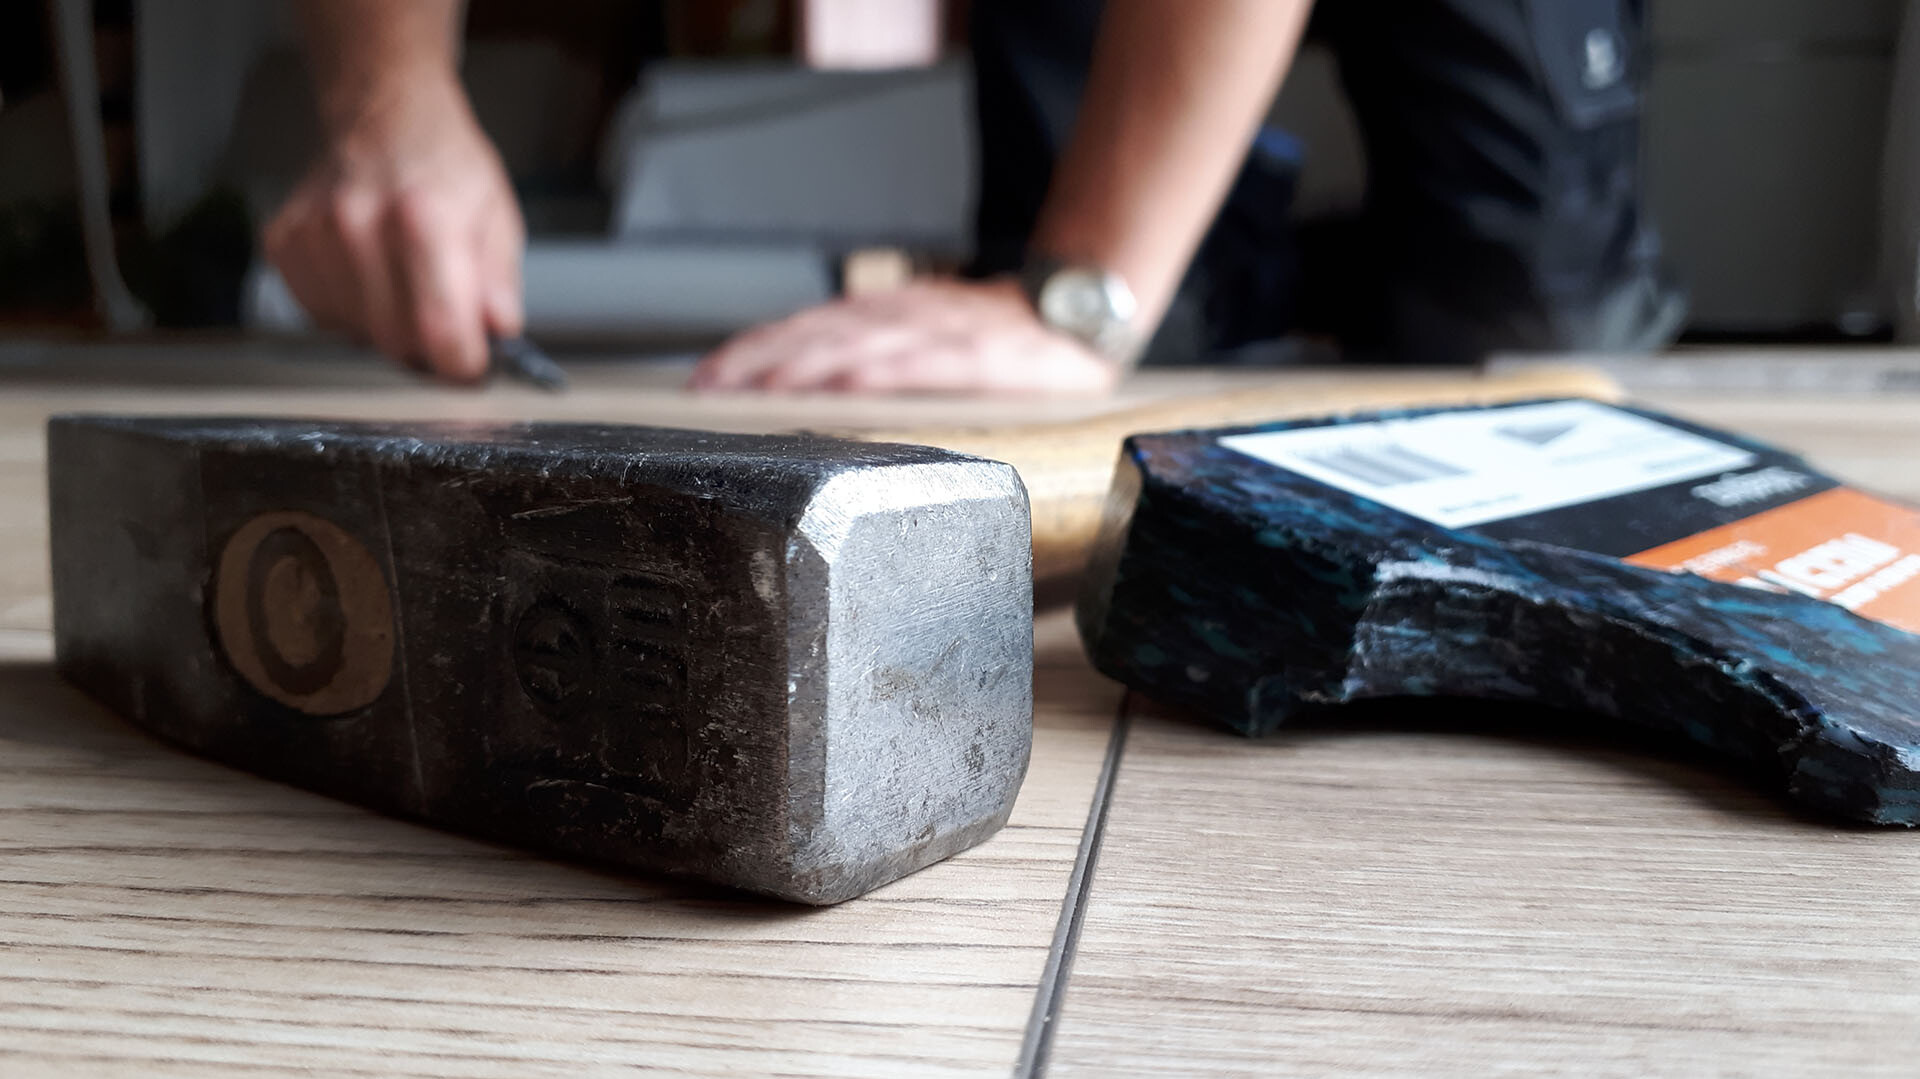
Remove only the tongues on the long sides of all the other planks you want to lay in the first row. Using the wedges you can easily maintain a gap of at least 15 millimetres to the wall. This is necessary as the wood in the ready-made parquet must ‘work’, i.e. it expands minimally and then contracts. The wall gap thus gives the wood the necessary space for this process.
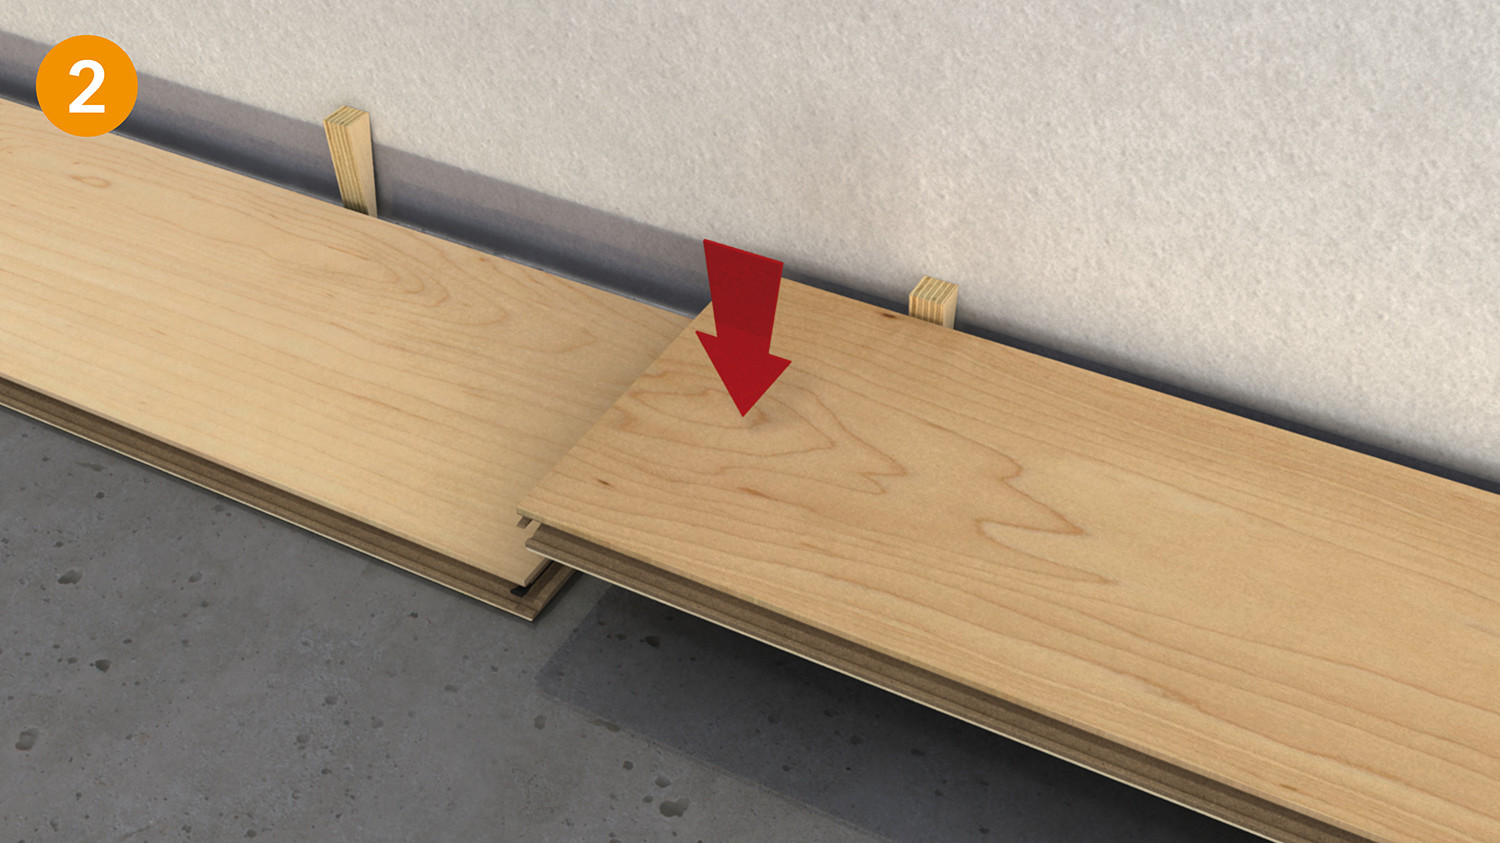
Insert the head end of the next complete plank into plank no. 1 (Fig. 2). Lay the other planks in this row in the same way across the entire width of the room.
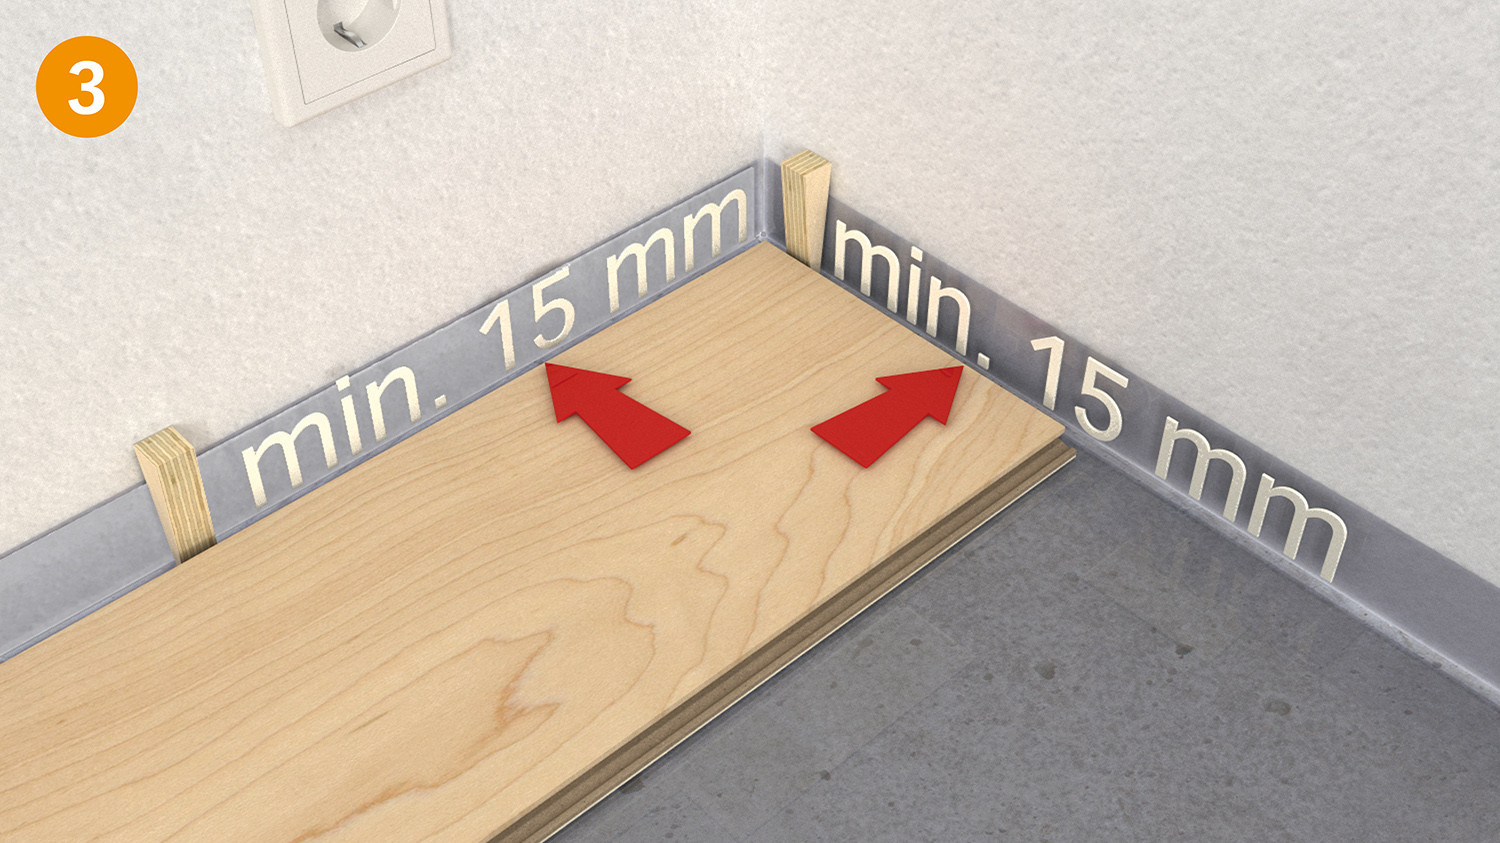
Cut the last plank in each row so that you leave another gap of at least 15 mm to the wall (fig. 3). You can use cut-off pieces of planks, as long as they are at least 40 centimetres long, to start subsequent rows.
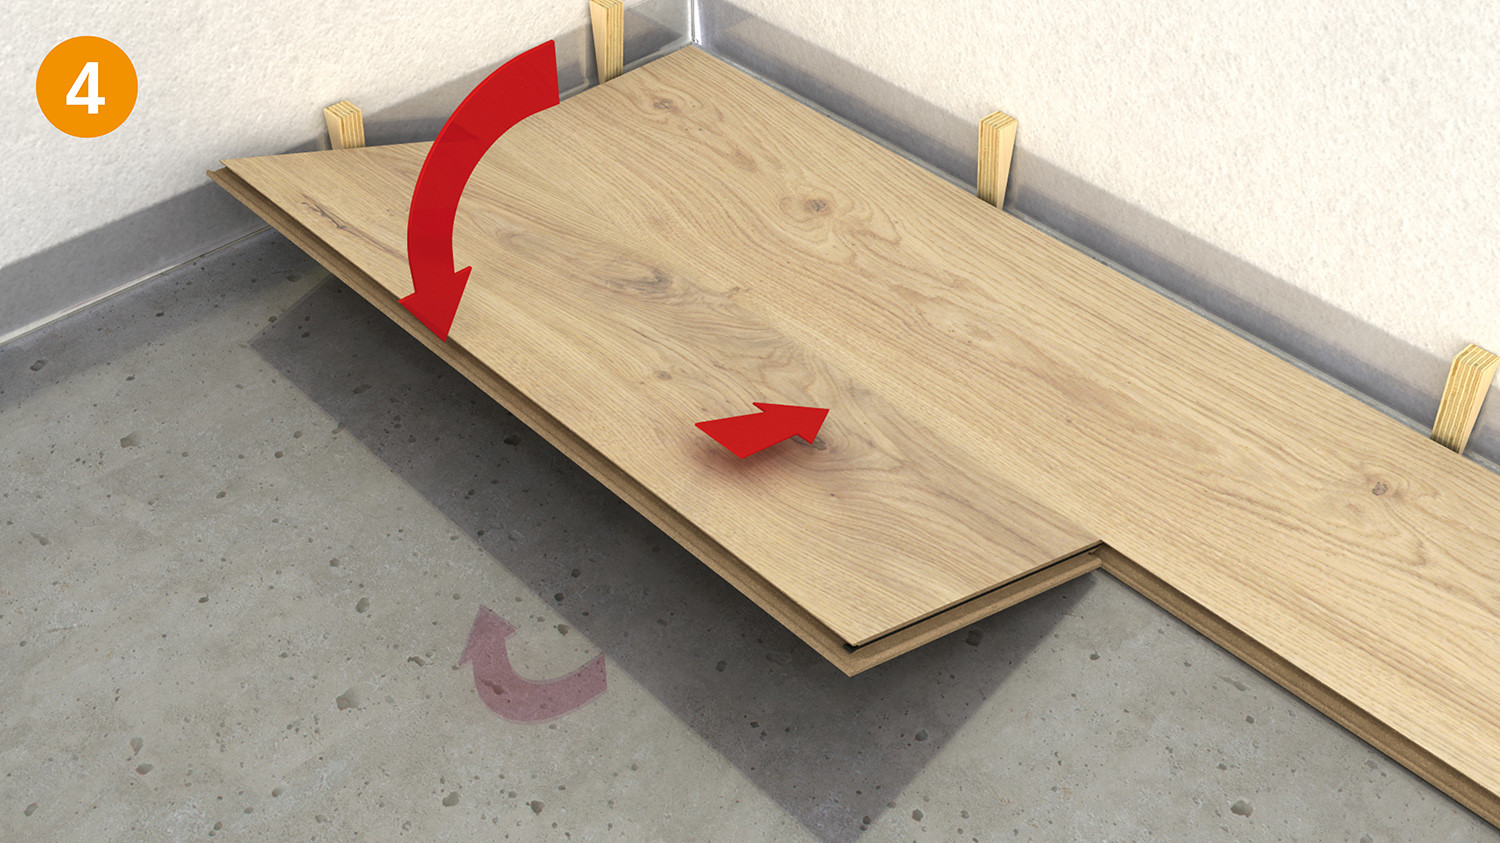
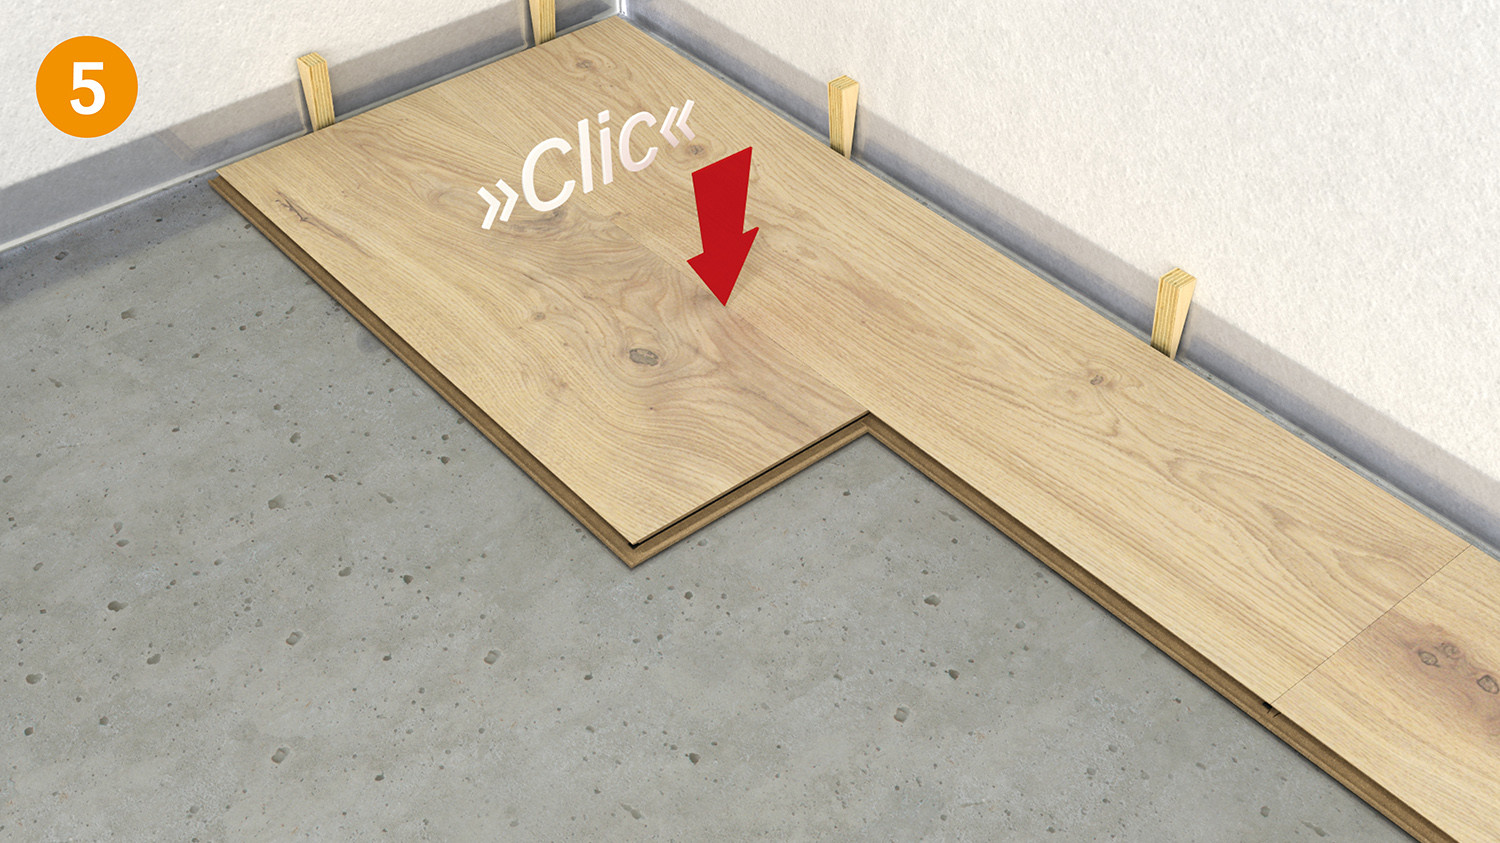
Make sure that the planks in the first row are straight. Cut the first plank of the second row down to approx. 80cm. Fix this plank upright with the tongue as far as possible into the groove on the groove side of the previous row of planks and press the plank down slowly, using a forward and downward turning motion (fig. 4). The plank should lock into the previously laid row (fig. 5).
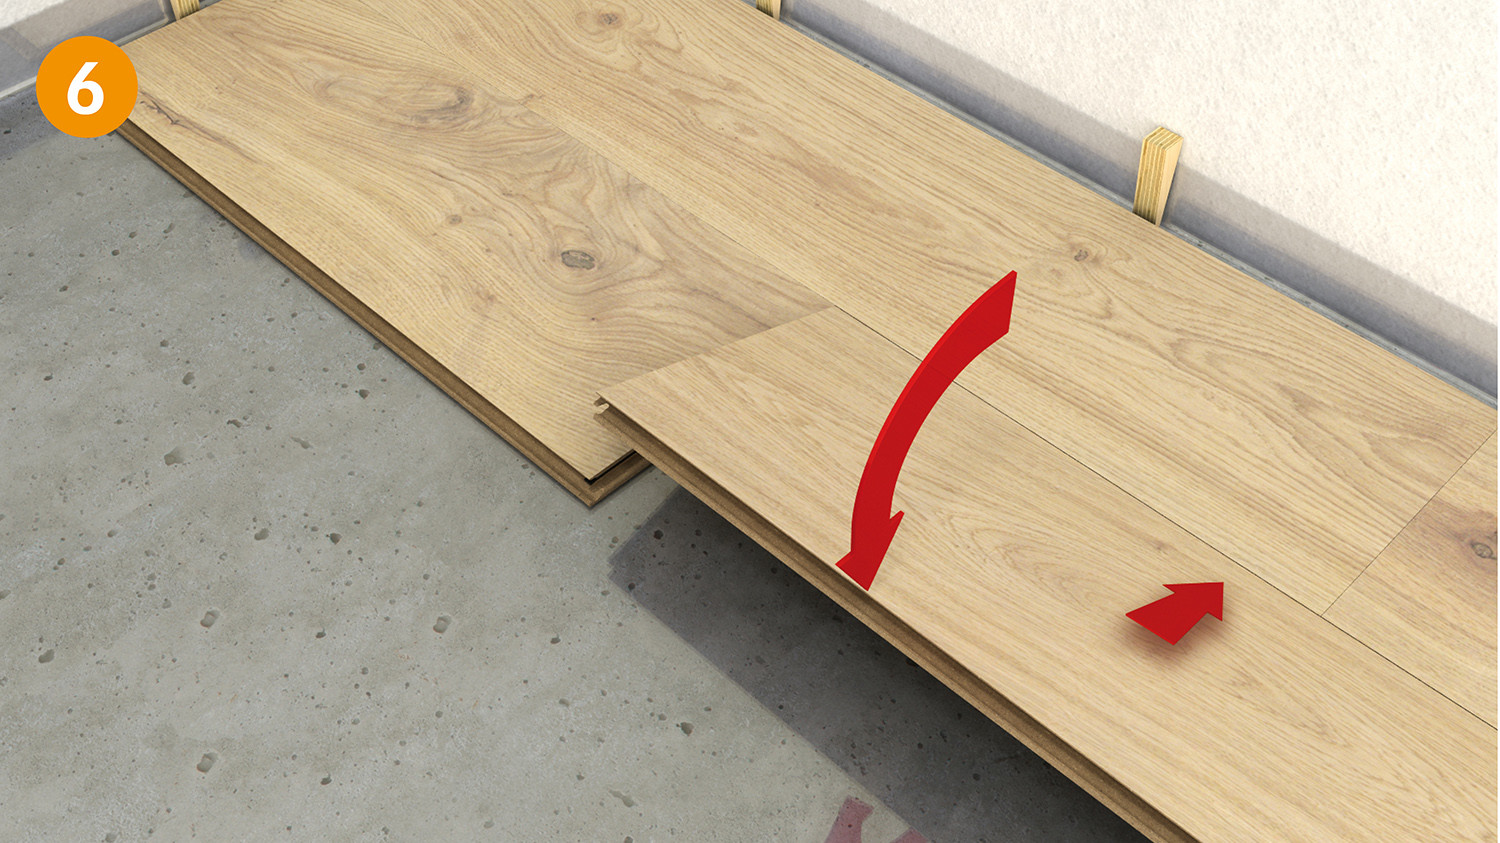
Similarly, the next complete plank is turned into the click connection on the long side and the head end pushed tight against the previous plank before it is lowered. Then press the plank down slowly, using a forward and downward turning motion (fig. 6). The plank must lock into the row previously laid and the end joint must fit tightly into the previous plank.
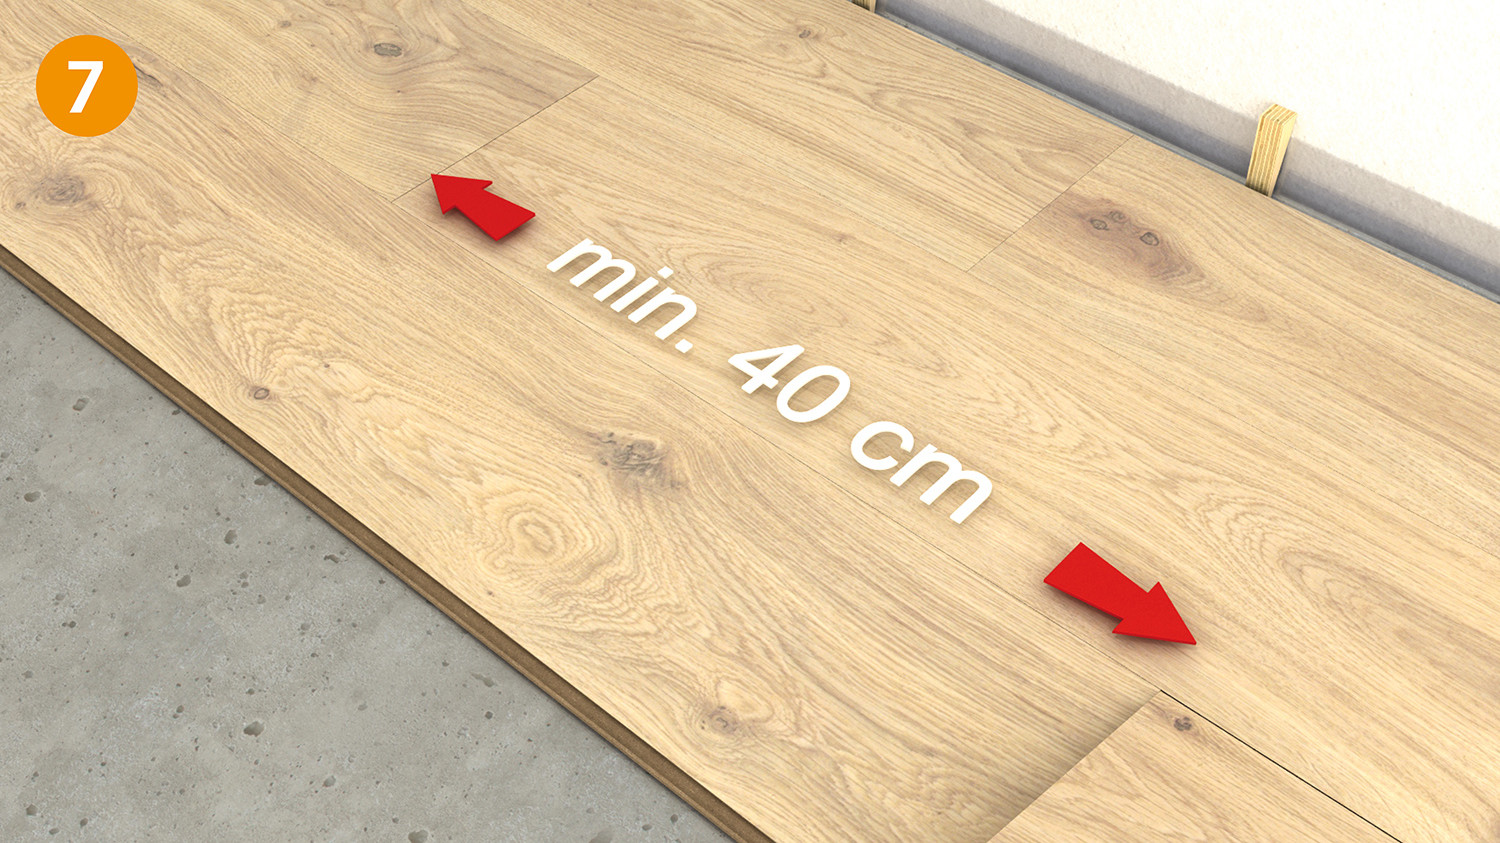
Install the whole area row by row in this way. Remember that the end joints must be offset by at least 40cm (fig. 7).
To cut the last row to size, use a spare piece of plank and draw the remaining plank width on it (leaving at least another 15 mm gap to the wall).
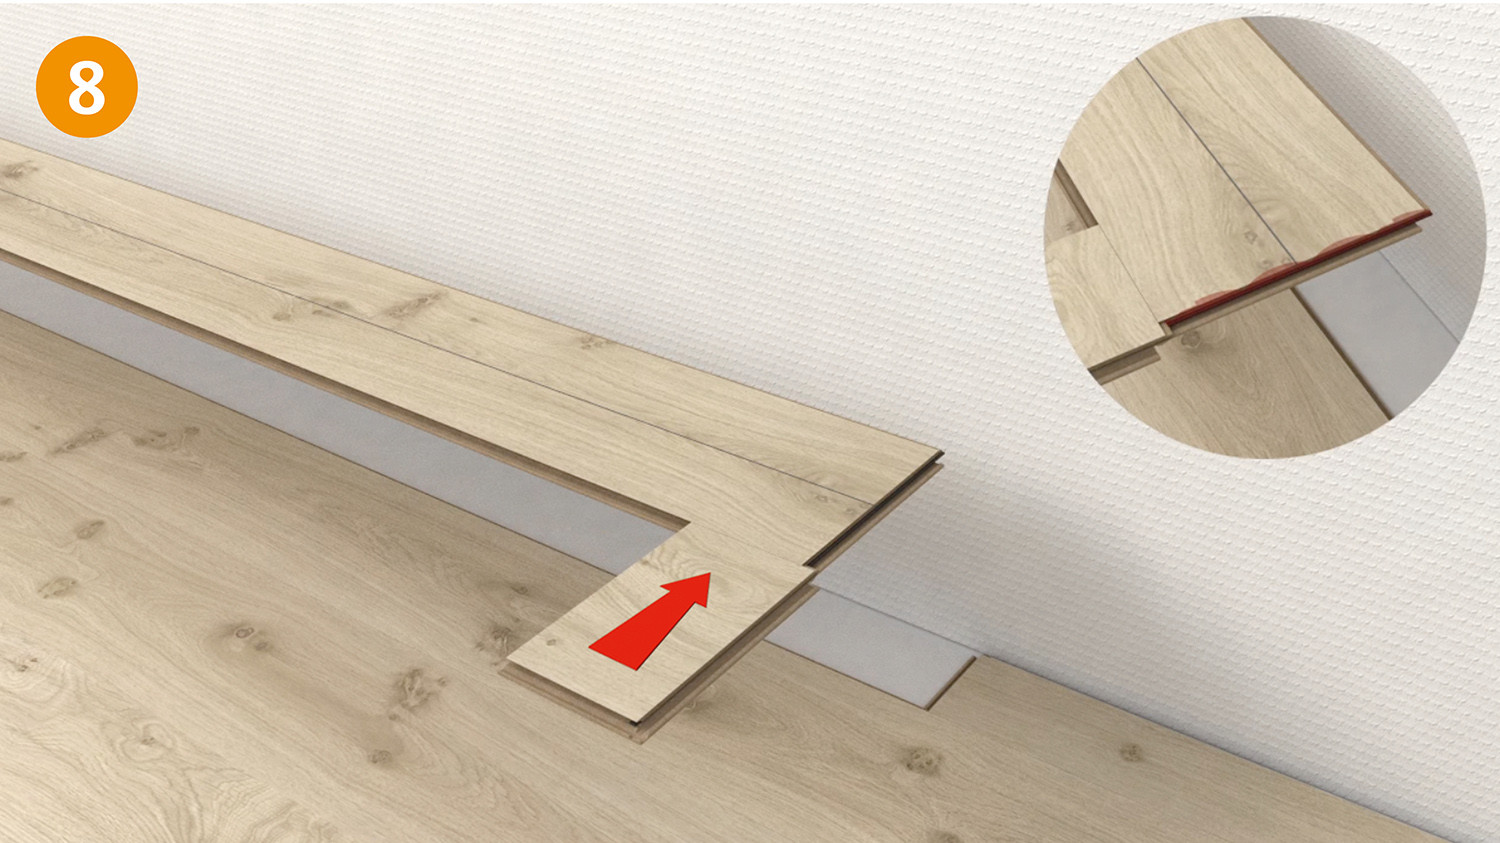
Taking the plank marked for width, push the plastic end tongue forward out of the end groove with the aid of a spare piece of plank (fig. 8).
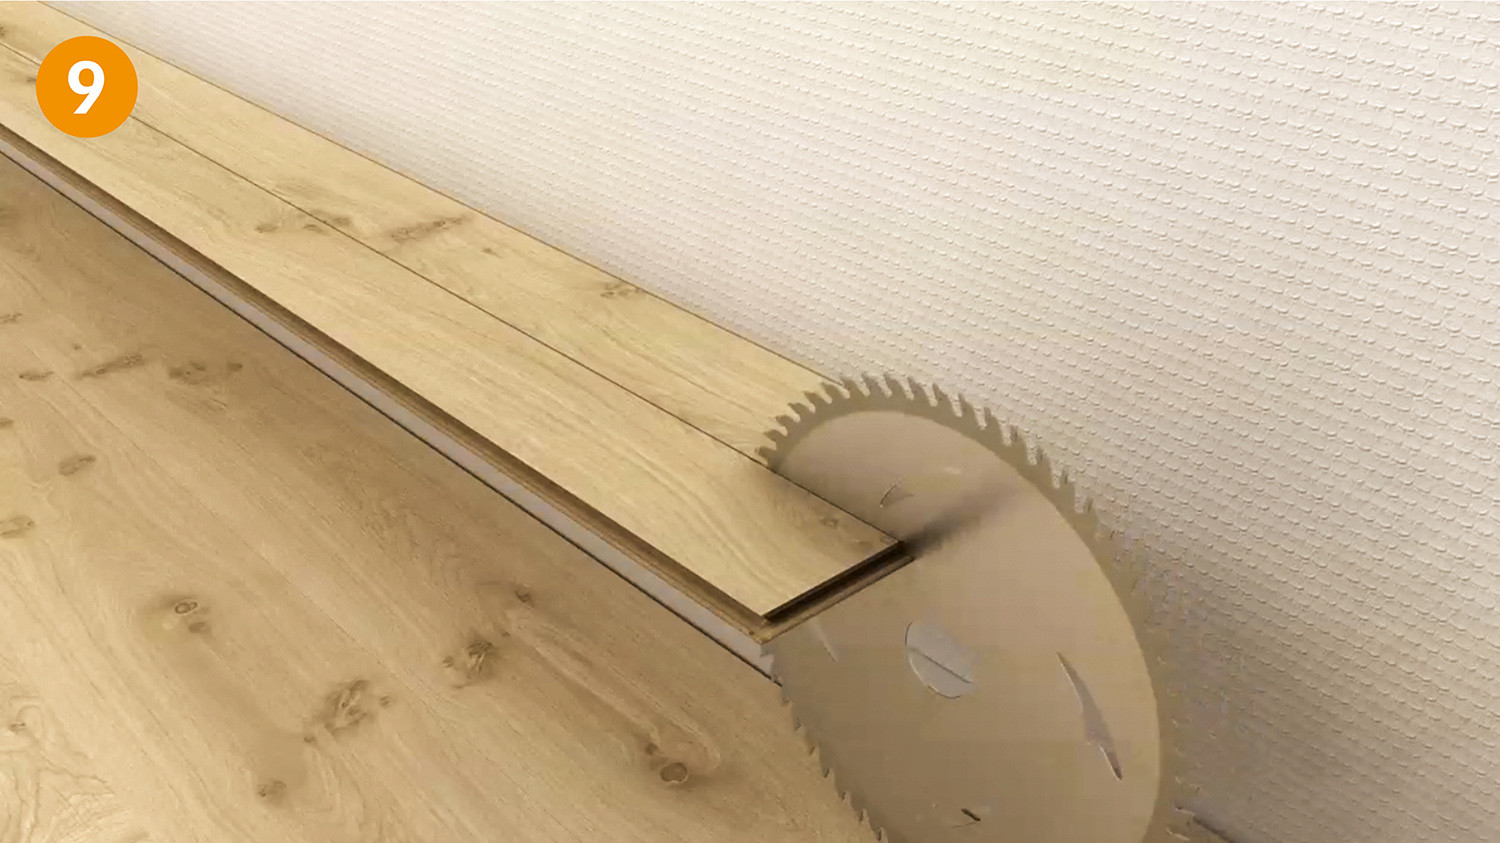
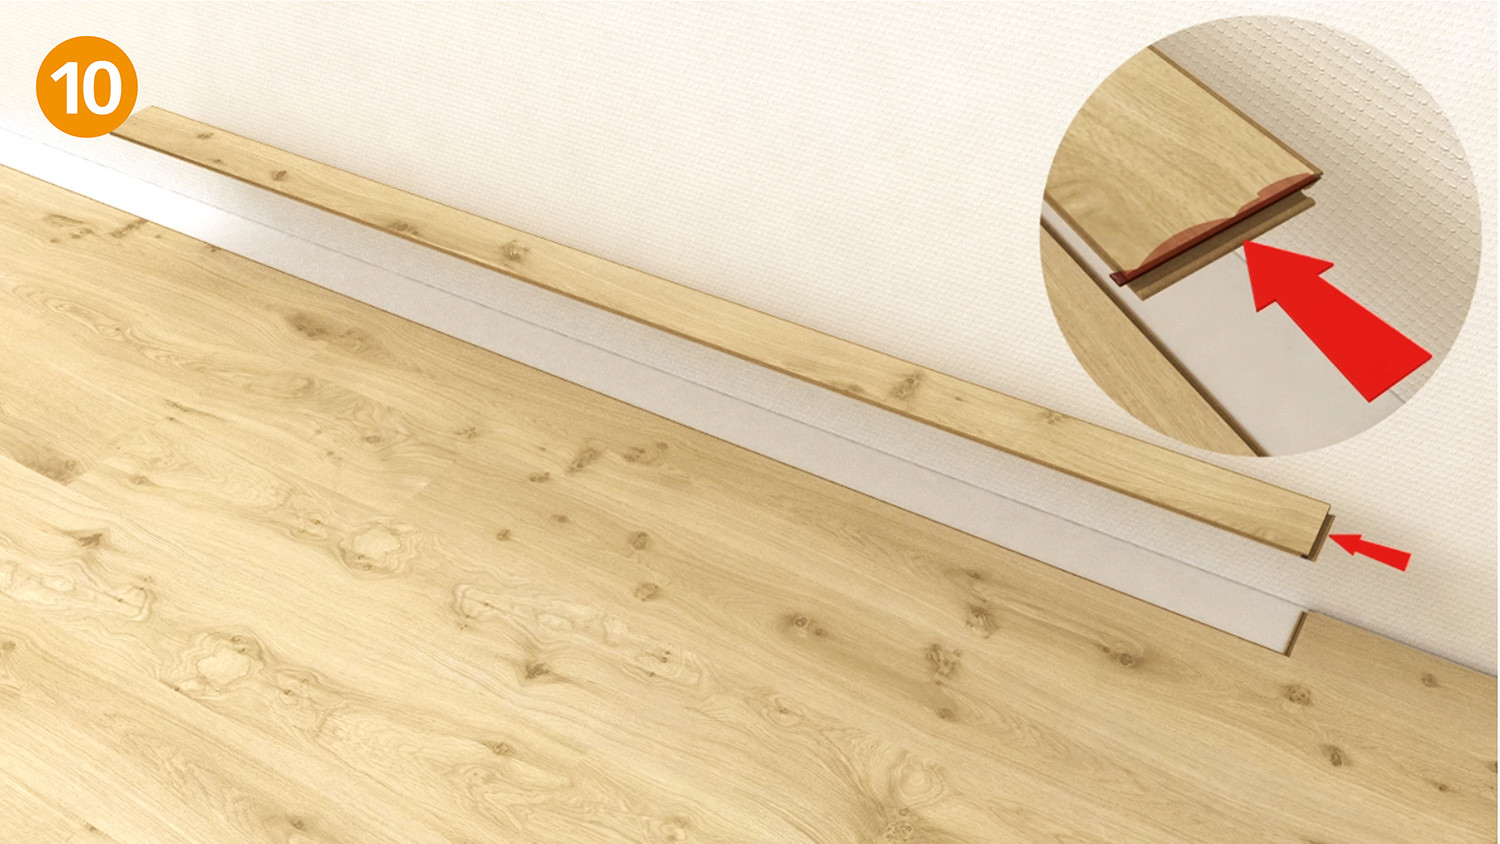
Begin cutting the plank to size at the end of the plastic tongue (fig. 9). After the plank has been cut to size, push the plastic tongue on the end back into the end groove (fig. 10).
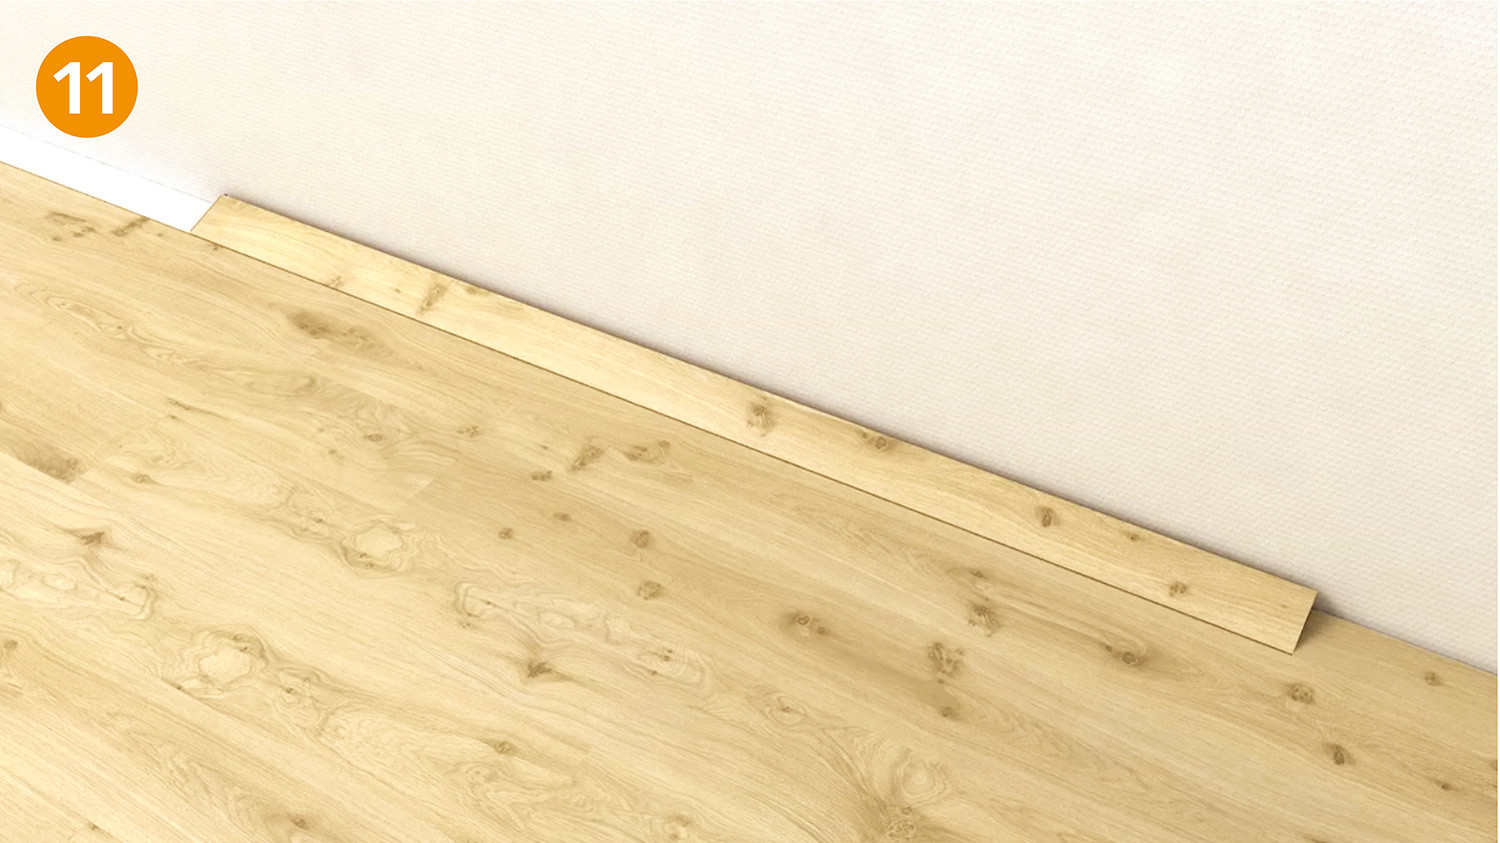
Begin laying the last row in the right hand corner of the room (leaving at least a 15mm gap to the wall) and angle the sides of the plank into the second-last row. The next plank is pivoted in the same way and lowered down at the end (fig. 11).
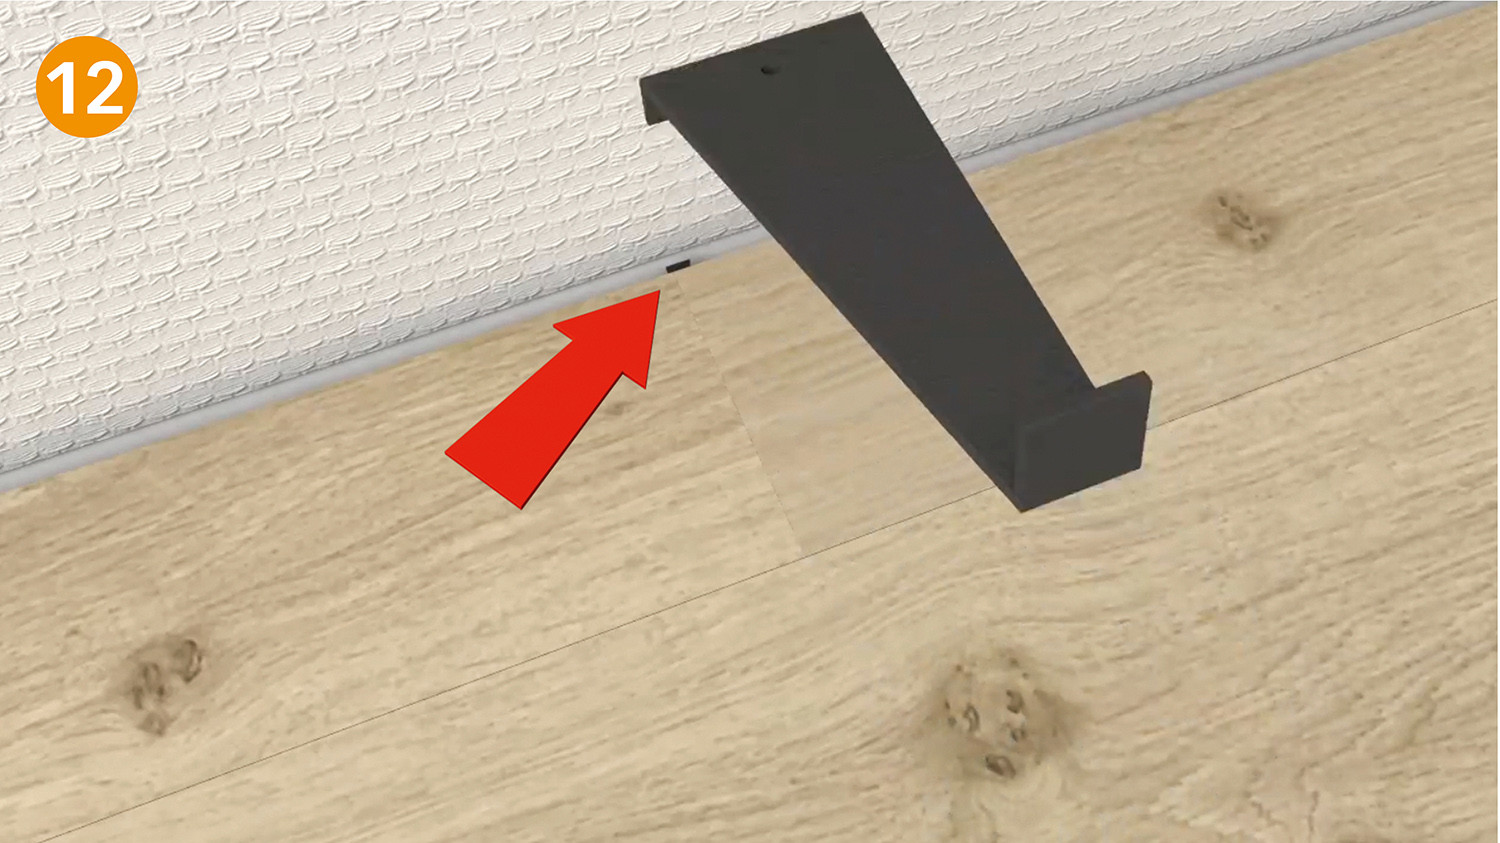
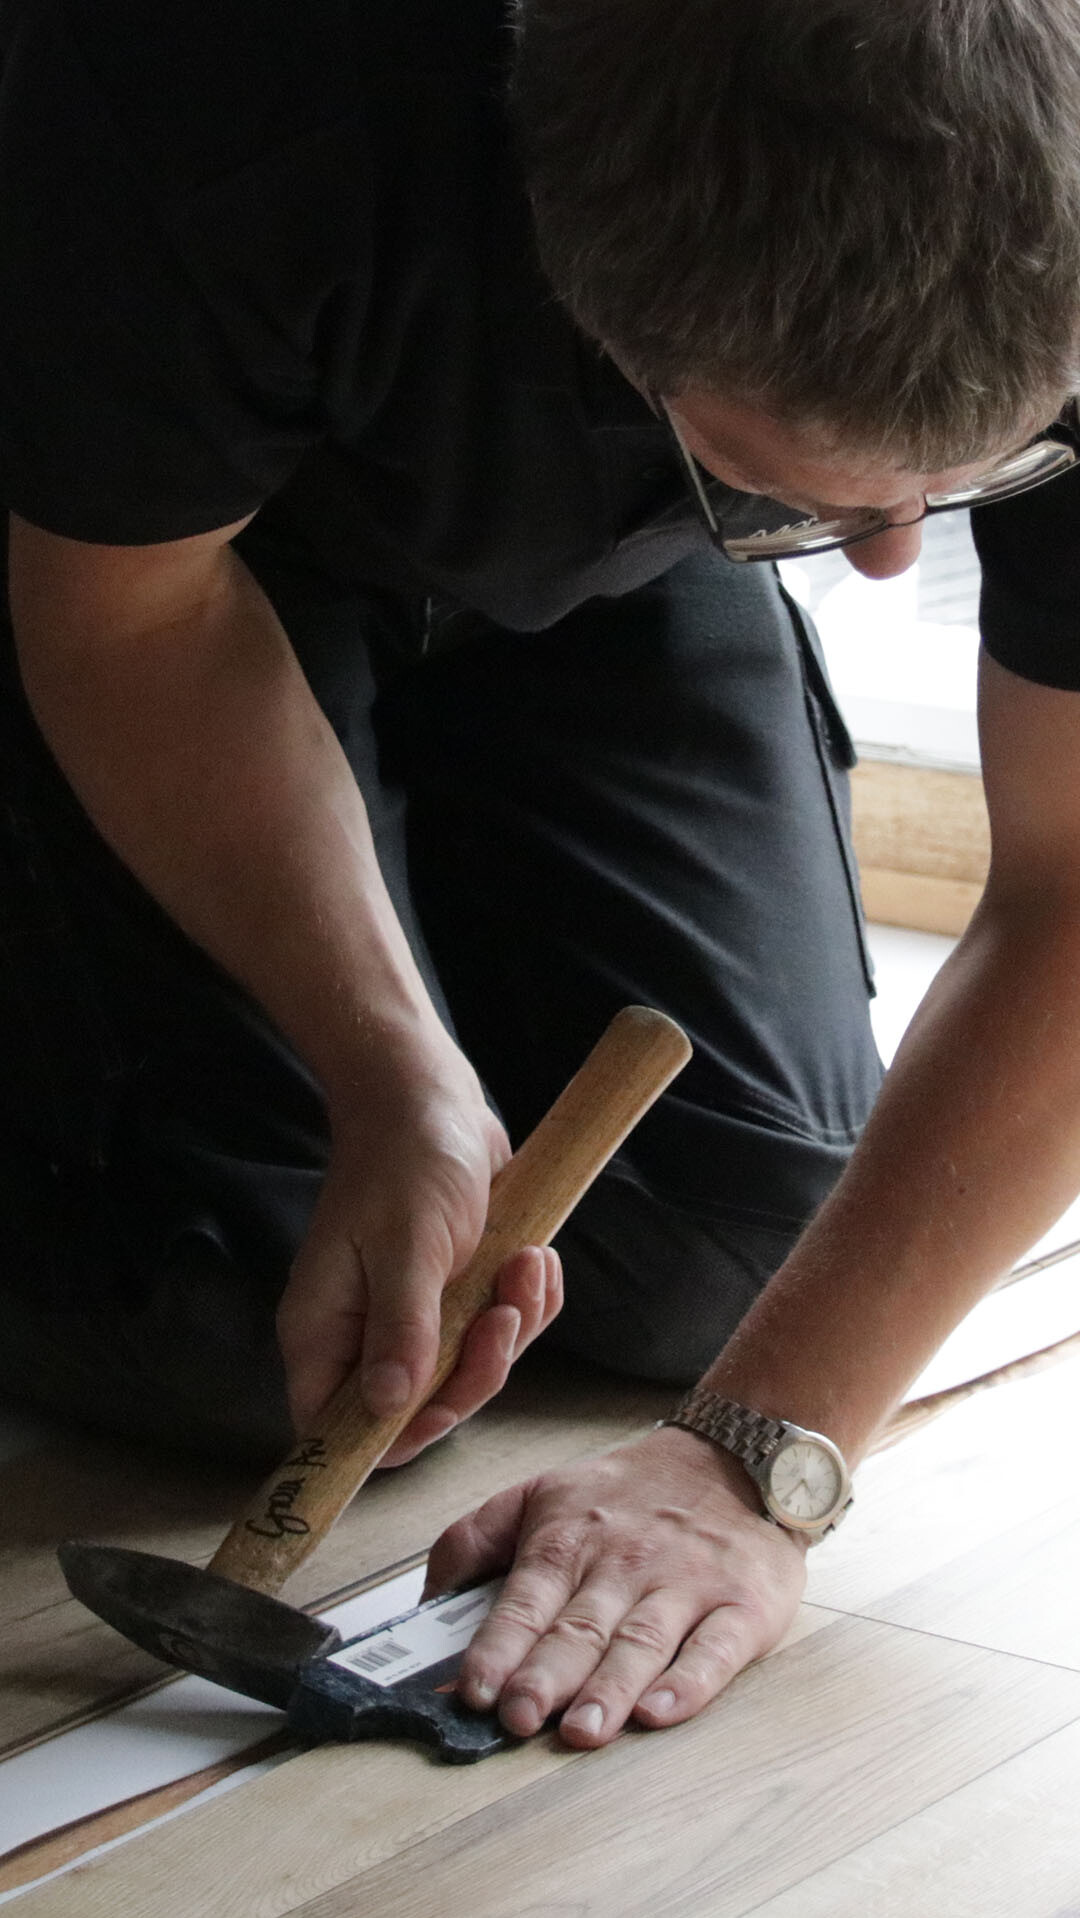
Push the plastic tongue which is pointing out towards the wall (fig. 12) back into the end connection using a tension rod, scraper, screw driver or similar (fig. 13).
Before attaching the skirting boards, remove the timber wedges.
For new builds and renovations alike water-based underfloor panel heating is hugely popular. When it comes to combining parquet flooring with underfloor heating, a rumour persists: Parquet must always be glued over underfloor heating. That is not the case for modern parquet flooring.
MEISTER parquet is particularly well-suited for floating installations over underfloor heating. That is due its stable HDF middle layer. It consists of high density wood fibres that don’t absorb the heat from the heating system but rather they allow it to pass through easily, thereby reaching its destination: Your room’s interior! The thermal resistance value is the technical term to describe this process. According to the Federal Association for Surface Heating and Cooling [Bundesverband Flächenheizungen und Flächenkühlungen e.V.], the limit value for parquet flooring is maximum 0.15 m2 K/W. MEISTER parquet flooring has a value of 0.118 m2 K/W which is thus significantly lower. Through the added floor weight on account of HDF, it is laid especially flat and there is no space between the screed and underfloor heating.
Flooring is installed on screed itself in the same manner way as if there was no underfloor heating. You should also consider using vapour barriers and sound-absorbing cushions here - ideally you should use products developed for MEISTER flooring. Yet there are a couple of considerations to bear in mind:
By the way: Oak parquet flooring is ideal for installation over underfloor heating. Parquet made from beech or maple, both containing more fine pores than oak, are more sensitive to temperature fluctuations.