
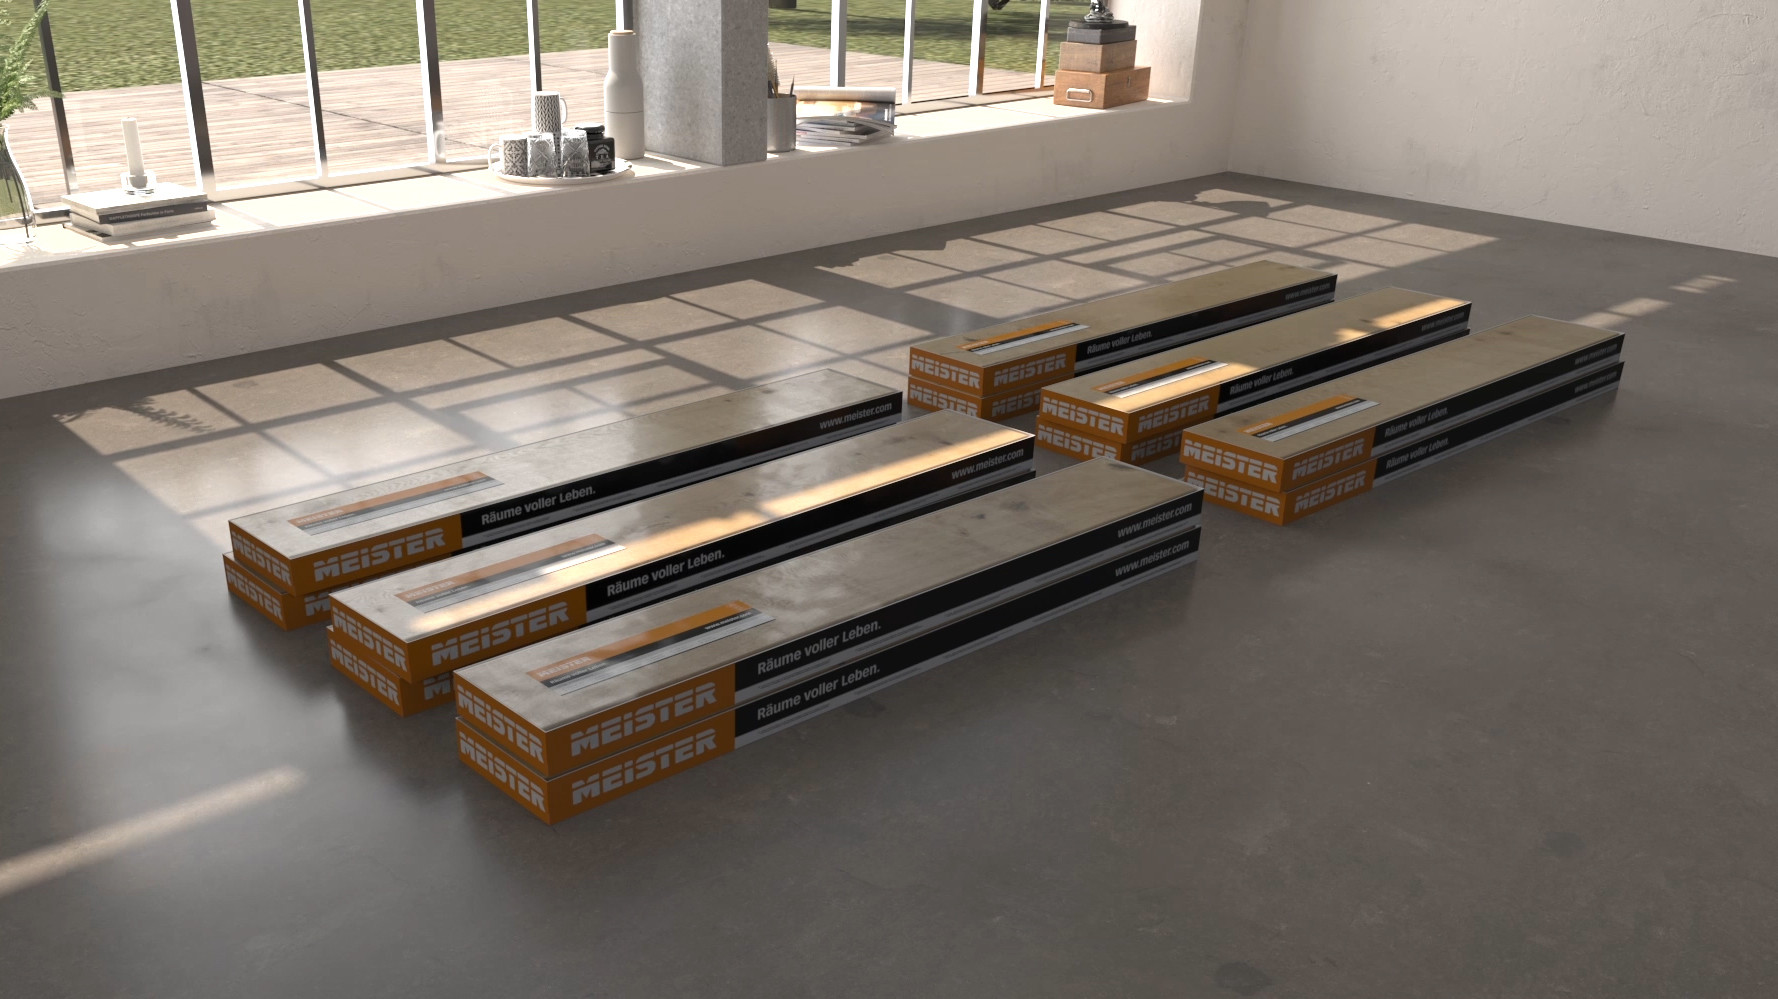
The packages must be acclimatised before you open them. Store them for approx. 48 hours (3-4 days in winter) flat on the floor in the centre of the room you want to work in. Do not store the packages in front of damp or freshly wallpapered walls. Before you install the planks, the conditions must comply with the general requirements for the installation of wooden materials in interior rooms. Make sure that the walls are dry, i.e. contain a maximum residual moisture of 5 percent. All windows and doors must also have been installed and a room temperature of approx. 20°C and approx. 30–65 percent relative humidity must prevail.
During installation, make sure that air can also circulate behind the wood panelling (possibly provide lath backing structure). You must avoid trapped air. It is also important during installation that you allow a gap of at least 10–15 mm next to all walls and other fixed elements. You need an expansion joint if your installation surface is longer or wider than 10 metres.
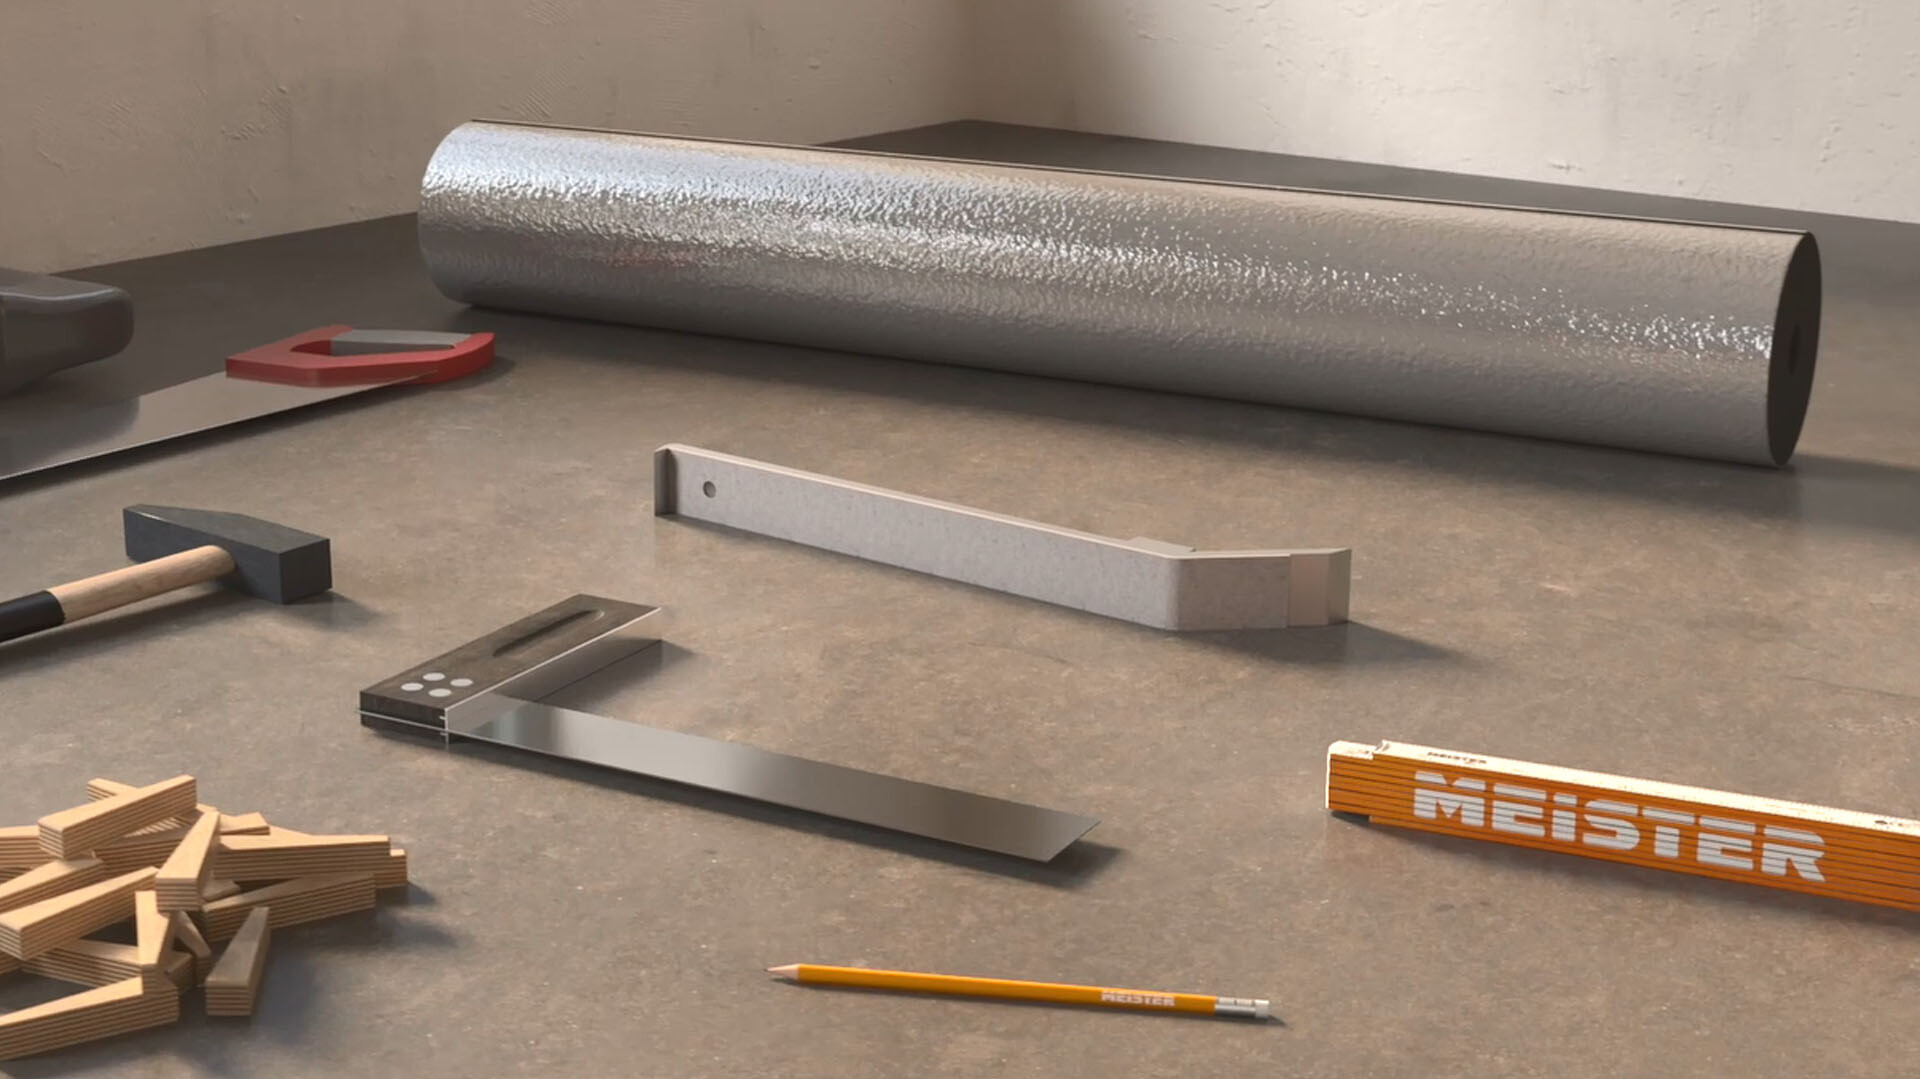
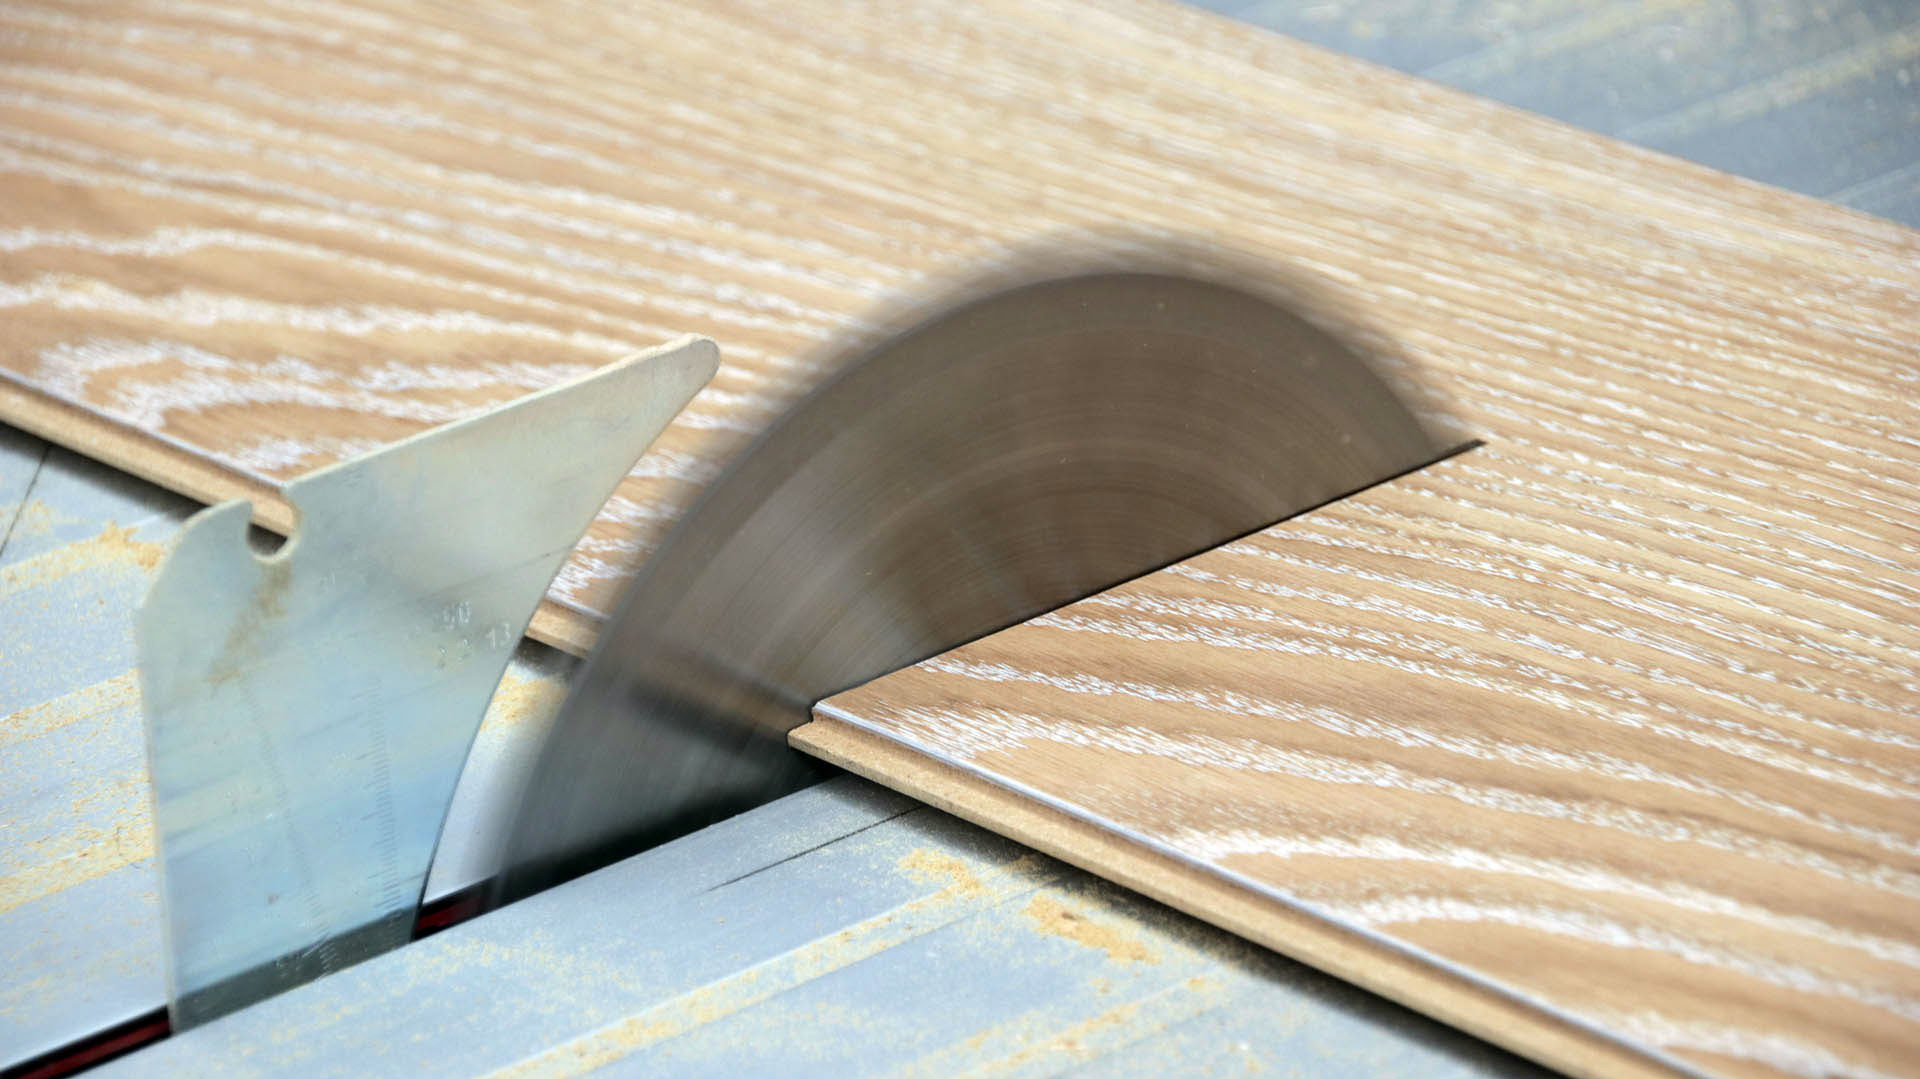
You can either cut the planks to the right length with a keyhole saw or an electric saw. When cutting Lindura please make sure to use hard metal saw blades or diamond tipped saw blades.
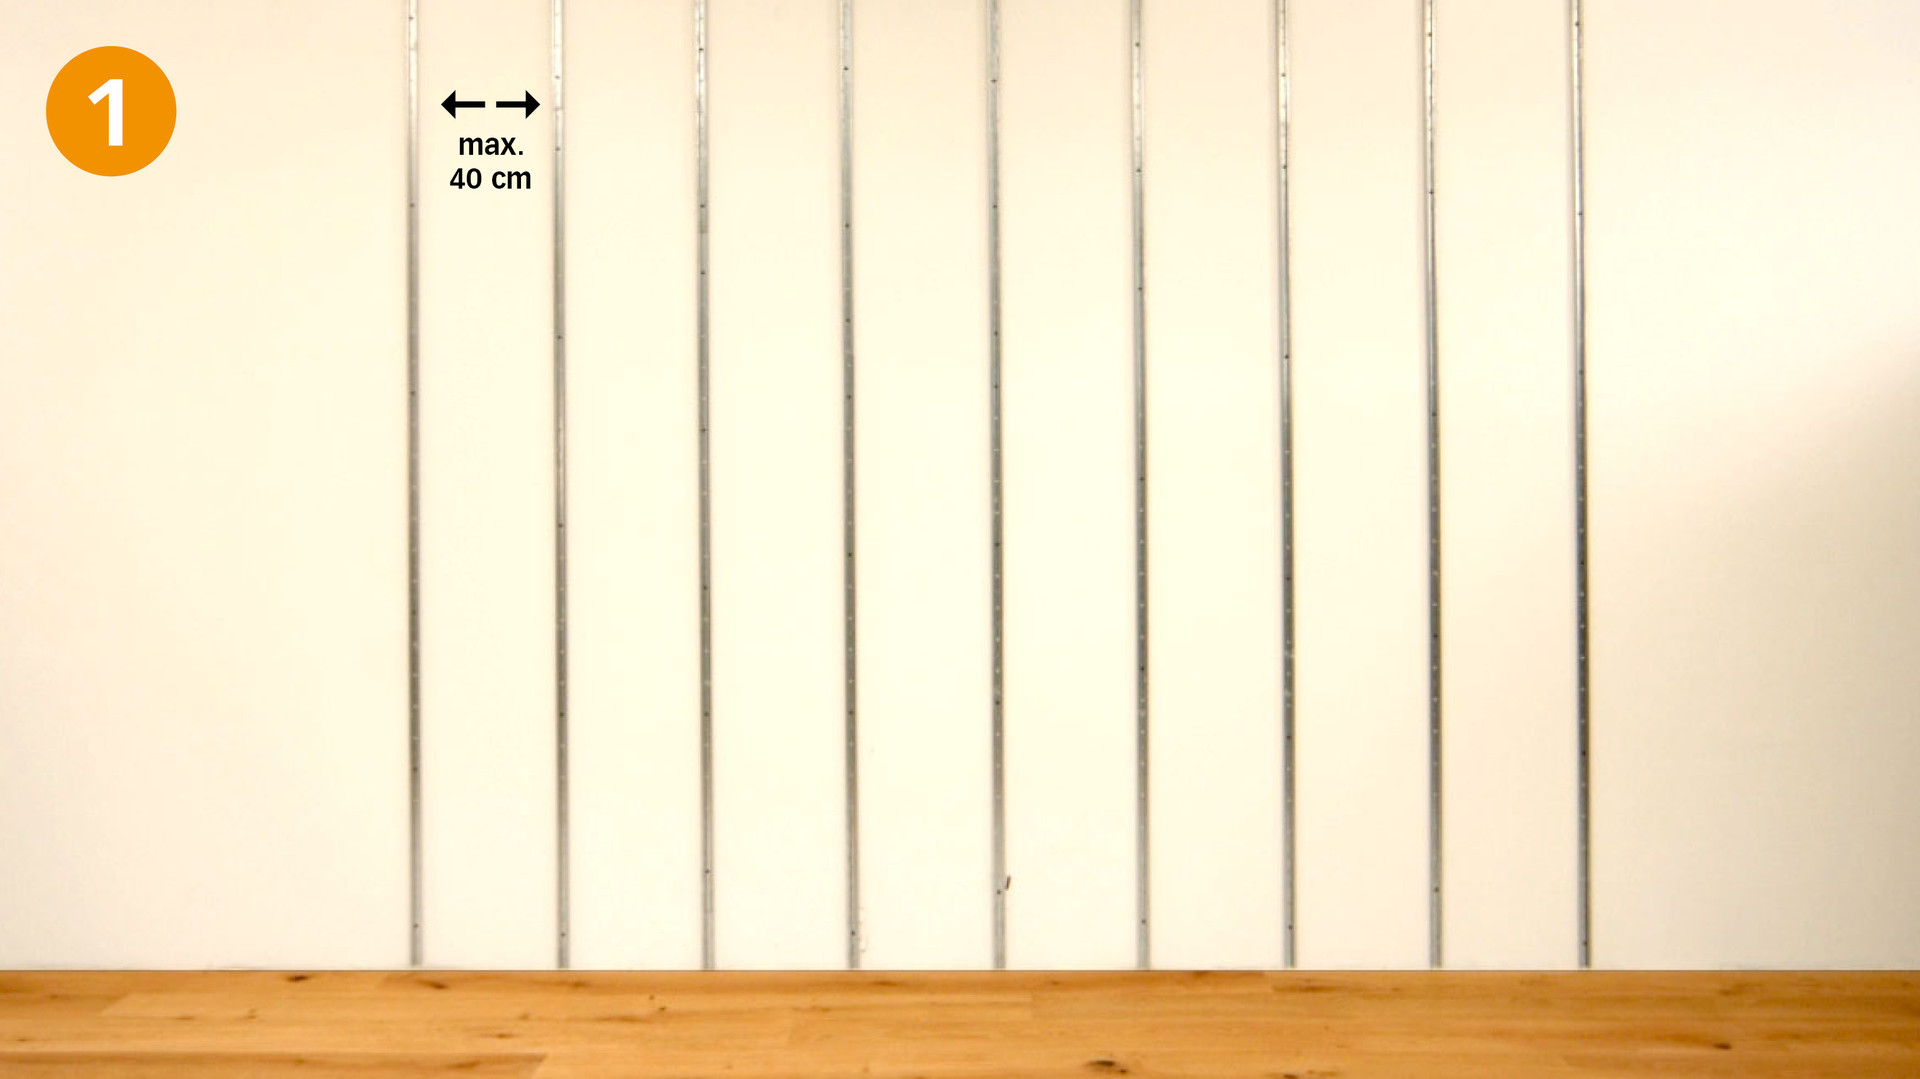
Sub-structure with Type 8 batten profile. Place the Type 8 batten profile at maximum intervals of 40 centimetres apart (fig. 1). Please use suitable plugs or screws to screw the sub-structure to the wall at intervals of 50 cm. Correct any slight unevenness in the wall by placing spacers or wooden wedges underneath the laths. Use a standard metal hacksaw or one-hand angle grinder with metal cutting disc to trim the profile. A minimum gap of 20 mm is required when installing MEISTER recessed lights. This must be guaranteed by fixing the batten profile to the wall using a space of at least 12 mm.
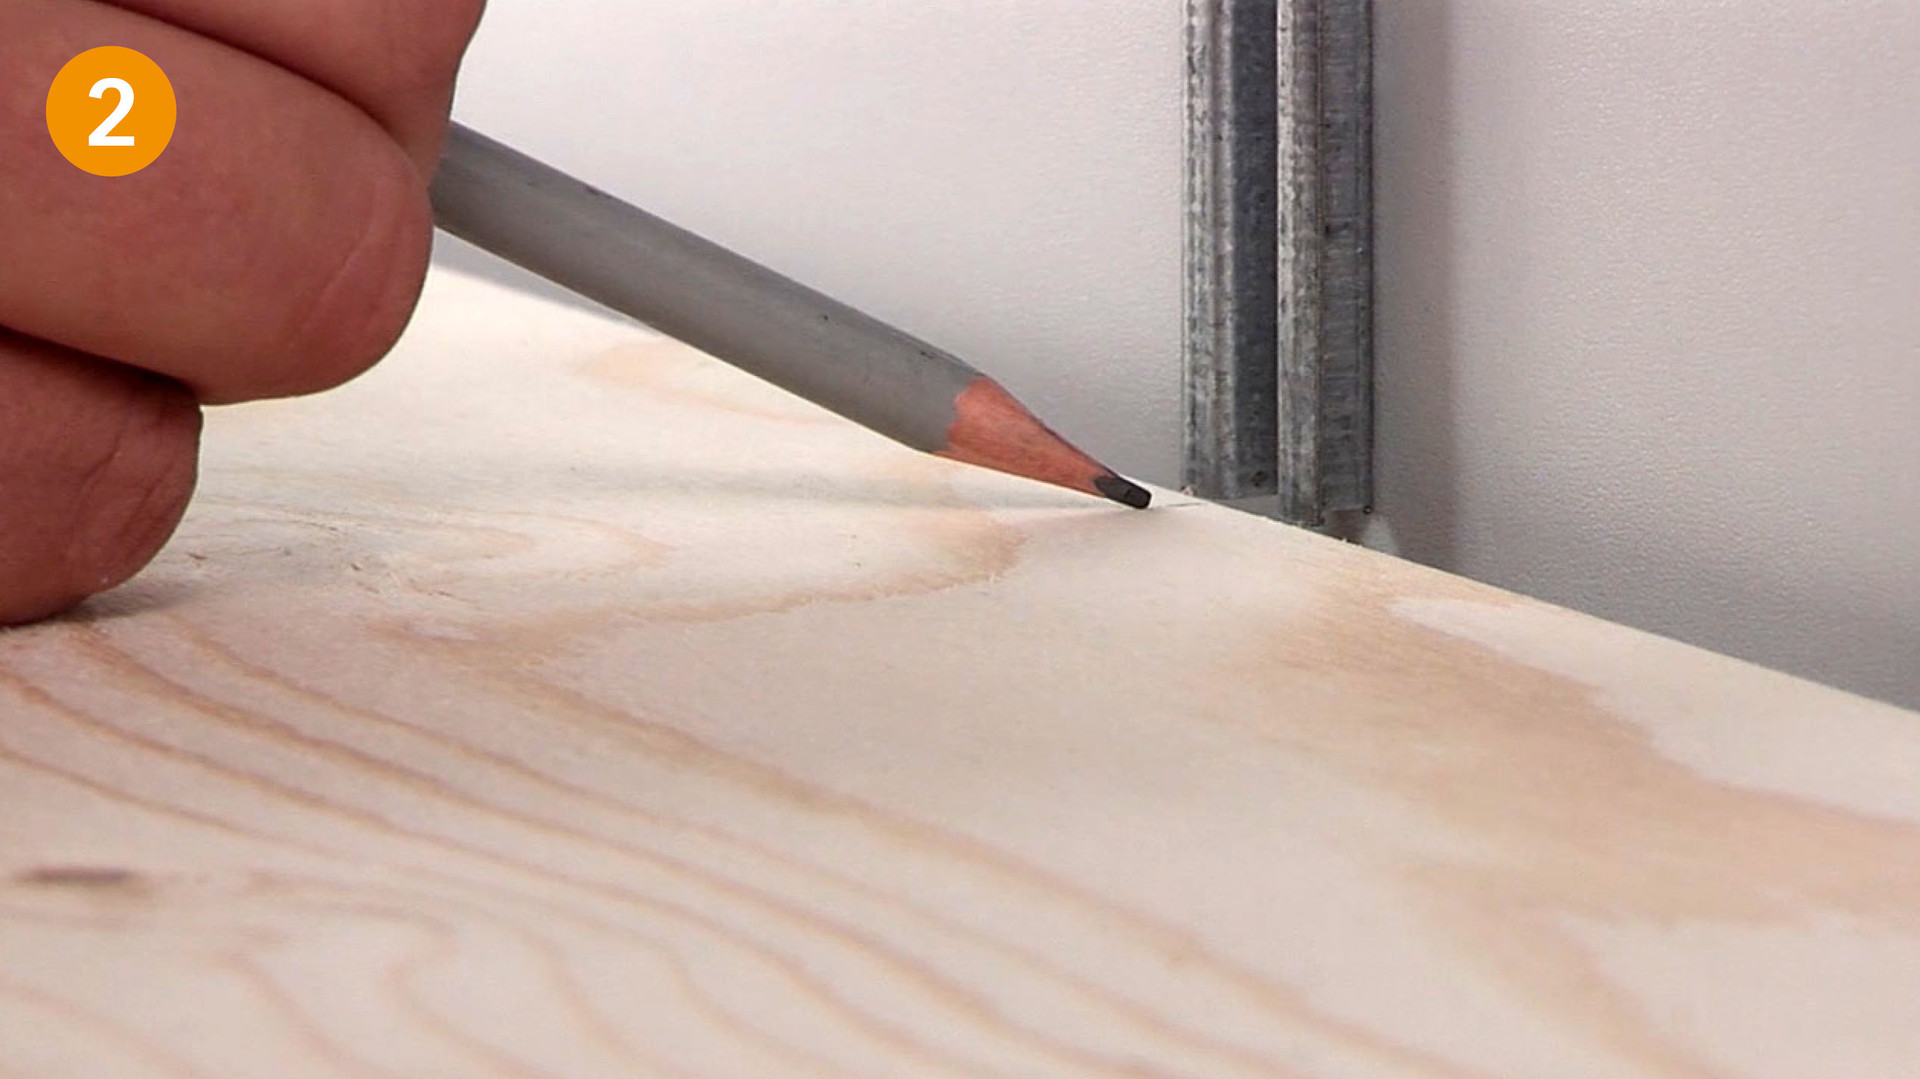
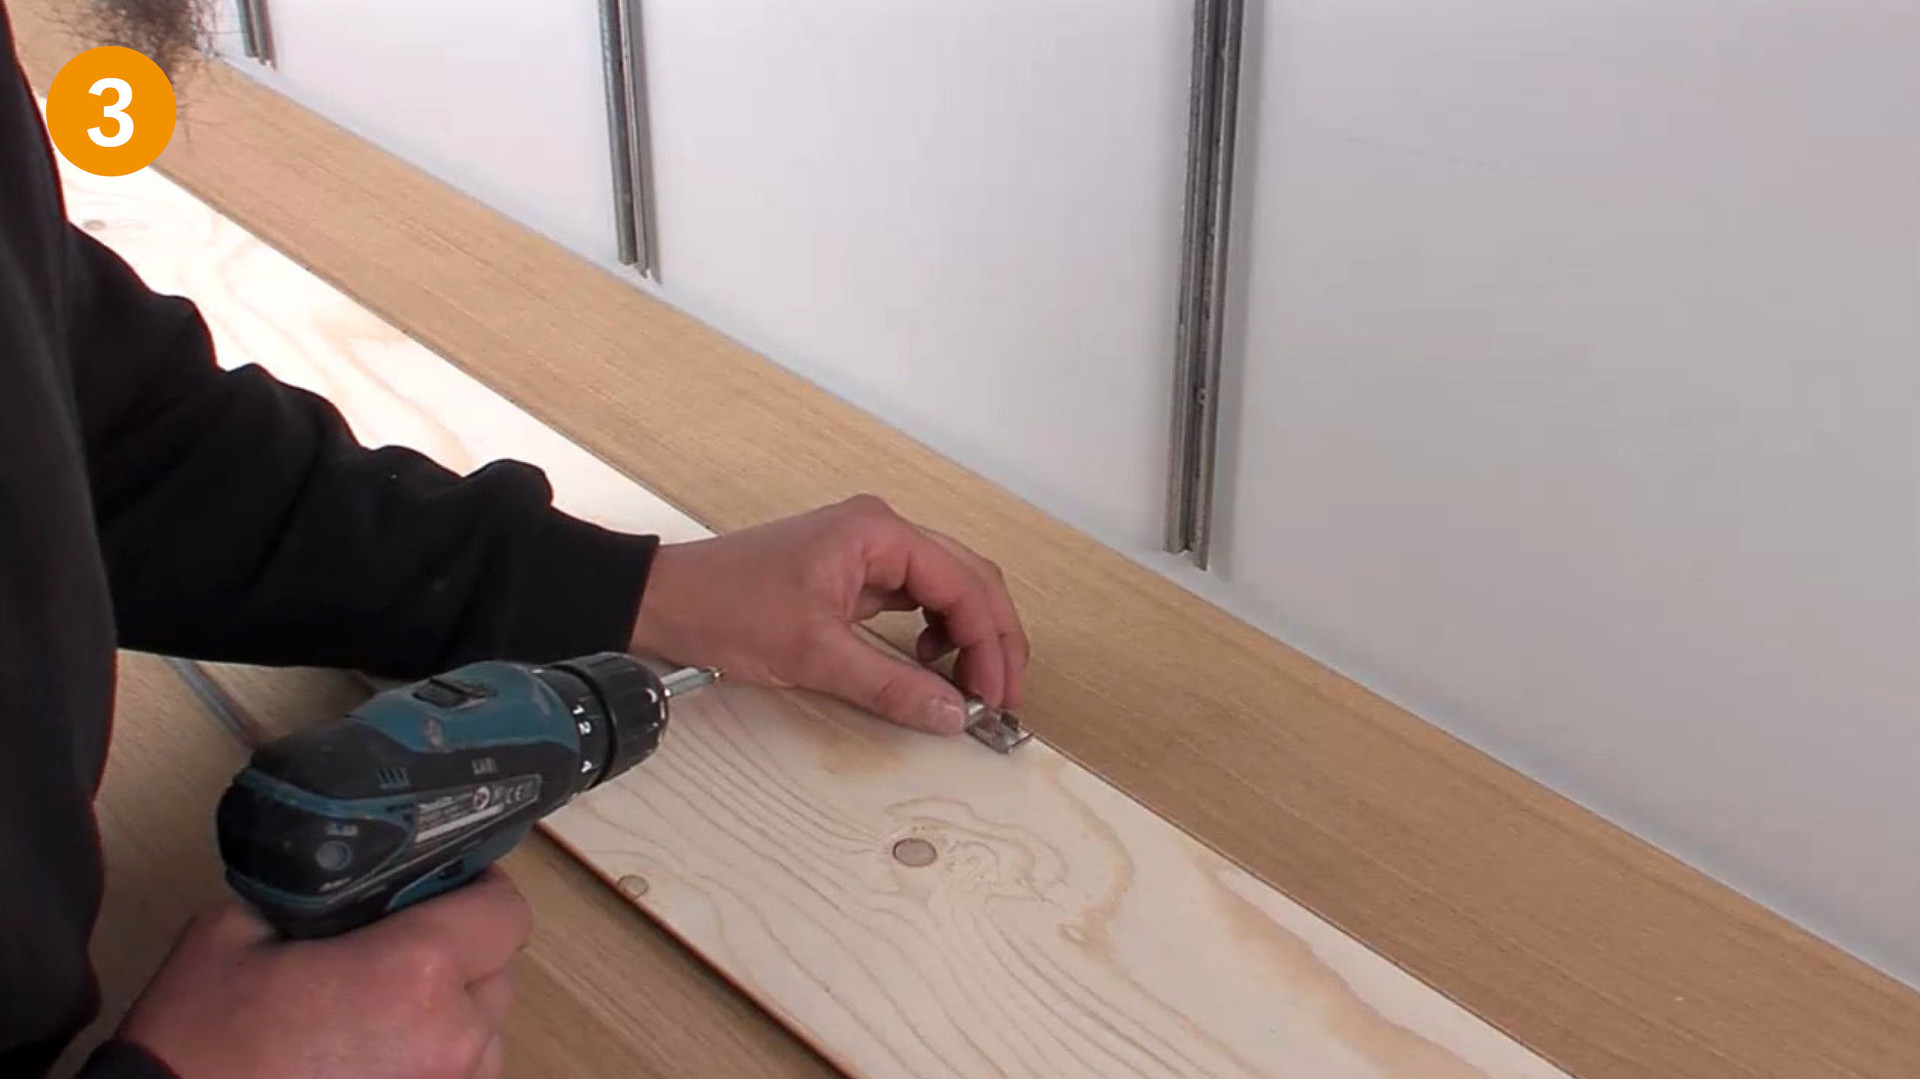
The Masterclic Plus system requires that the planks be installed from right to left. Start by laying the first complete plank with the tongue side facing the floor. With all the planks in the first row remove the tongues along the long edges. To install the first row use the start/end clip. To fix these mark the profile’s position on the back of the plank. The middle of the rail is marked using a pencil (fig. 2) and the start/end clip is fixed using the supplied screws (fig. 3). Tighten the screws but do not overtighten them.
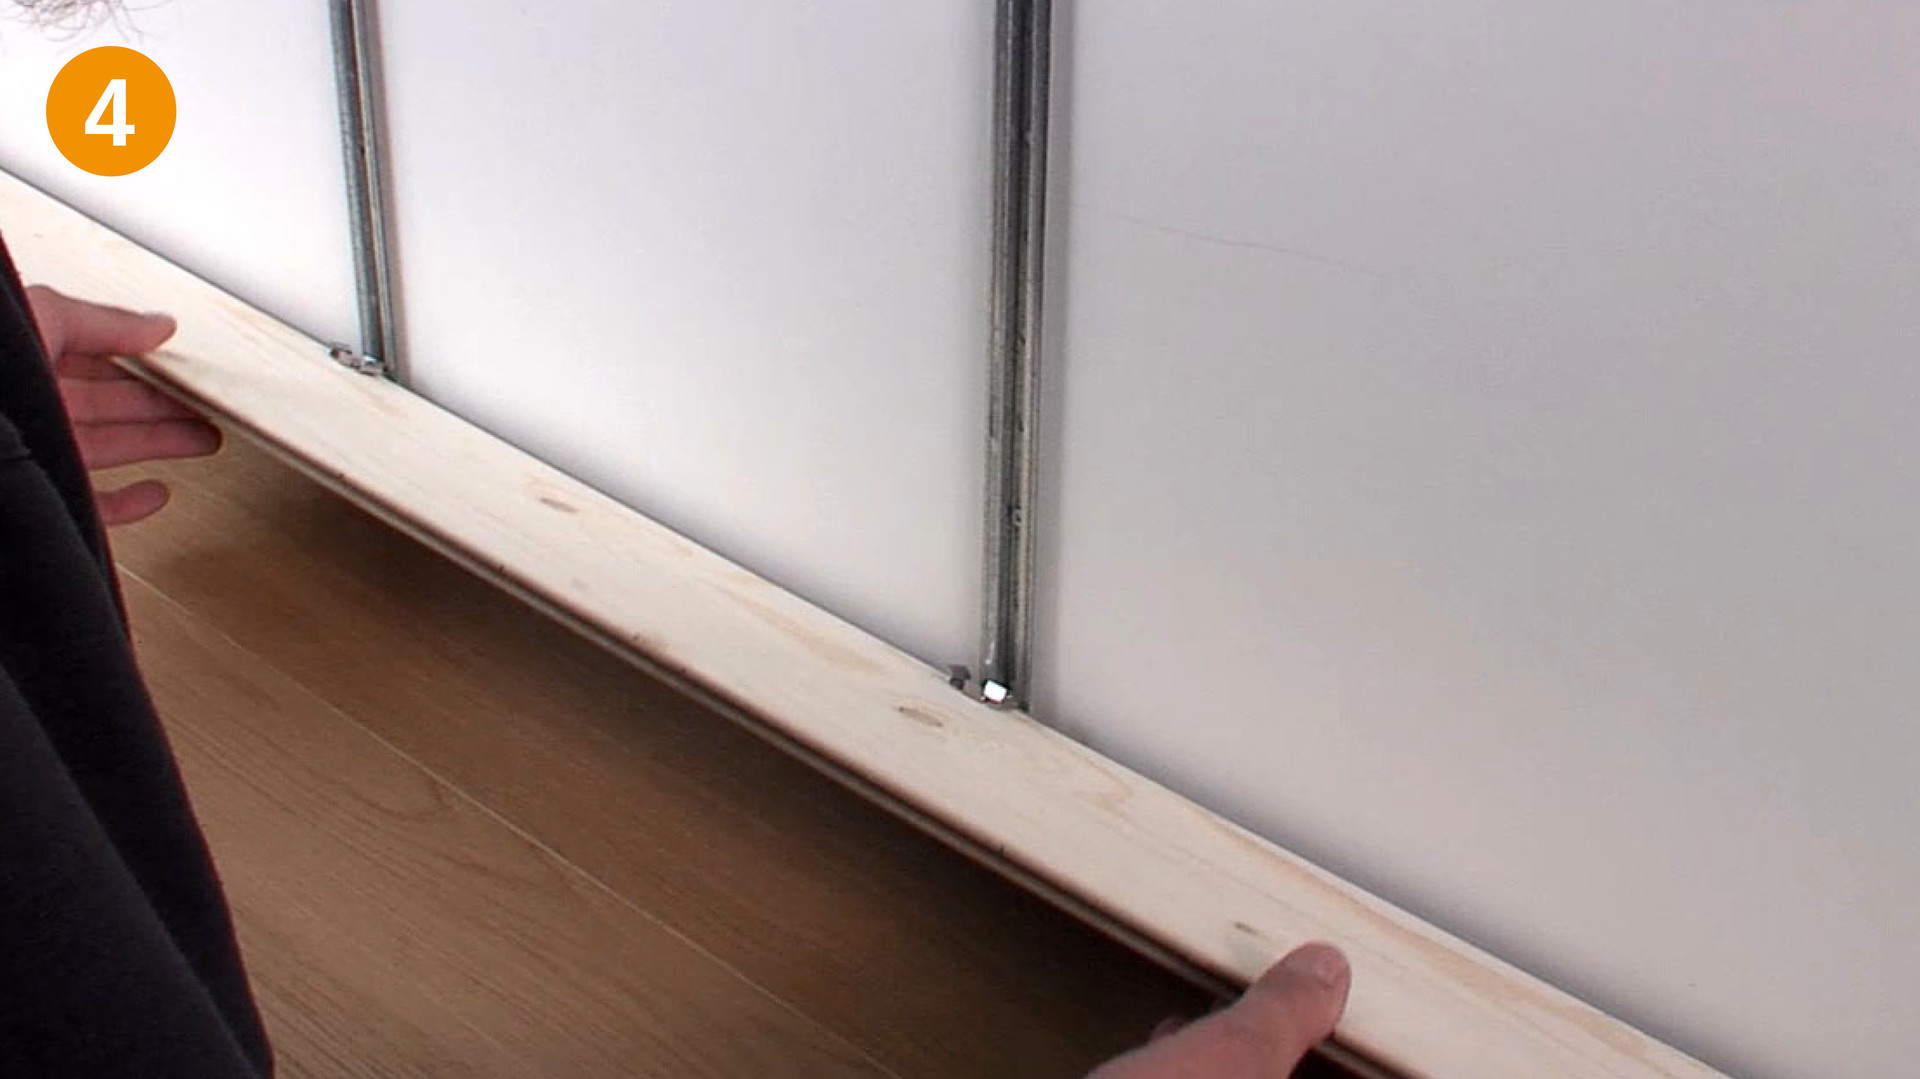
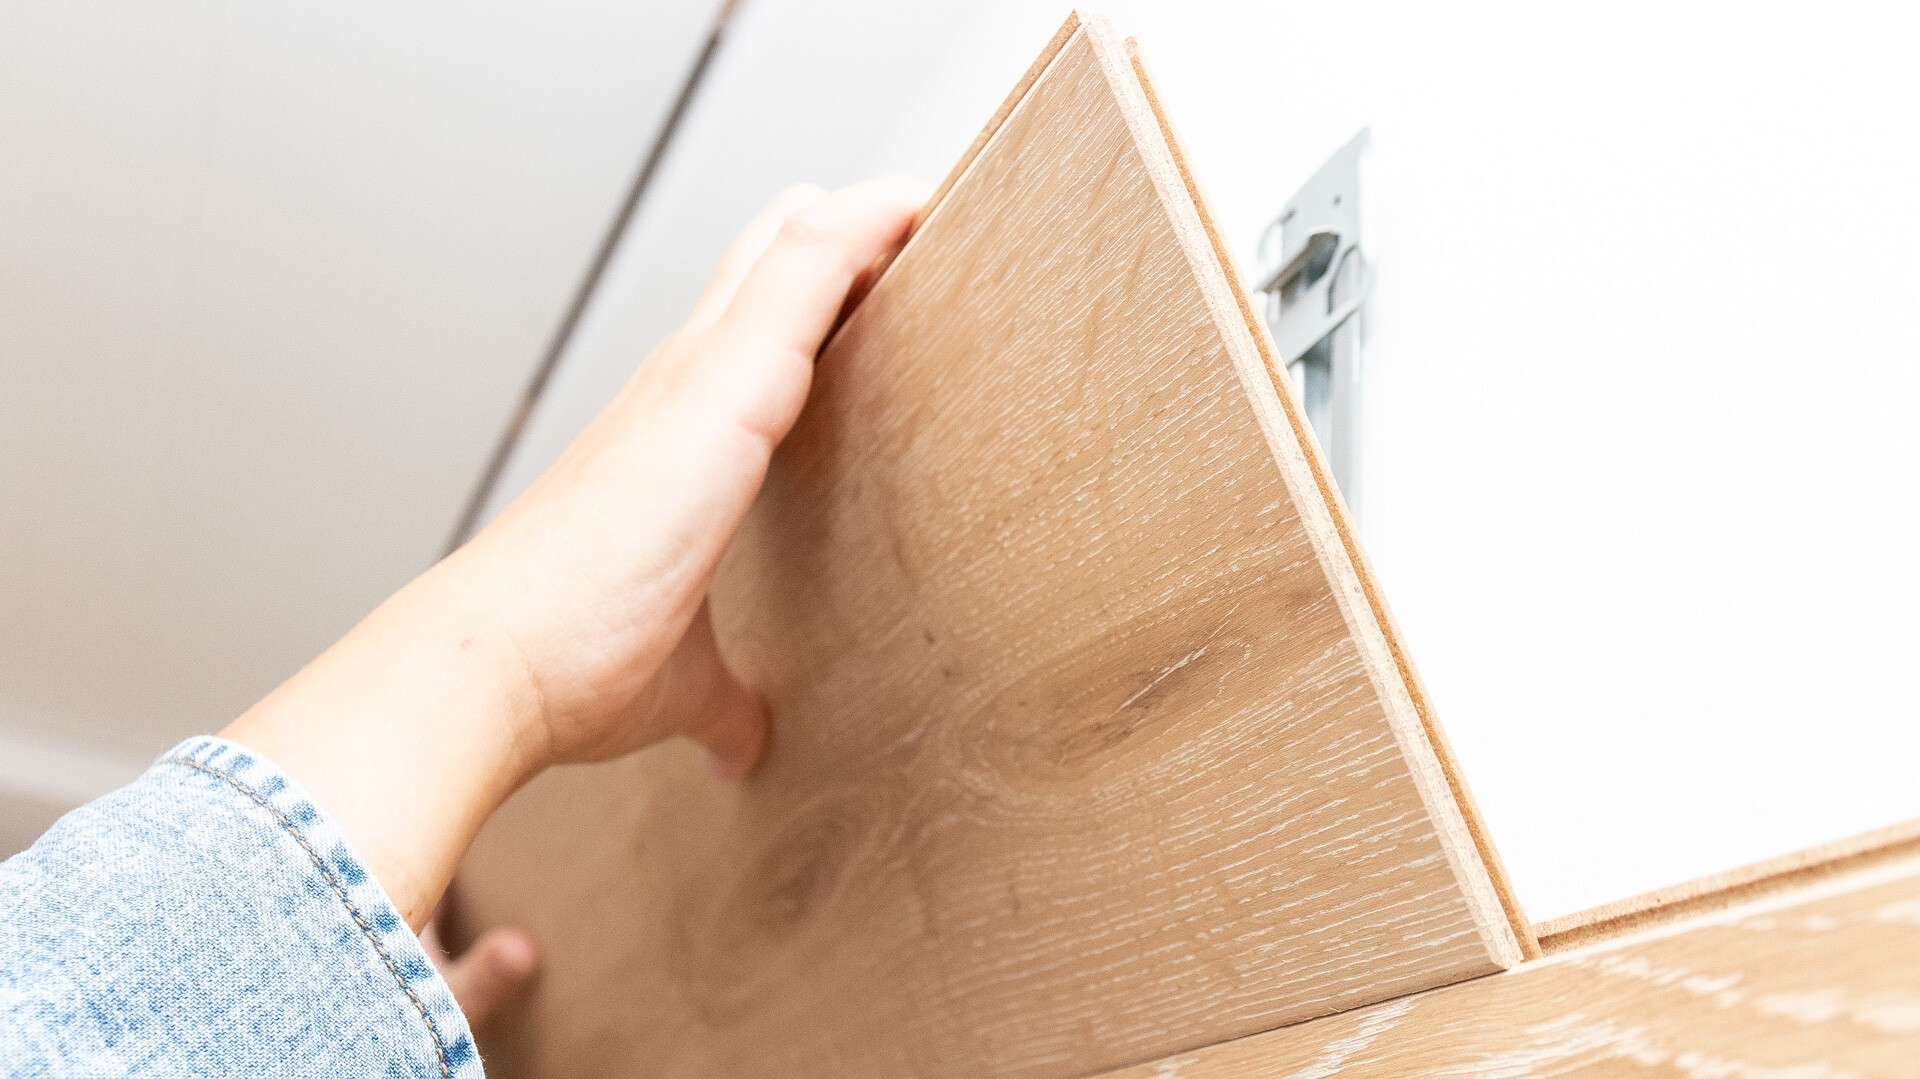
Then simply clip the plank into the lath profile (fig. 4). If the clip does not slot in correctly then the profile may have been pressed together during trimming. In this case please bend open the profile to its original dimensions again.
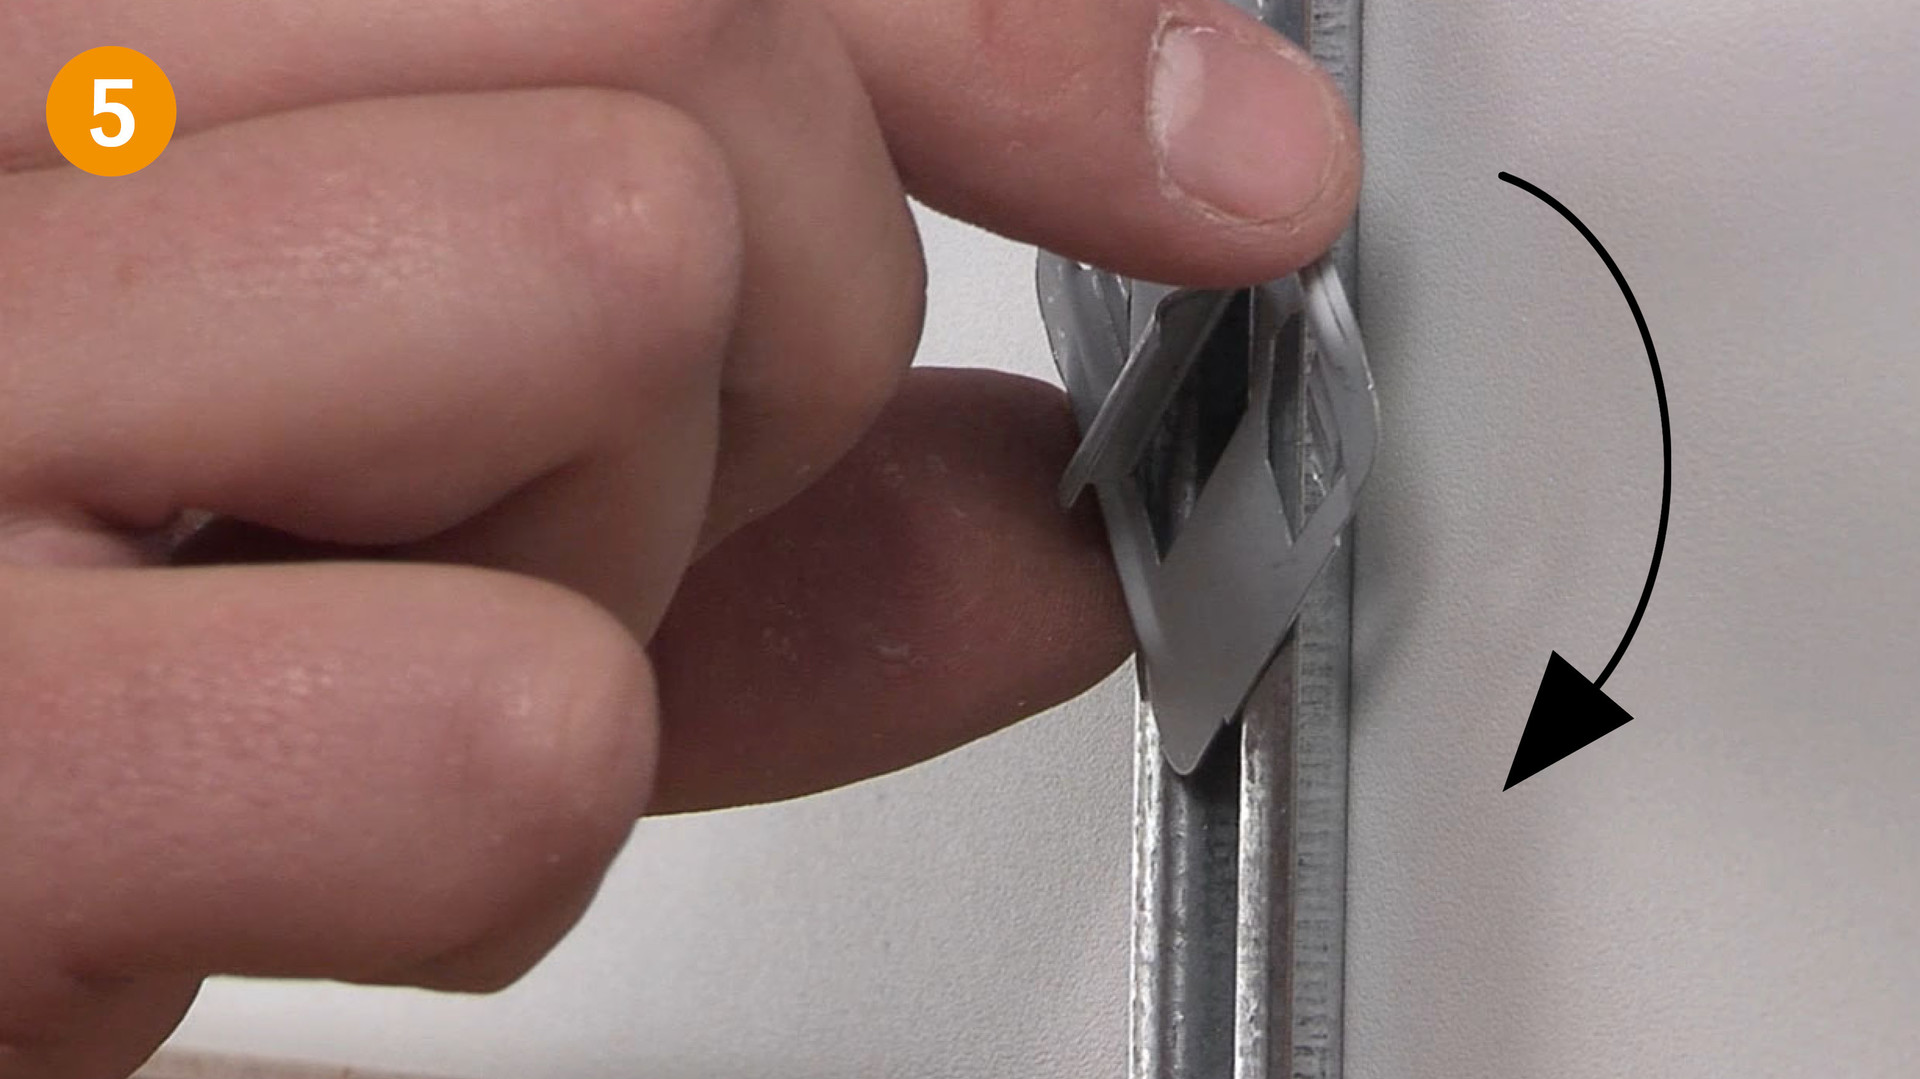
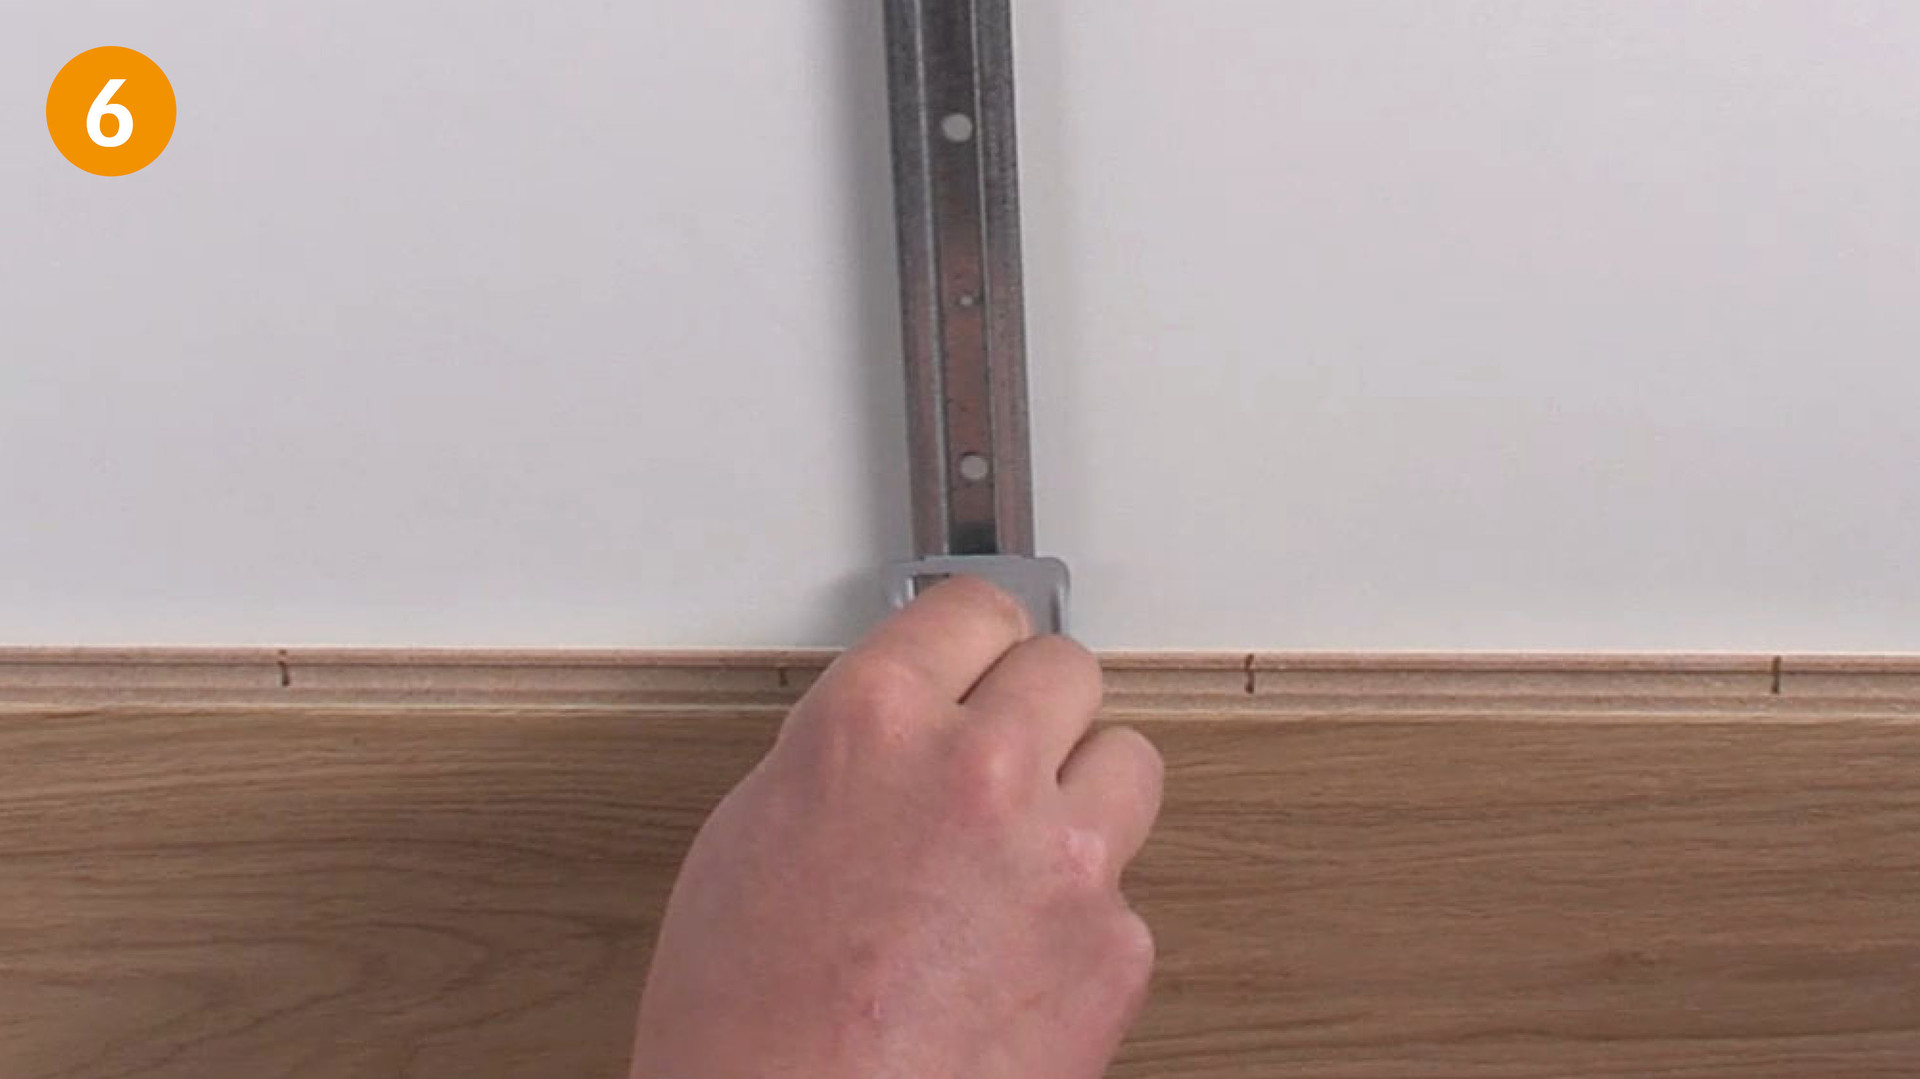
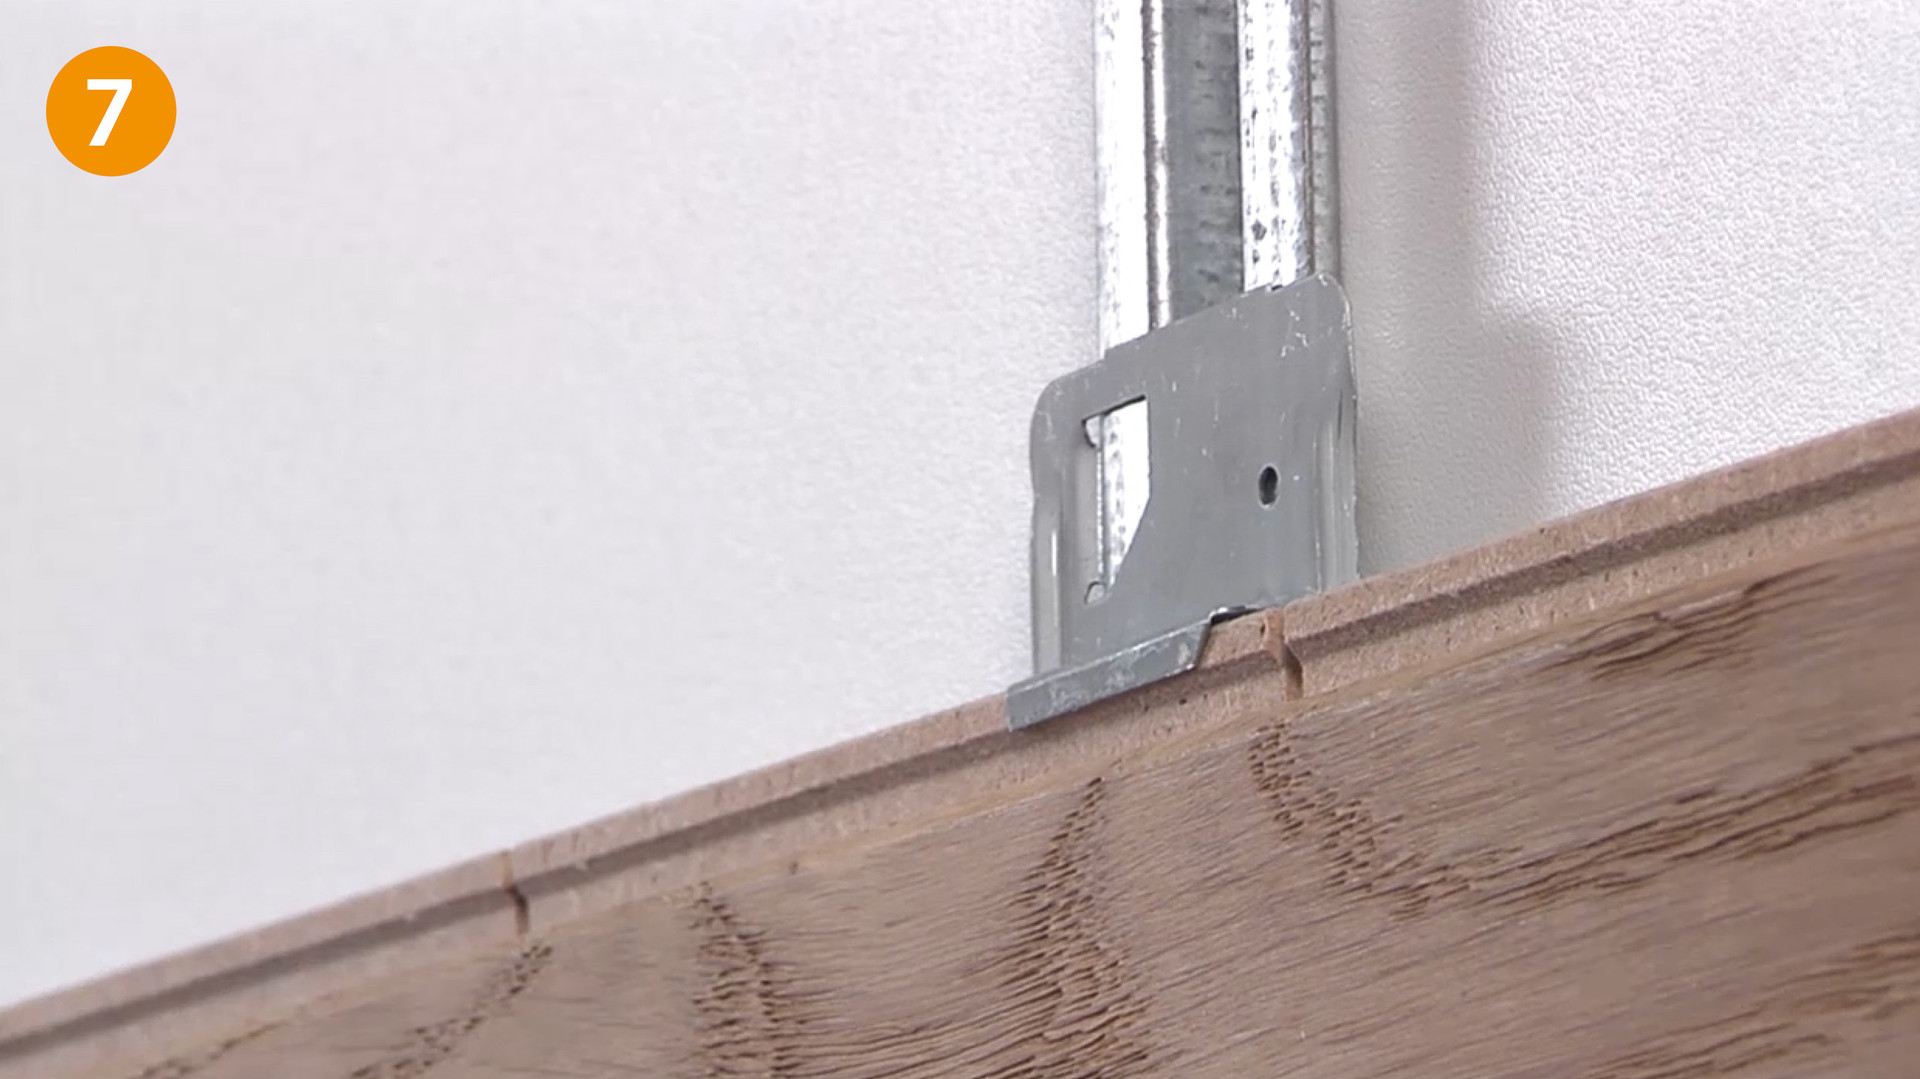
Use the TOP 13 (for parquet flooring) or TOP 11 (Lindura wood flooring) clip to fix the planks for the rest of the installation. For this simply screw the clip onto the batten profile (fig. 5) and push it onto the plank groove (fig. 6 + 7). Make sure that the planks in the first row are straight.
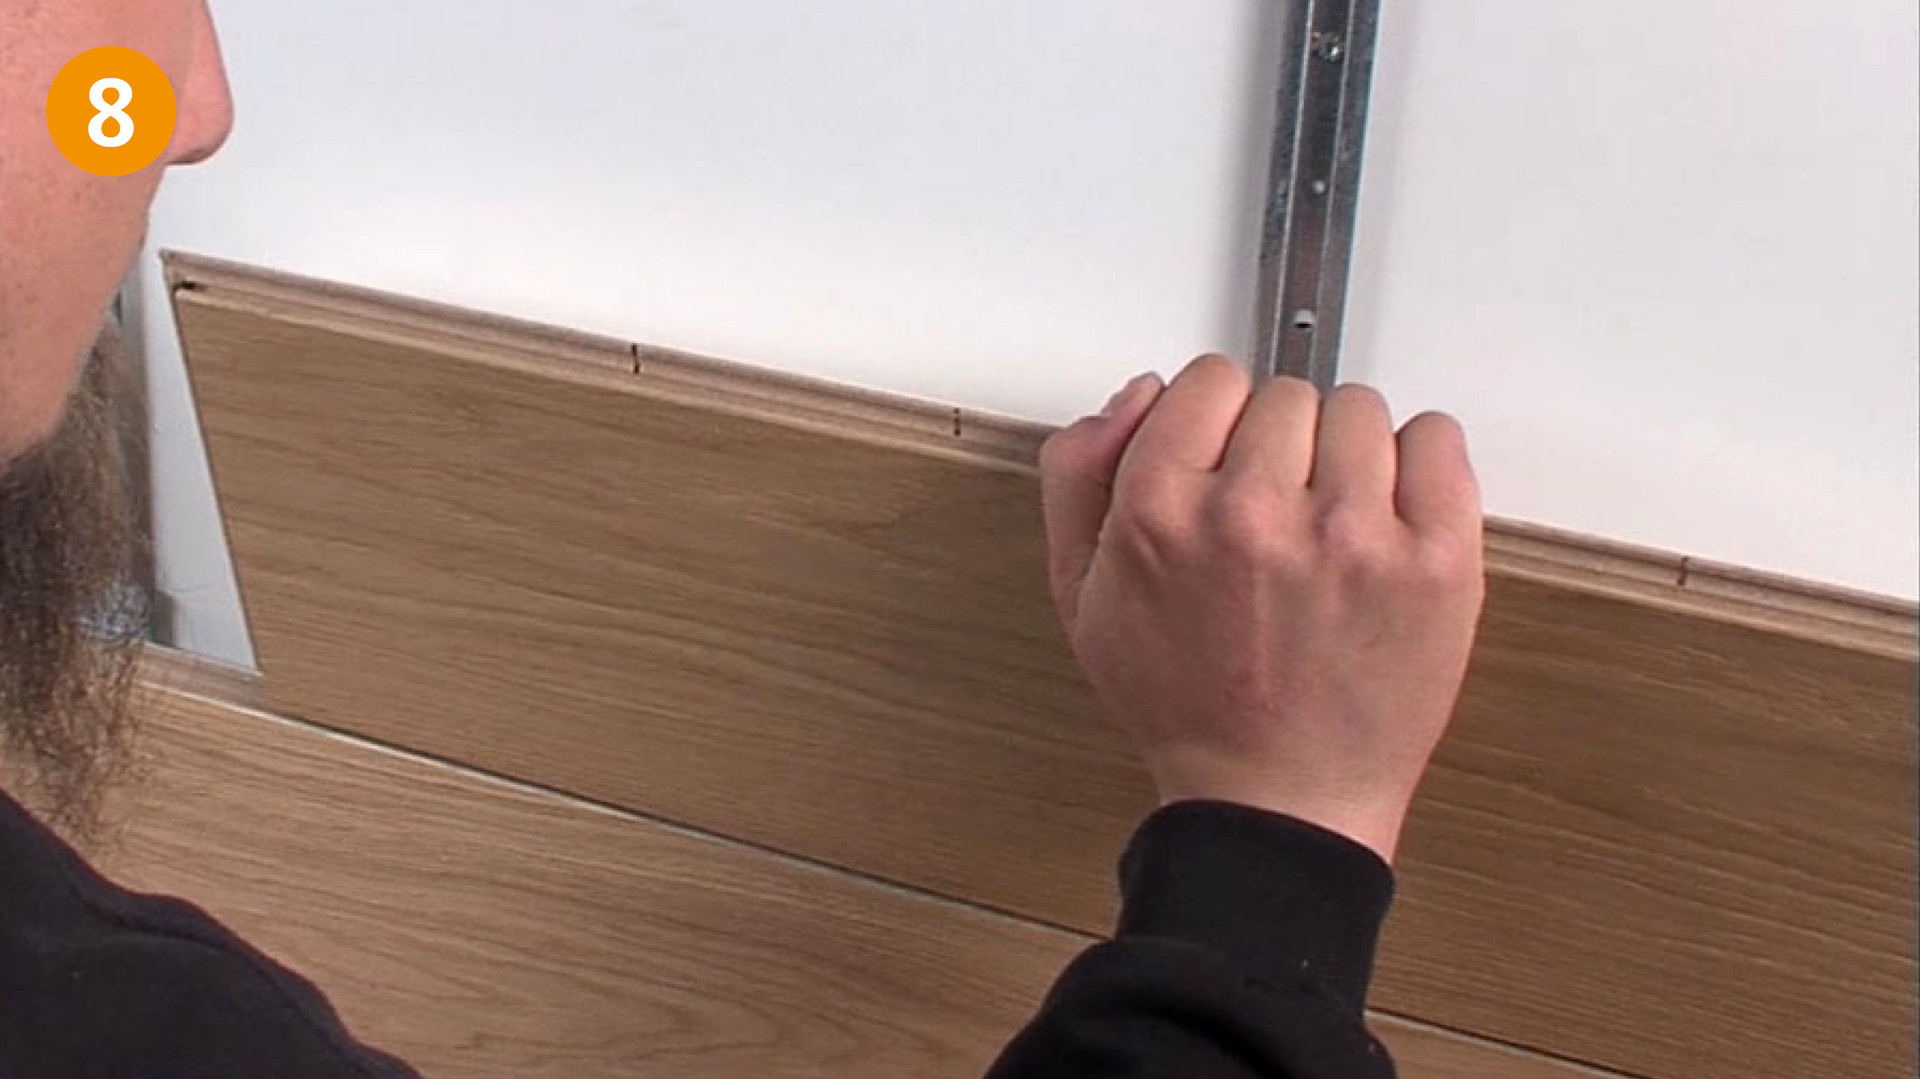
Angle the tongue of the first plank in the second row into the groove of the previous row of planks (fig. 8) and slowly press the planks onto the batten profile. Use the TOP 13| TOP 11 clip to fix the planks for the rest of the installation (fig. 7).
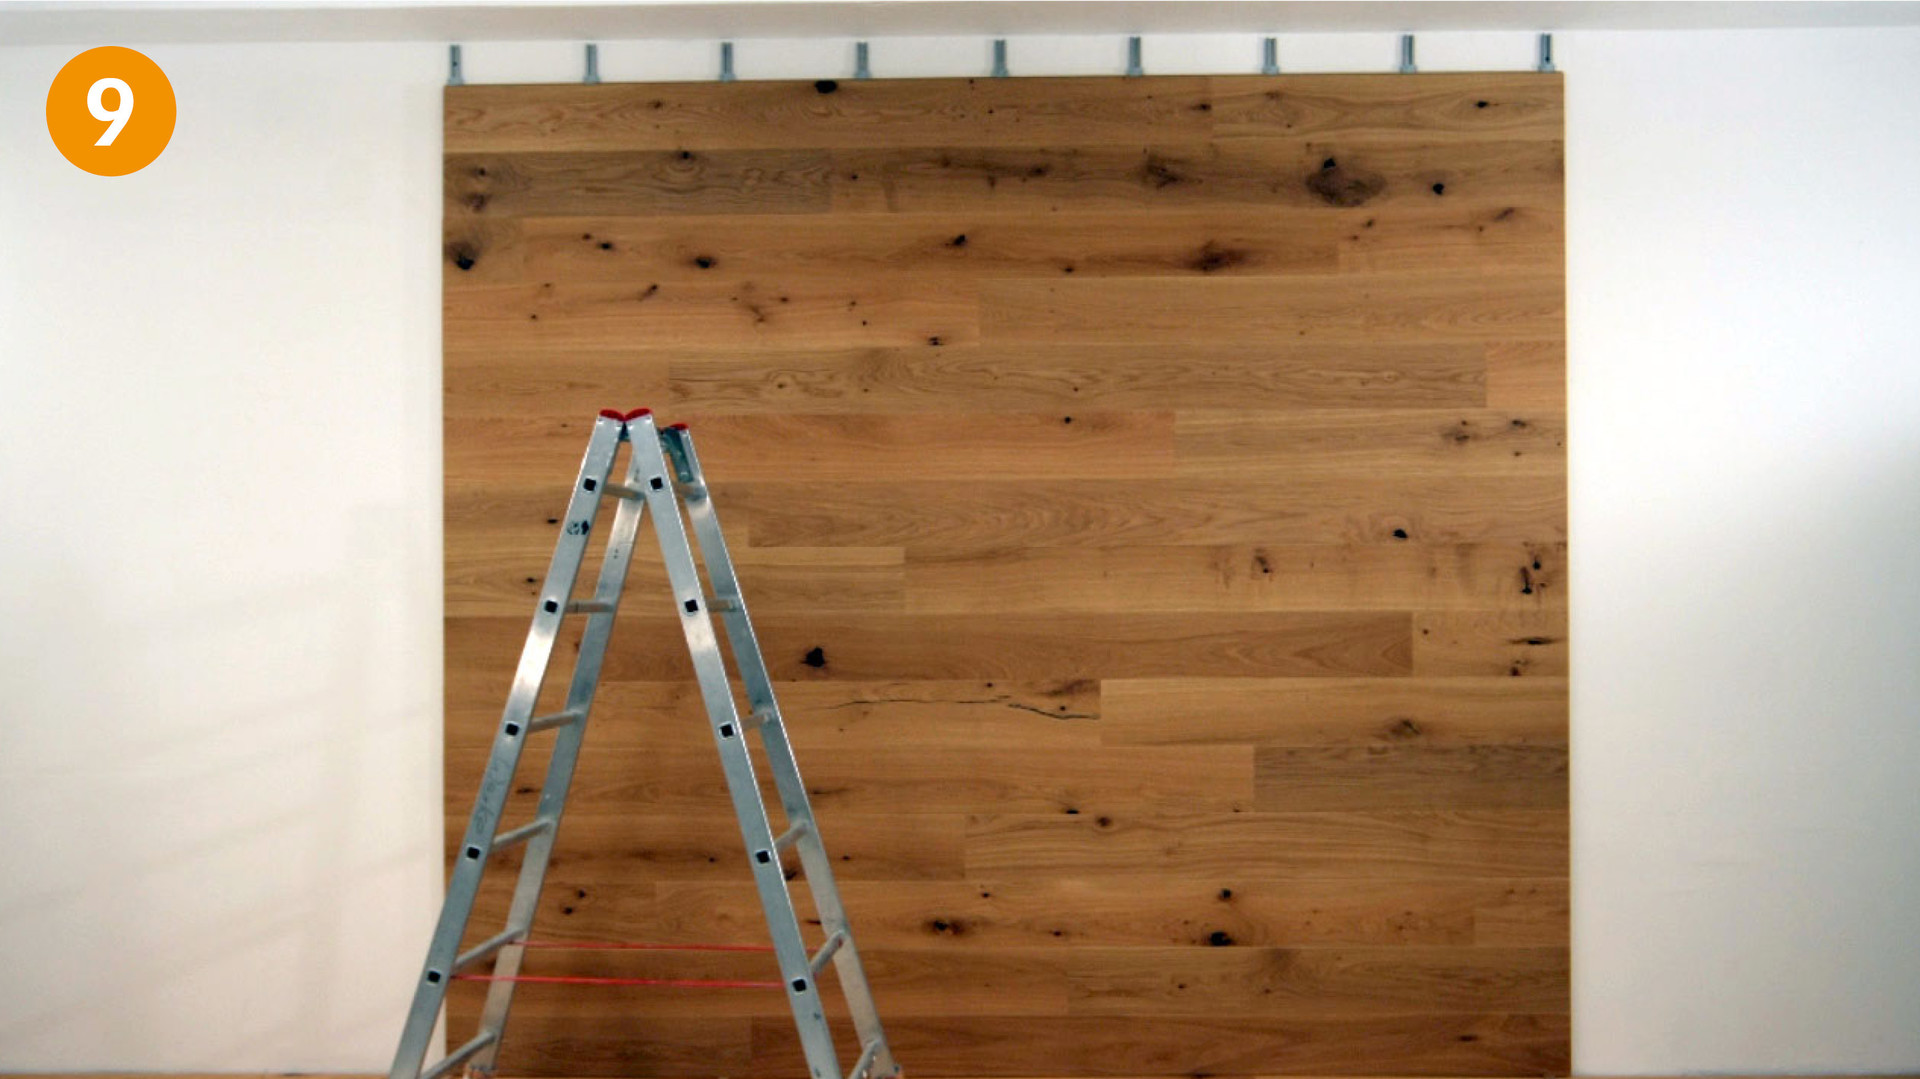
Continue installing the planks row by row in this way (fig. 9).
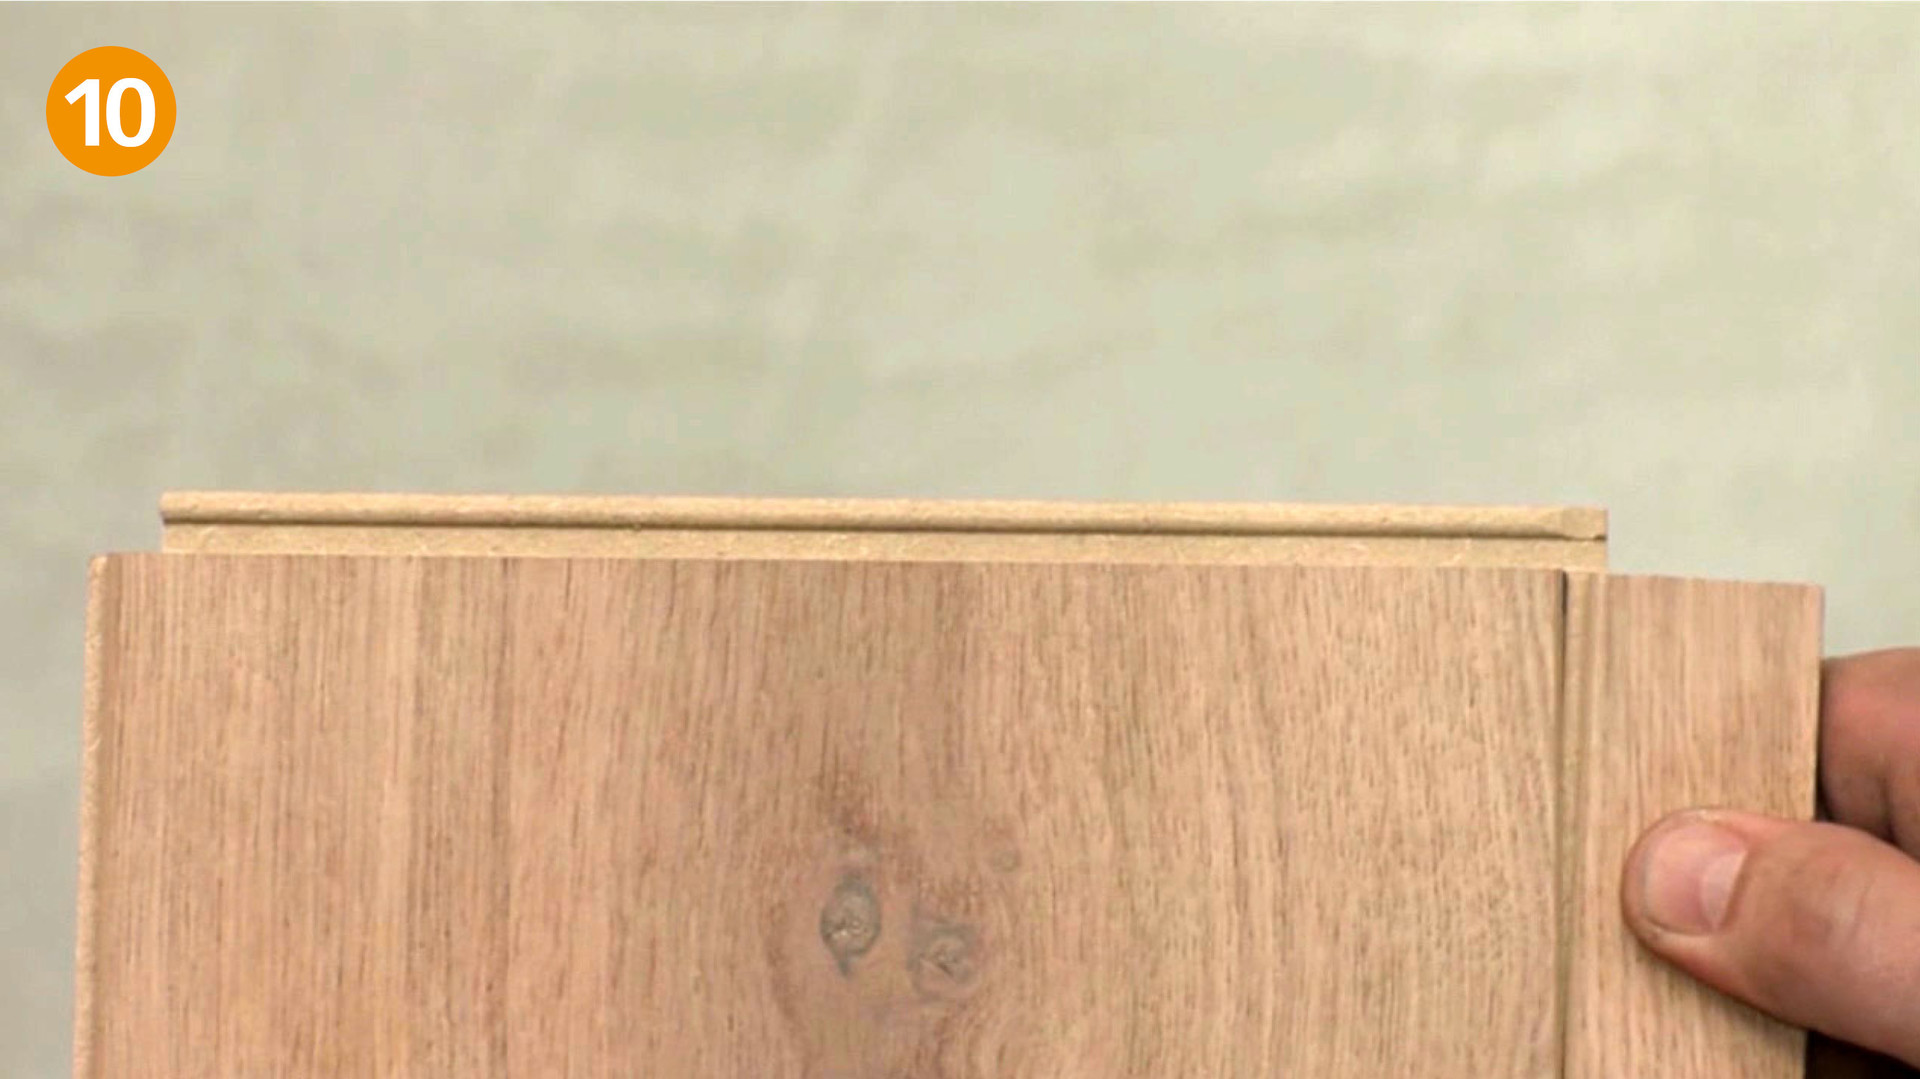
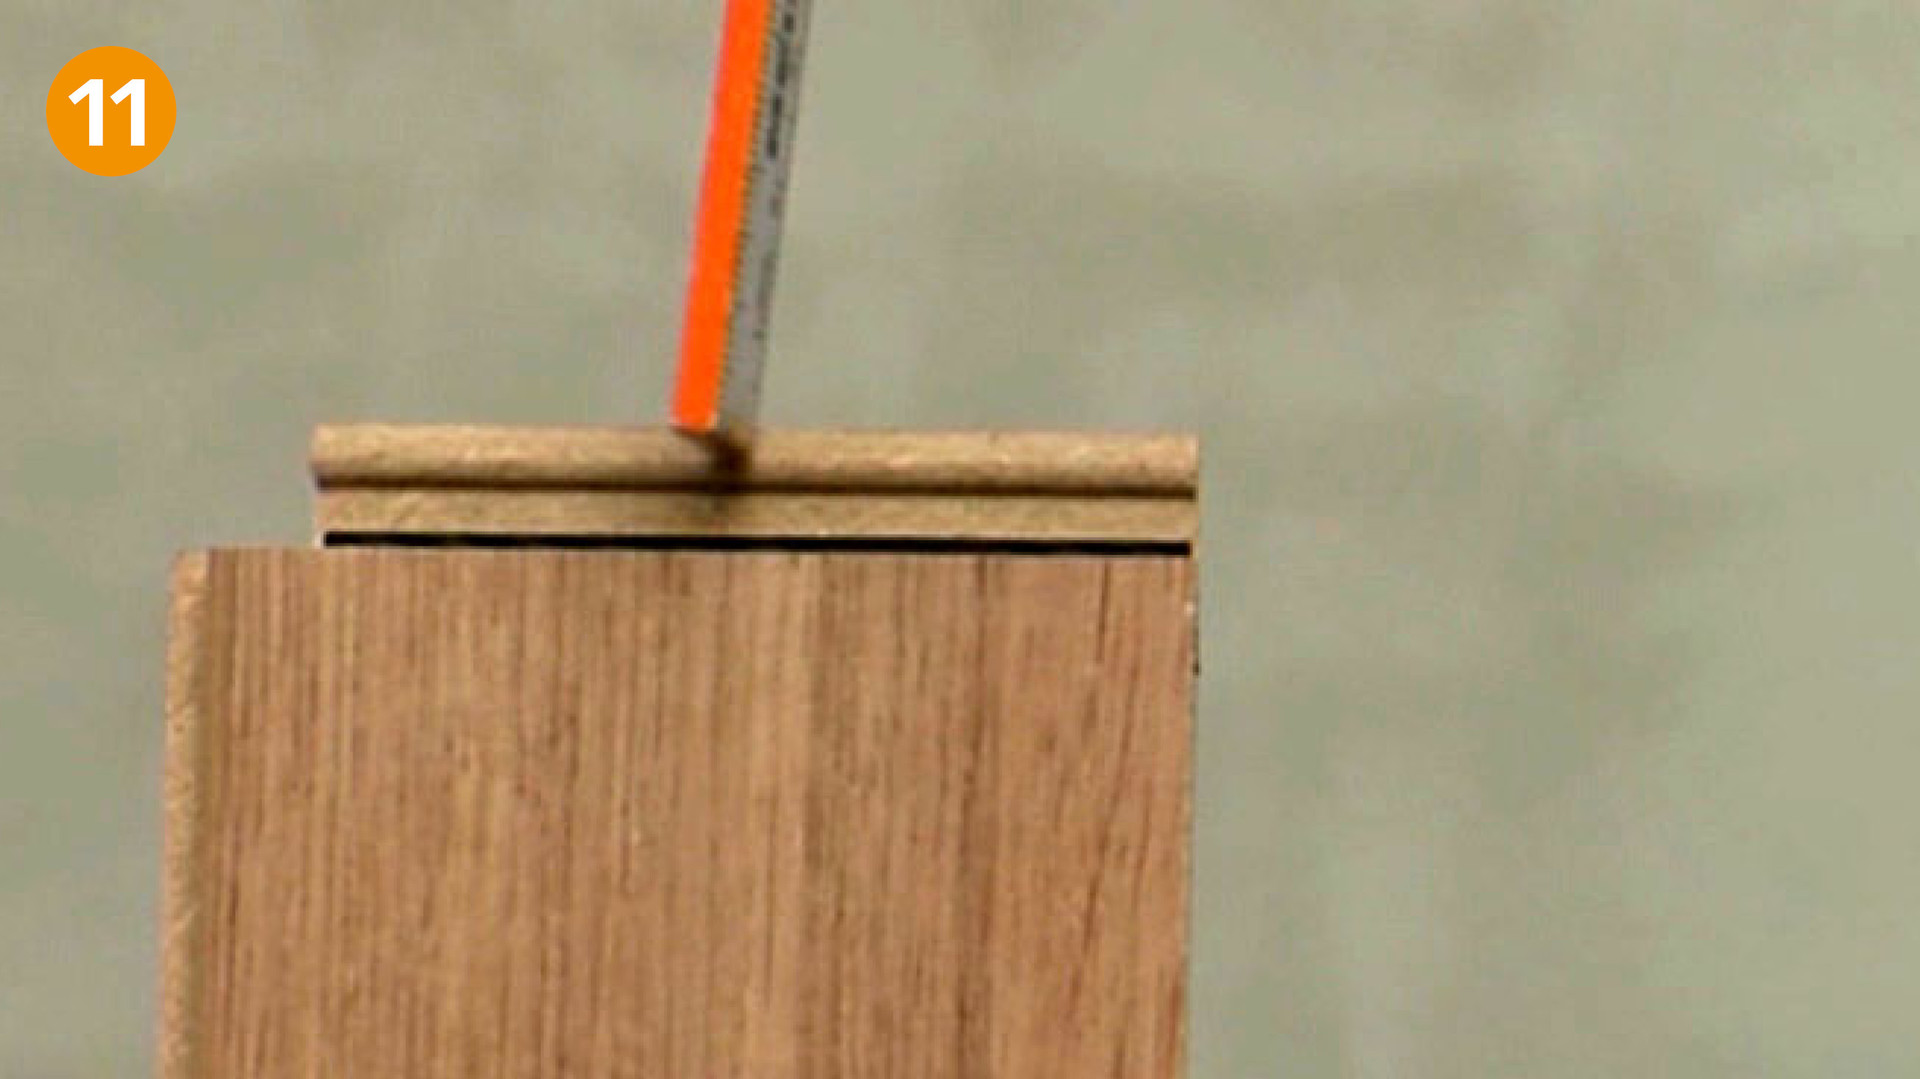
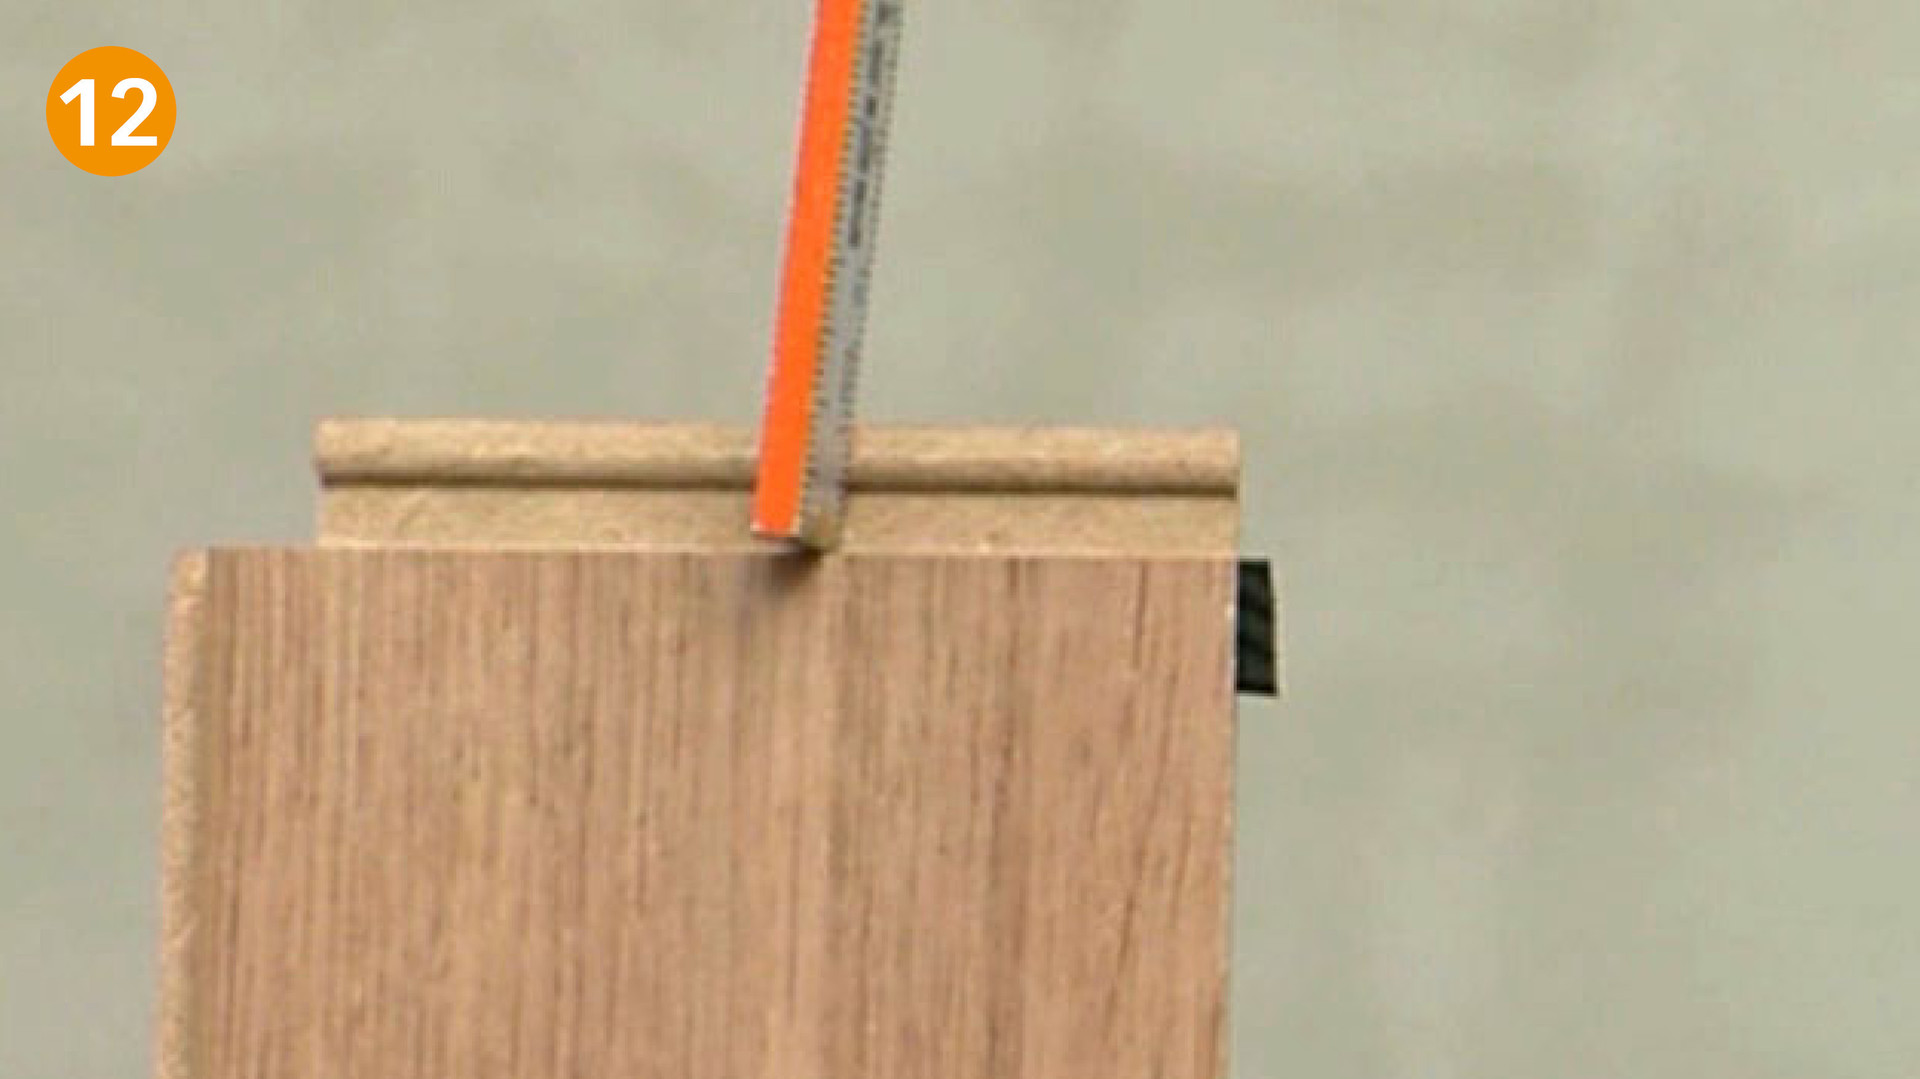
To cut the last row to size use a spare piece of a plank and draw the remaining plank width on it (leaving a gap of 10-15 mm to the ceiling). Taking the plank marked for width, push the plastic end tongue forward out of the end groove using the spare piece of plank (fig. 10). Begin cutting the plank to size at the end of the plastic tongue. After the plank has been cut to size, push the plastic tongue on the end back into the end groove (fig. 11 + 12).
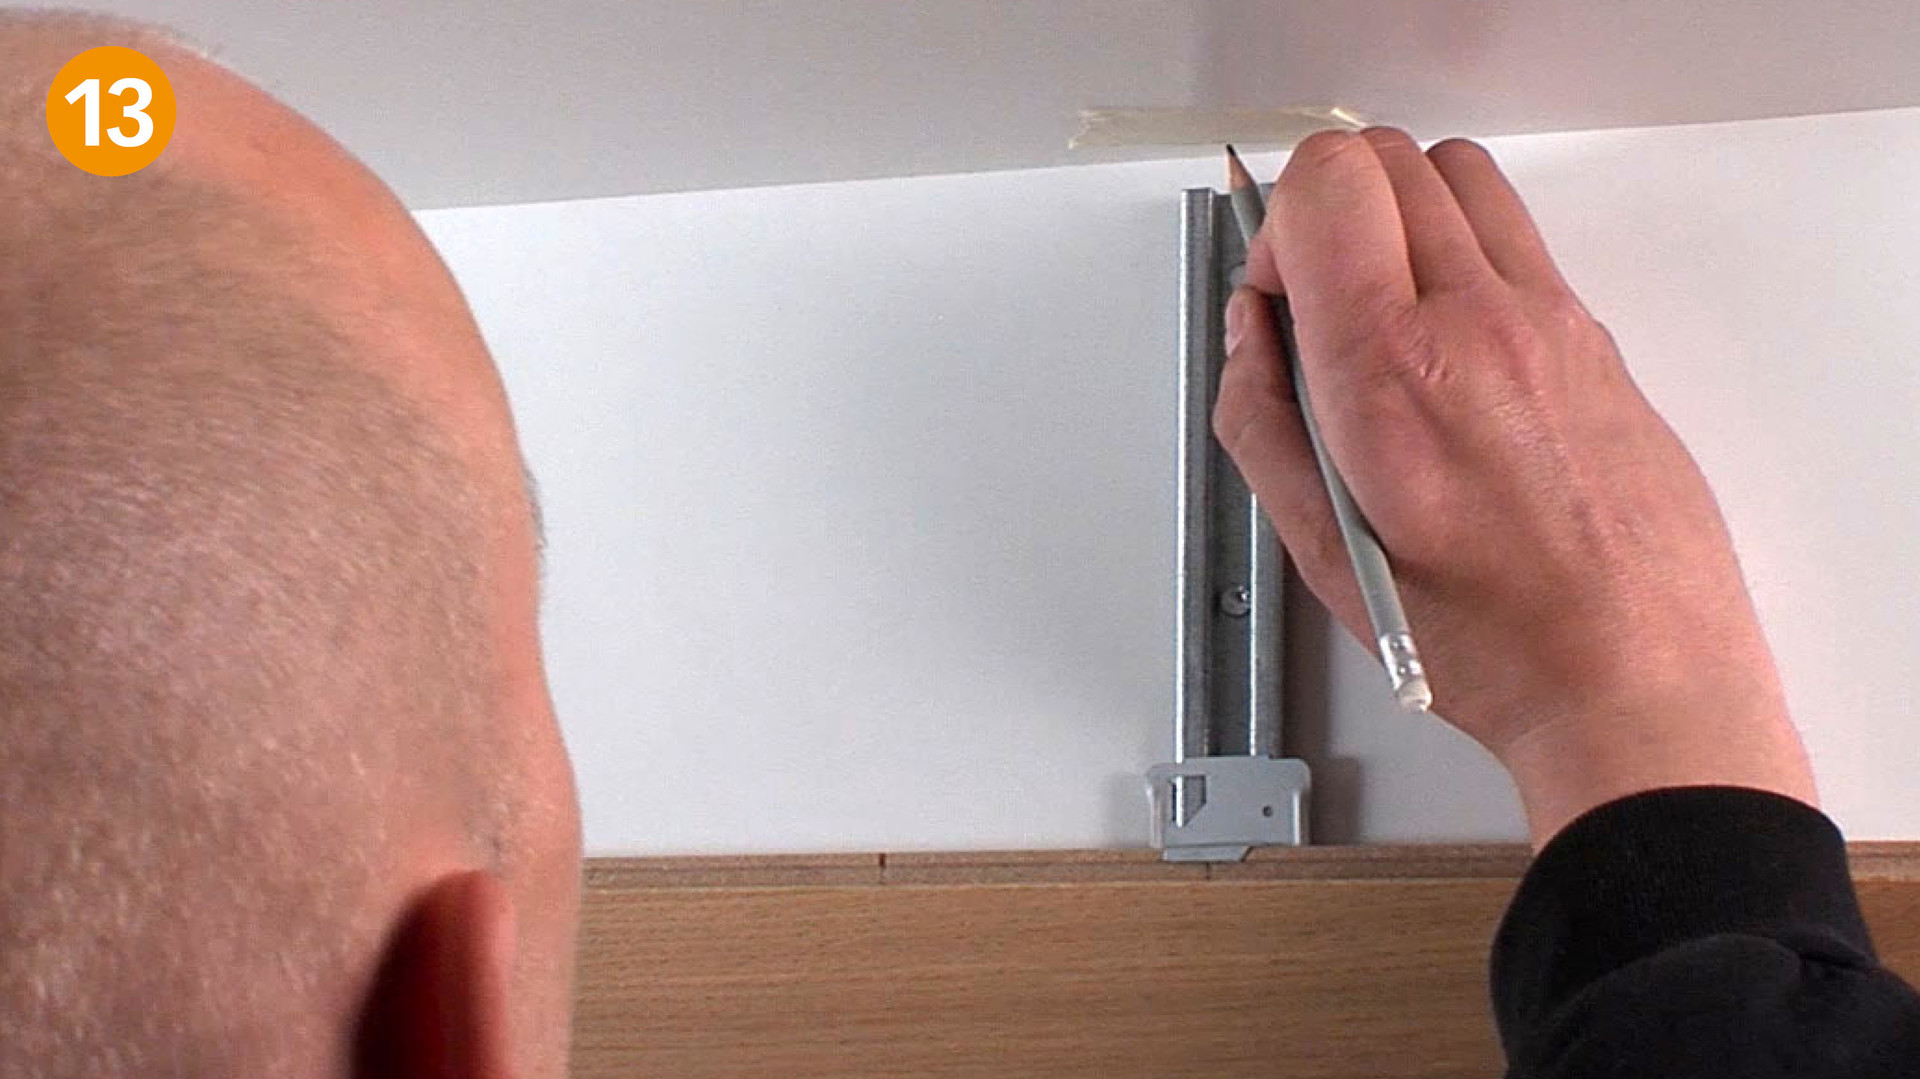
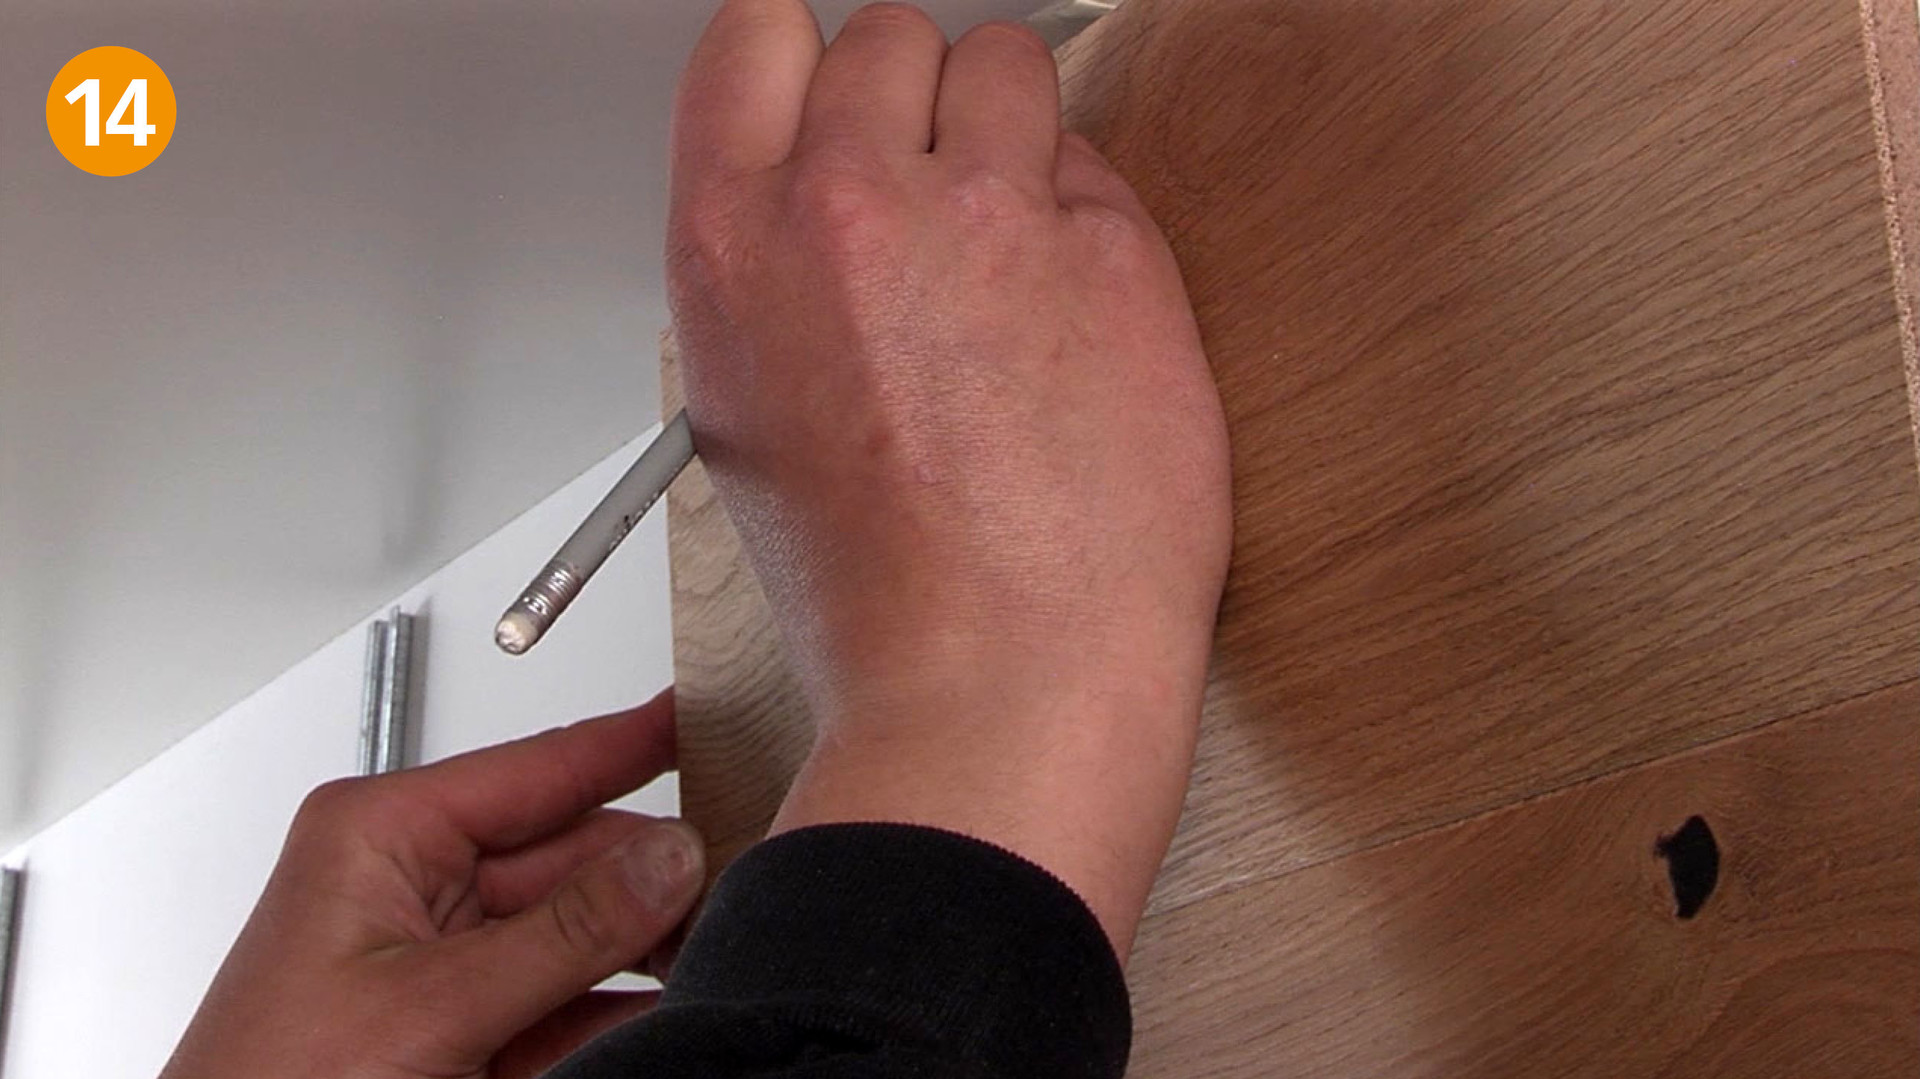
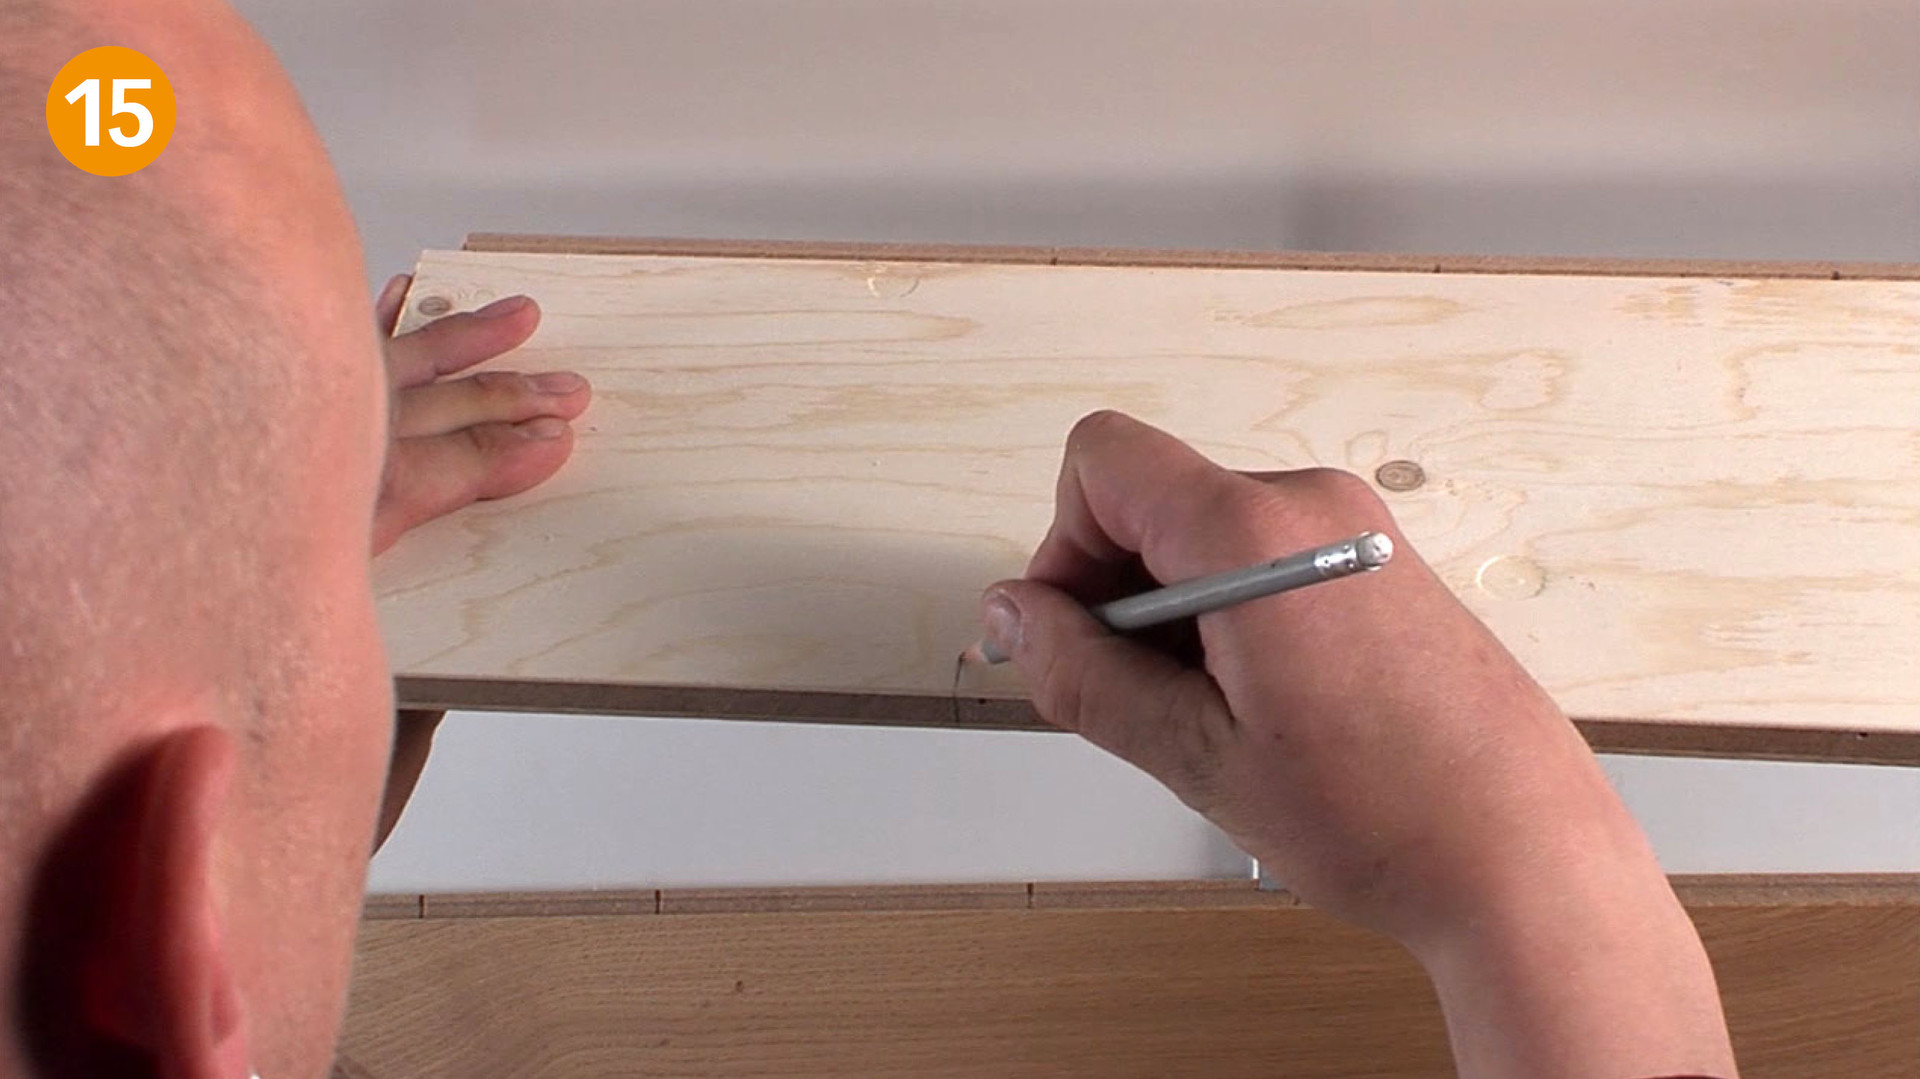
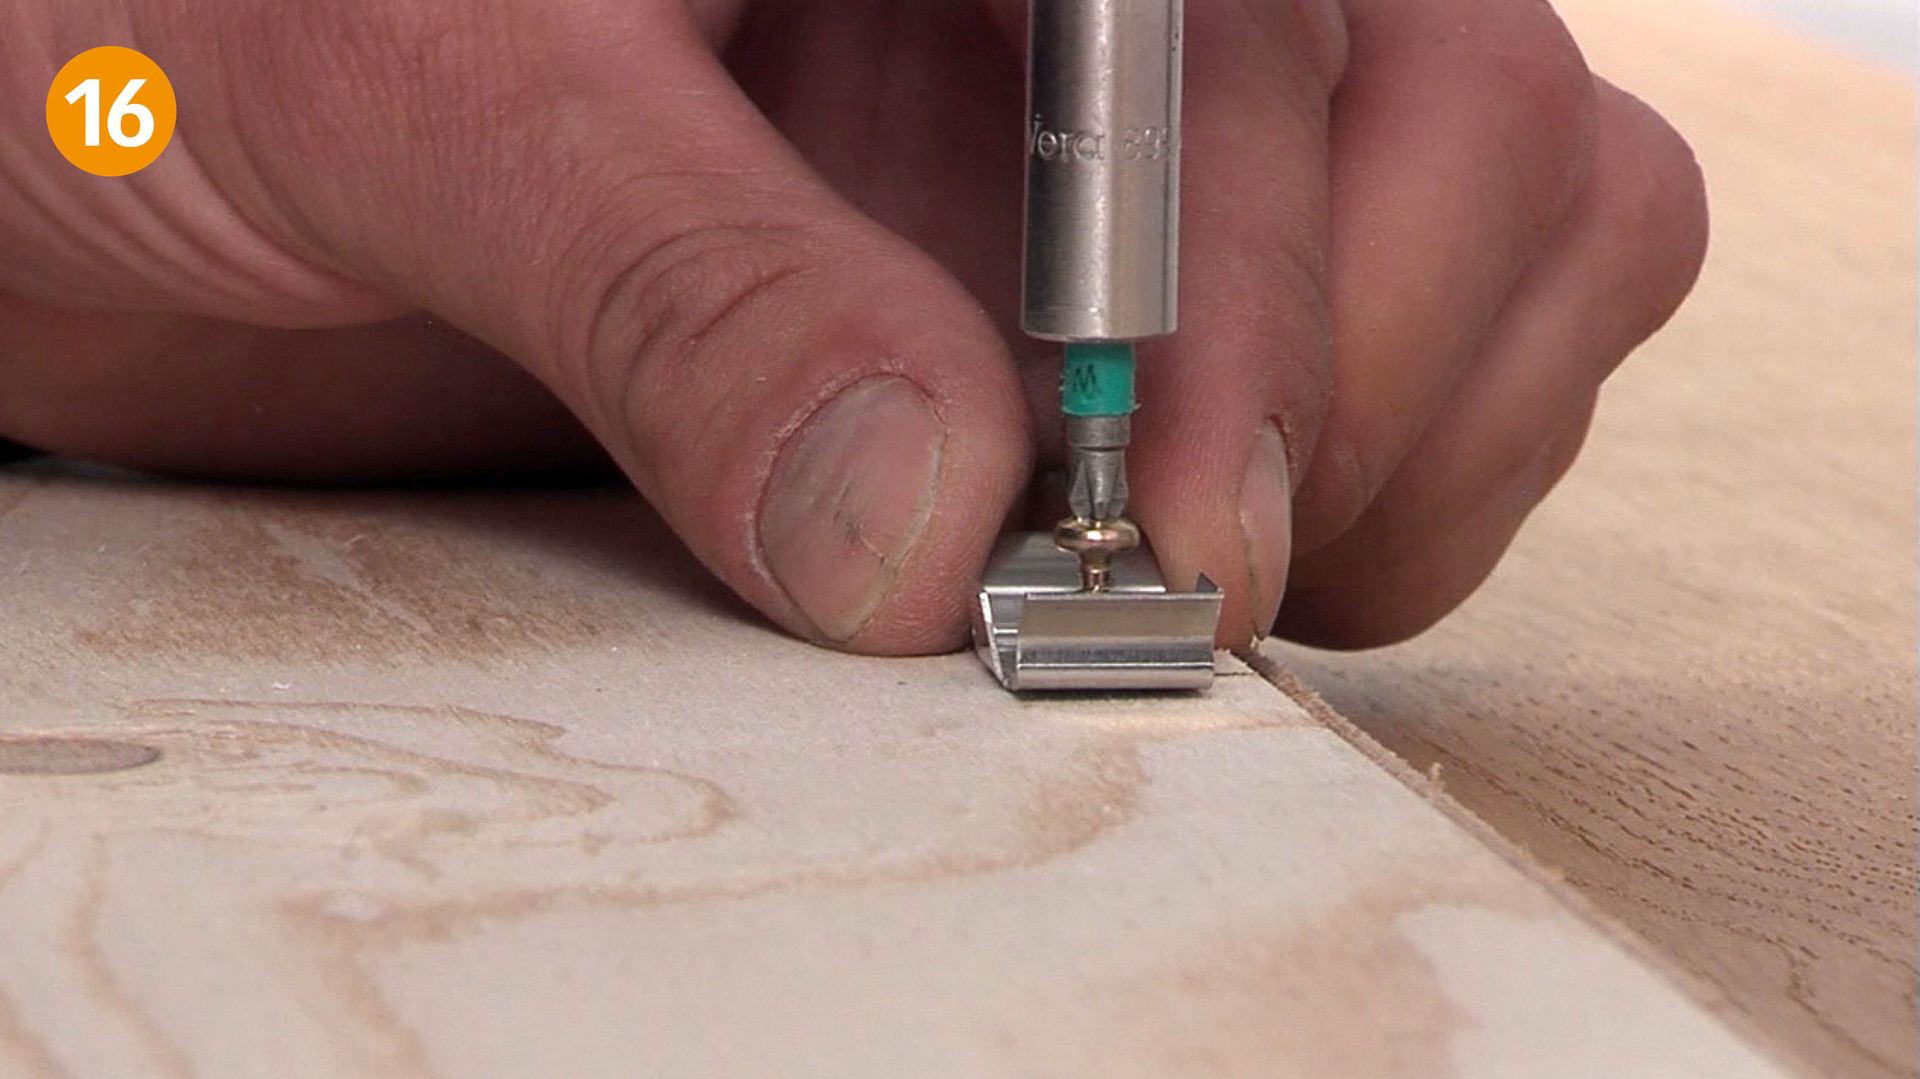
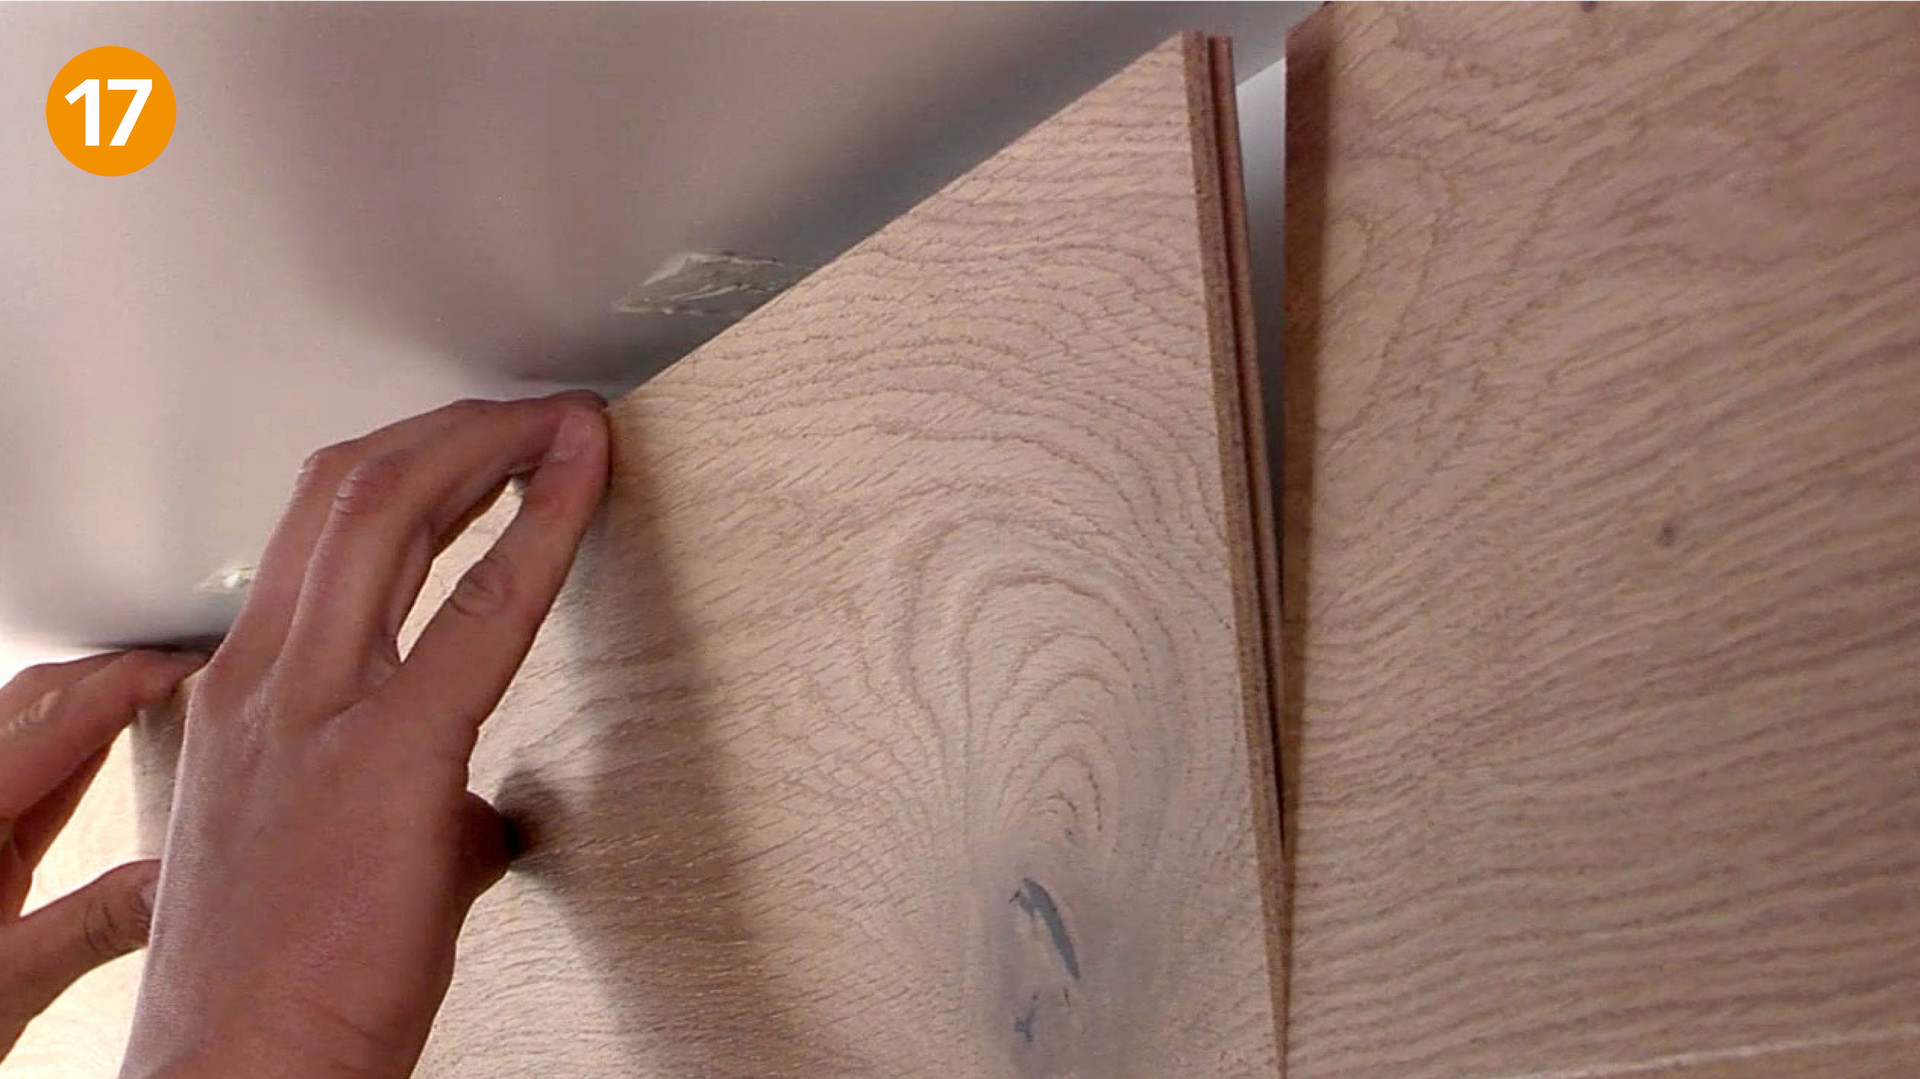
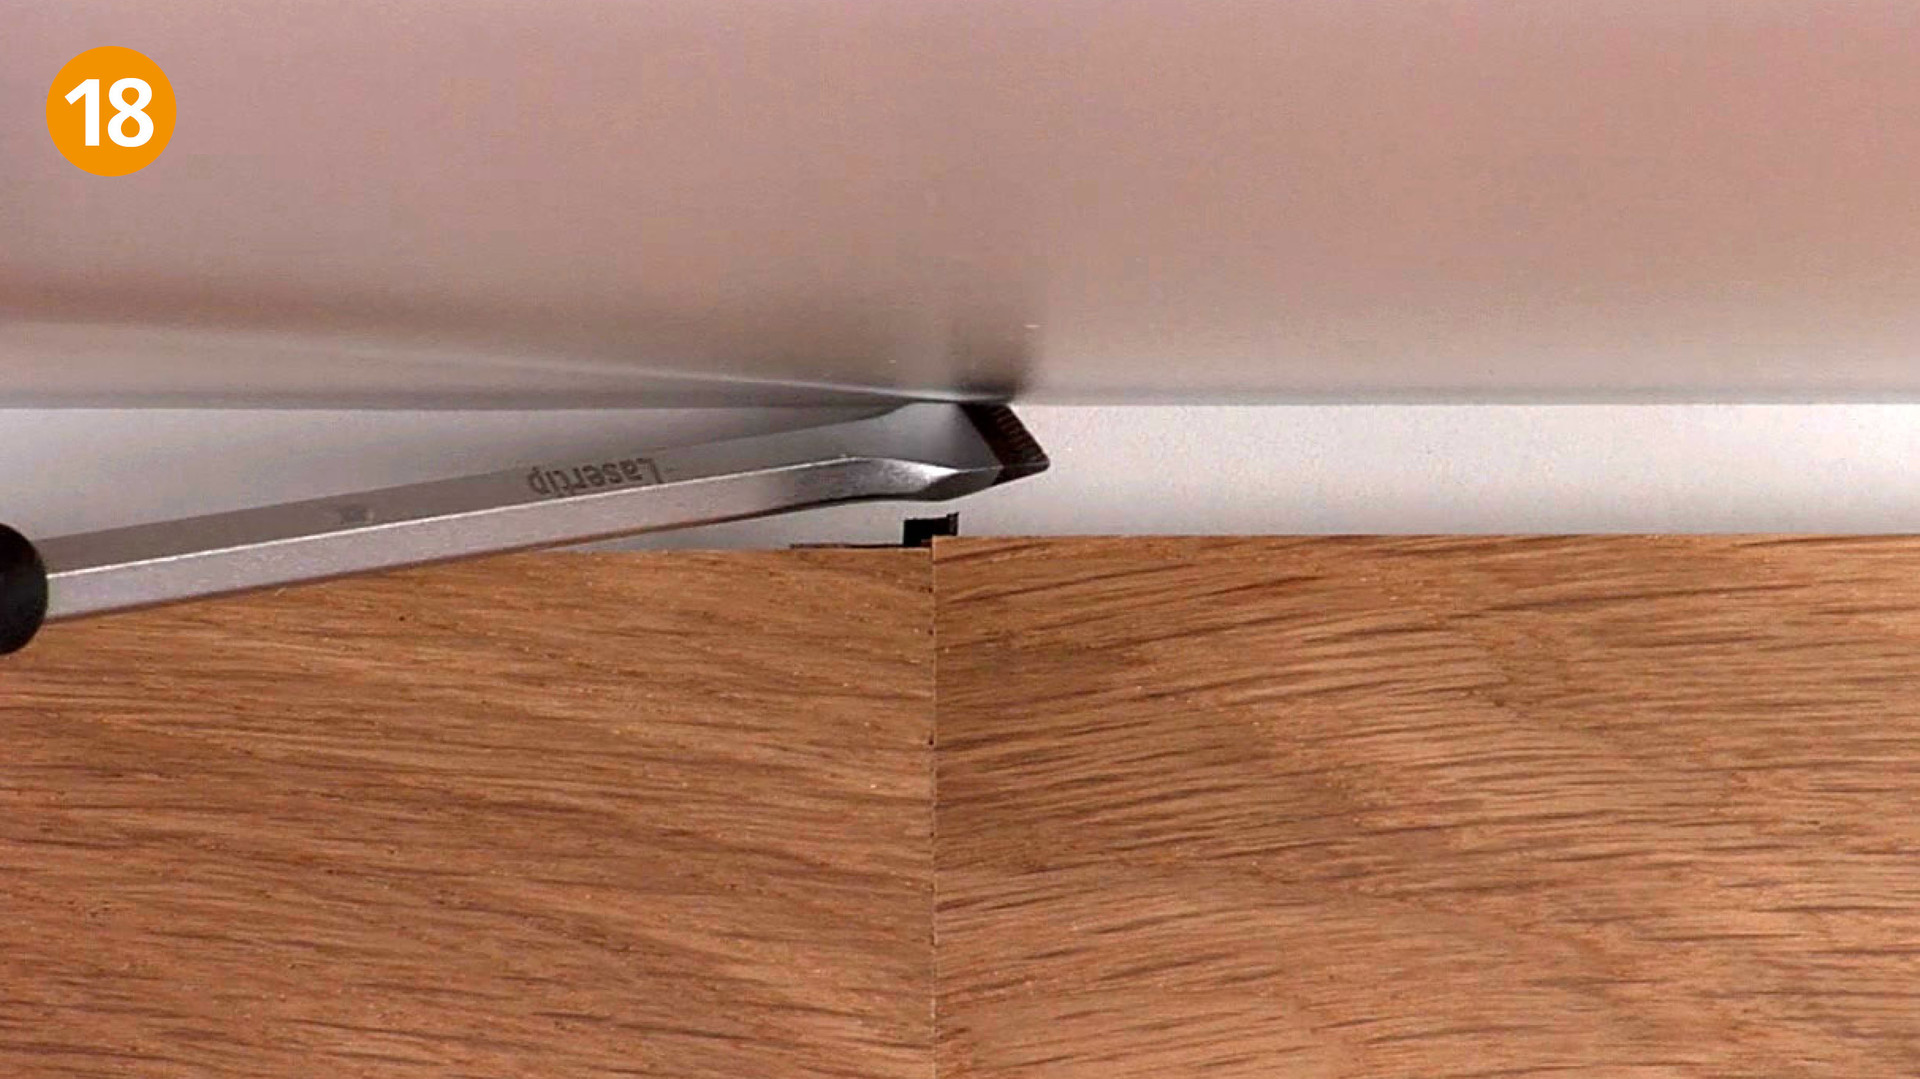
To install the start/end clips on the last row mark the position of the batten profile using a piece of adhesive tape (fig. 13) and transfer the position of the profile onto the back of the plank (fig. 14 + 15). Now the clip is fixed on the plank in the first row (fig. 16) and inserted into the plank (fig. 17). Afterwards the plastic tongue in the last row must be fixed using a screwdriver (fig. 18).
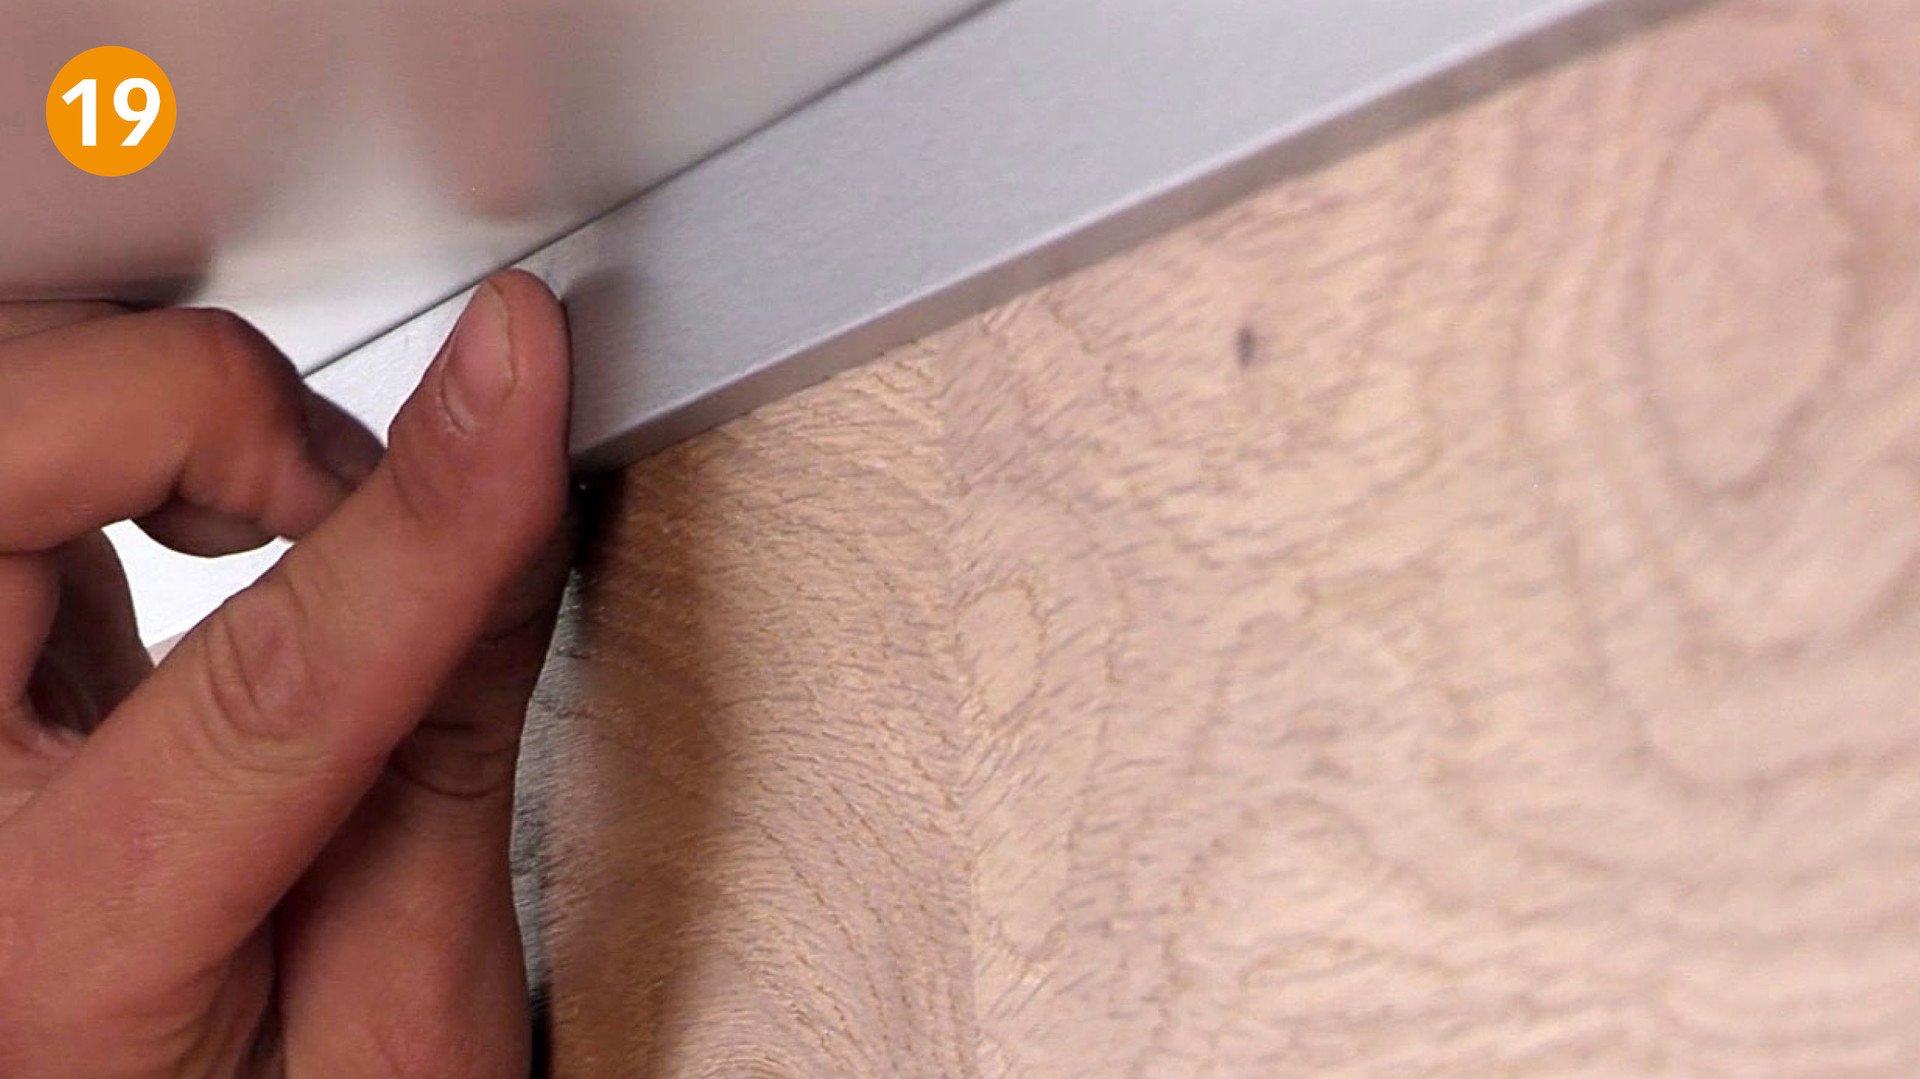
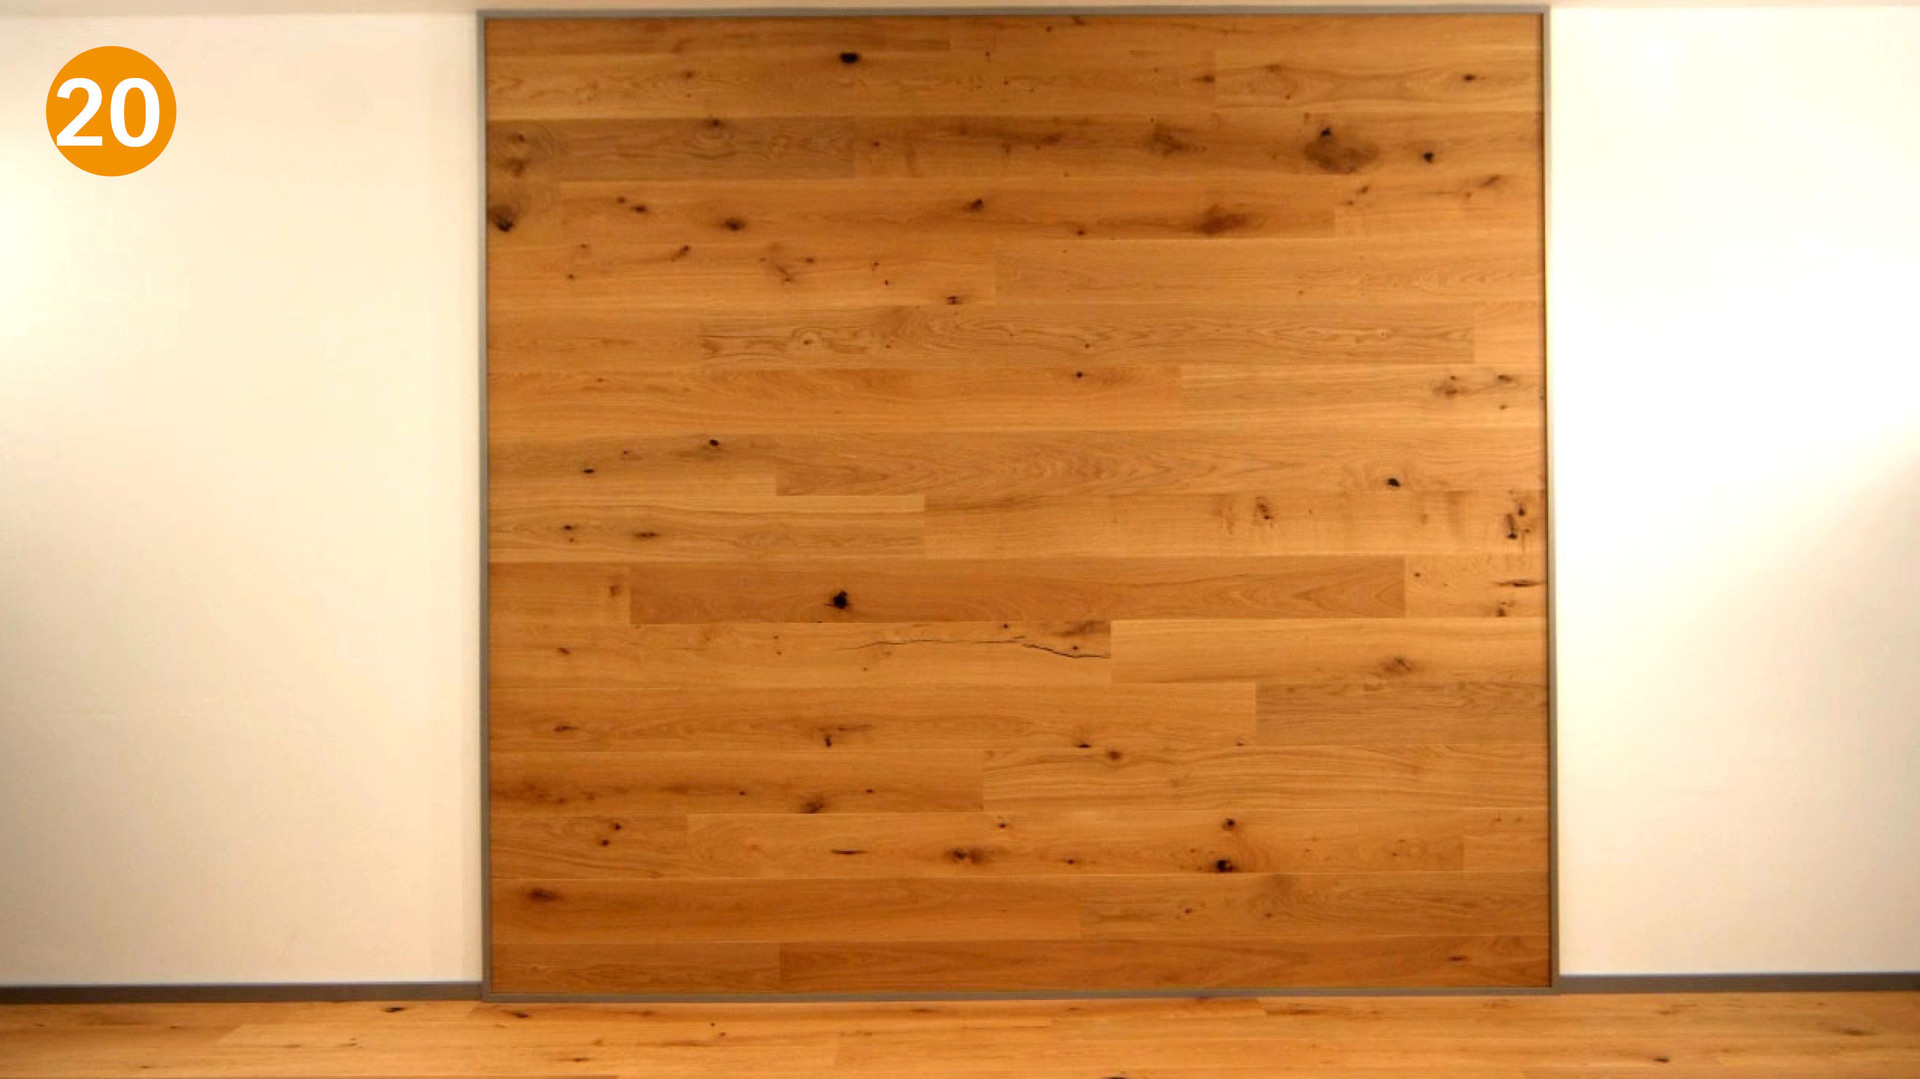
Use the MEISTER angled cover moulding for example to cover the all-round expansion joints (fig. 19 + 20).