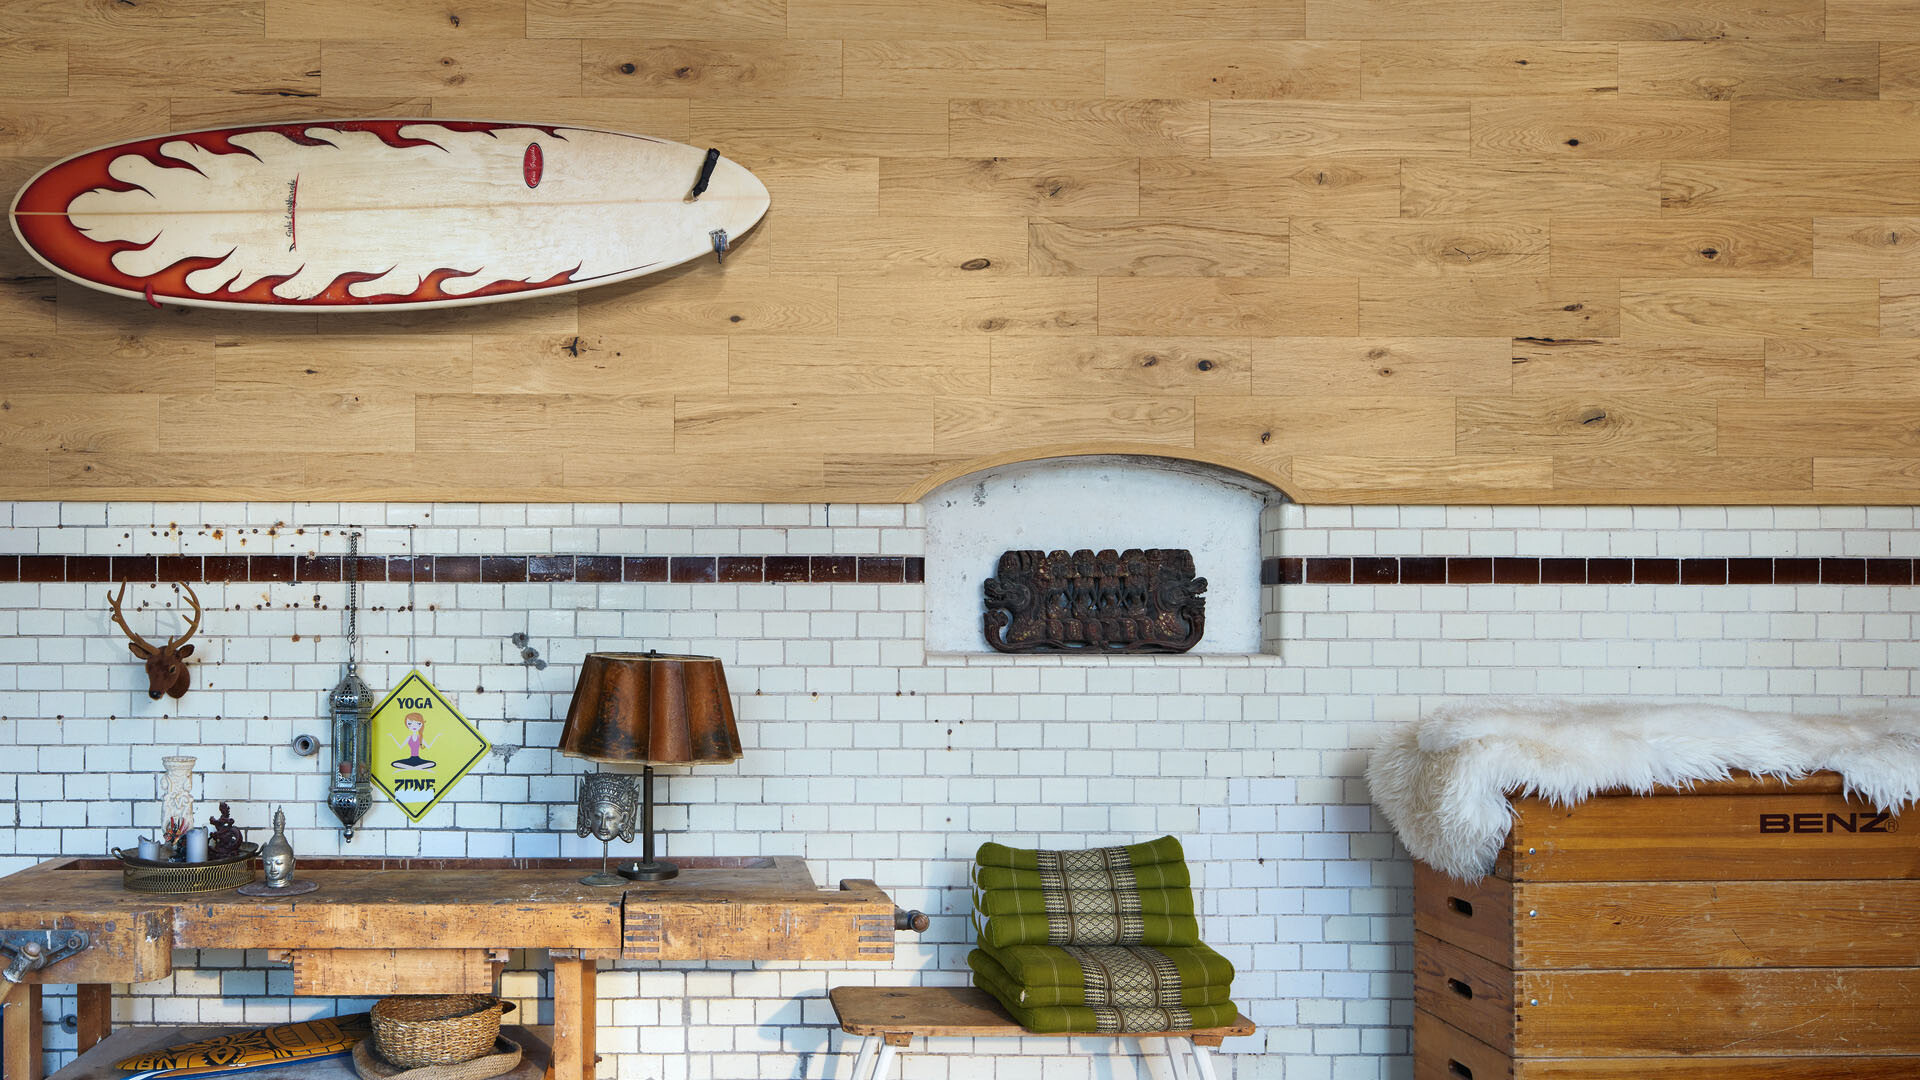
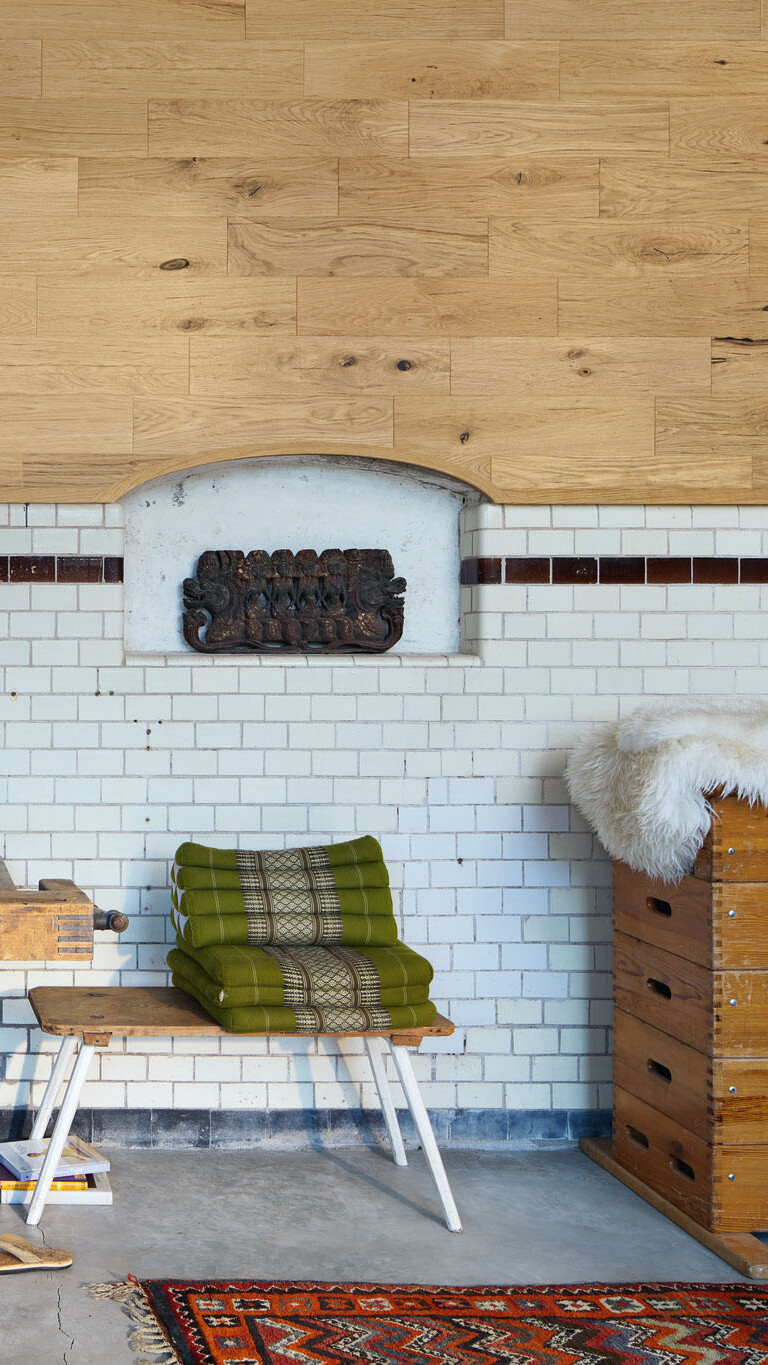

The Raw Oak R34 surface from the MeisterPanels. craft EP 500 collection has a “raw” look – meaning completely untreated wood that can be treated with oil, varnish or paint for an individual touch. There are no limits to your imagination or your creativity. It’s very easy to do, even if you are an inexperienced DIYer!
Please note that these panels should not be used unfinished as untreated wood is quicker to become discolored or soiled by environmental influences. We explain how you can paint the panels yourself:
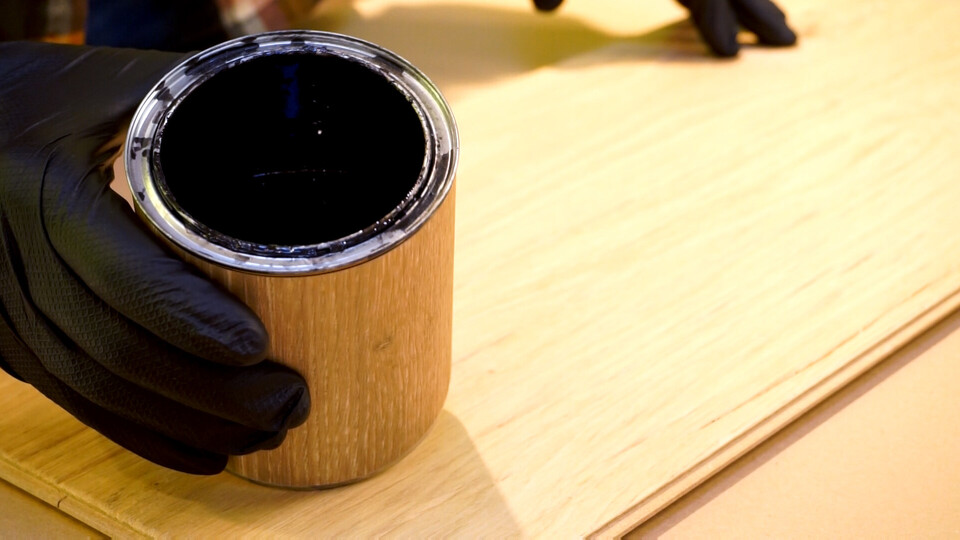
You can use protective wood varnishes, paints or oils, which are suitable for indoor use on wood. Ideally, the paint or oil should be solvent-free.
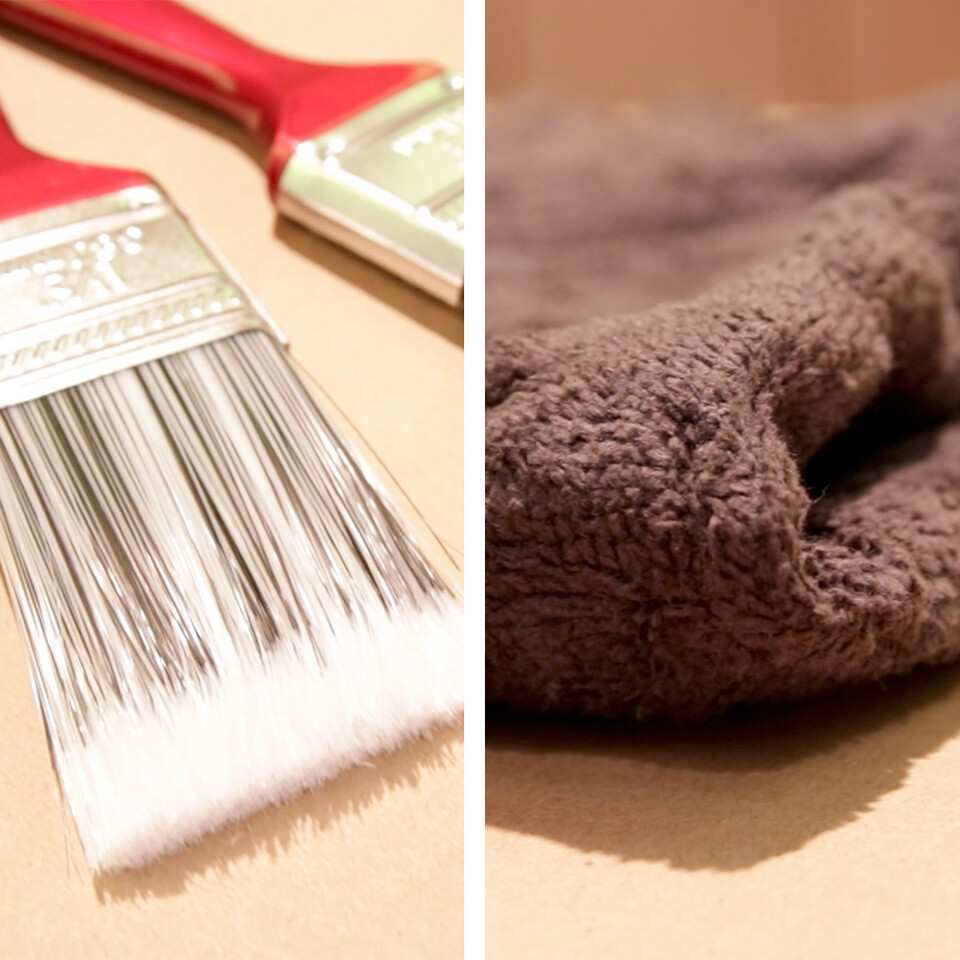
You will need:
Tip: Since the real wood panels have a very deep, embossed surface, it’s best to use a paintbrush. This way, the paint or oil fills all the little gaps.
It goes without saying that the panels should be clean and free from dust and lint. We recommend painting the individual planks before installing them. Then you don’t need to apply masking tape and can make sure that the colour is evenly distributed all the way to the edges. This ensures a uniform finish, including along the joints, when you install the panels.
Tip: Factor in a few extra planks before you start painting. That way, you can test the colour and application of the paint to achieve the desired effect.
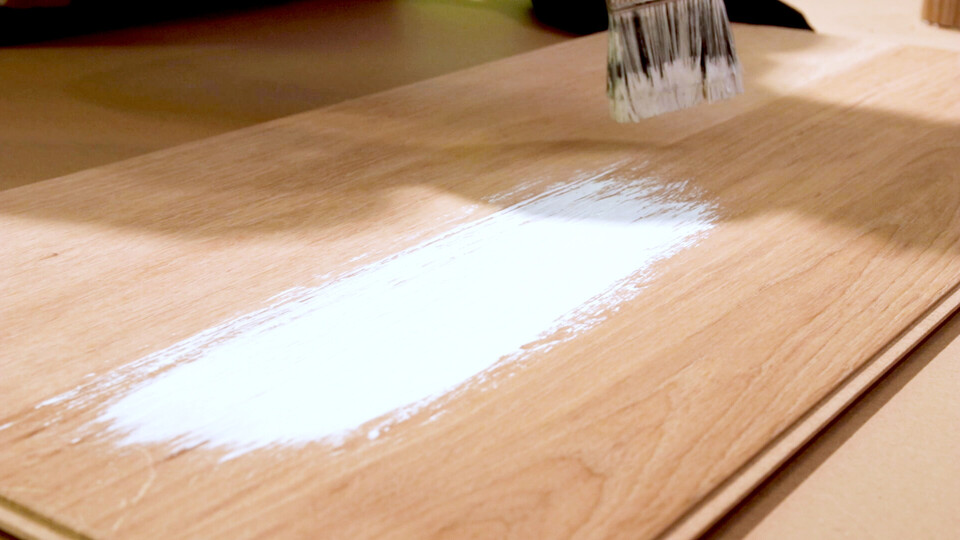
Generously apply the paint or oil to the panel. Brush the panel lengthways, so that the paint or oil penetrates all the cracks. You can also work the paint into the cracks by dabbing with the paintbrush.
Please note that the colour will pigment more while drying. The colour of the dry surface will therefore be more intense than the wet surface. If you want a more intense colour, allow the paint or oil to dry directly after application. For greater definition of the original wood grain, evenly take off the excess oil using the cotton cloth after application. This brings out the natural grain of the wood, as the cracks are accentuated in the chosen colour.
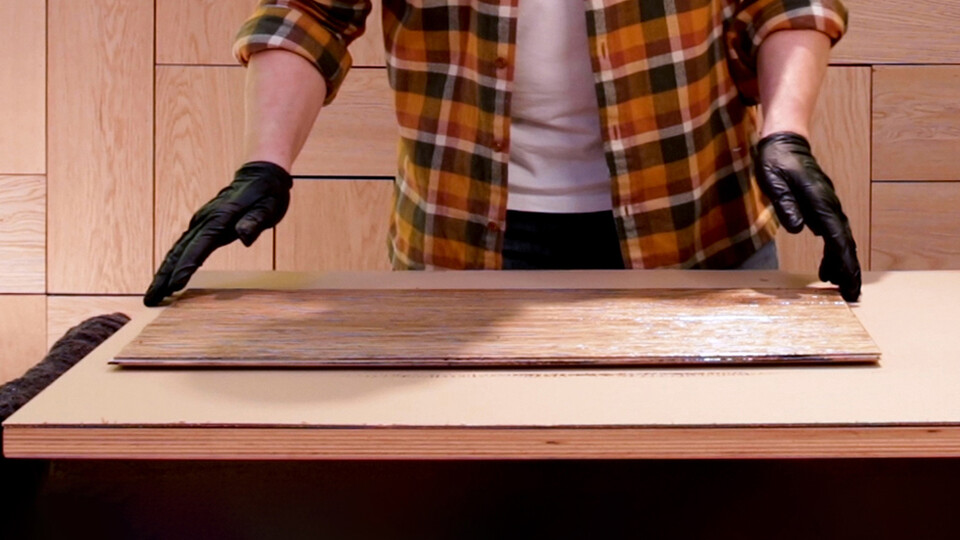
Please observe the manufacturer’s instructions for the drying time of the paint or oil. Usually, it takes between two and 24 hours for the paint or oil to dry. Lay the planks out flat. If left upright, the paint or oil can run out of the cracks again.
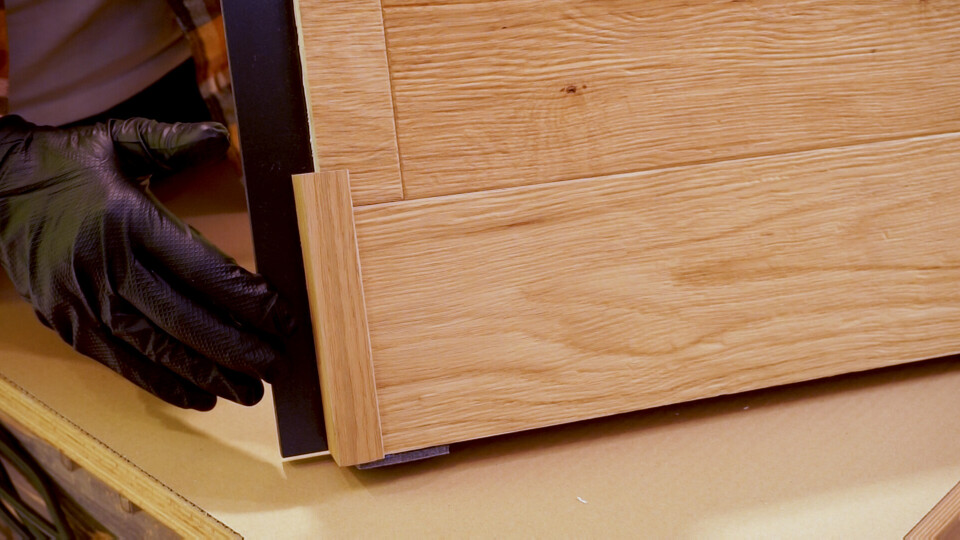
Unfinished mouldings are available to match the raw-look panels. They should be treated in the same way as the panels before installation.
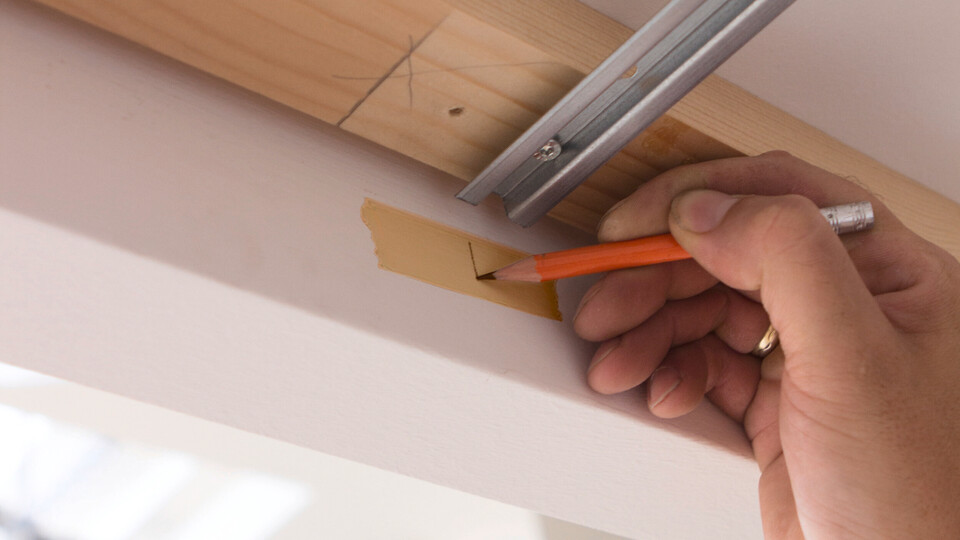
The dry panels and mouldings can be installed on the wall or ceiling by following the installation instructions. We explain how it’s done in our Installation section.
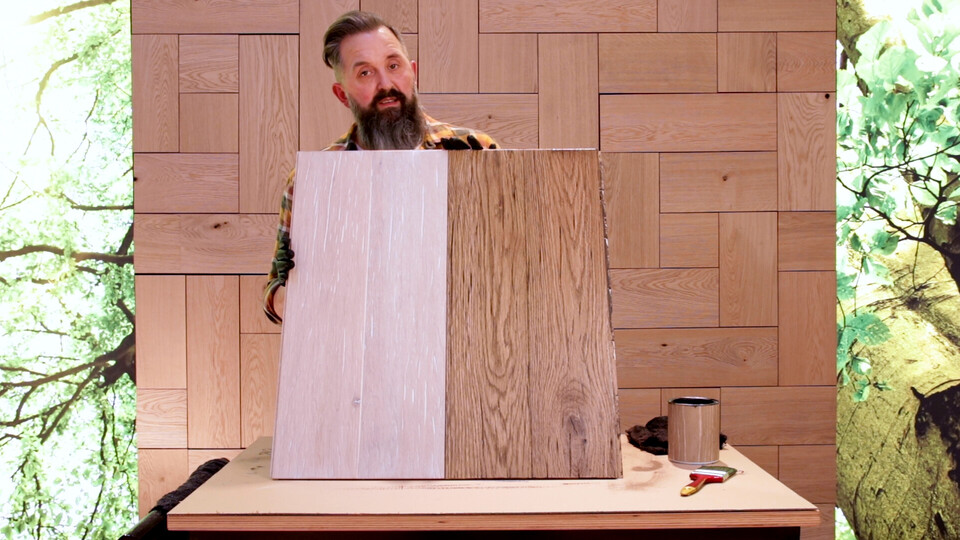
Get creative with the design of your real wood panels – the possibilities are endless!
In this video, we show how you can treat planks using white oil, followed by transparent black oil.
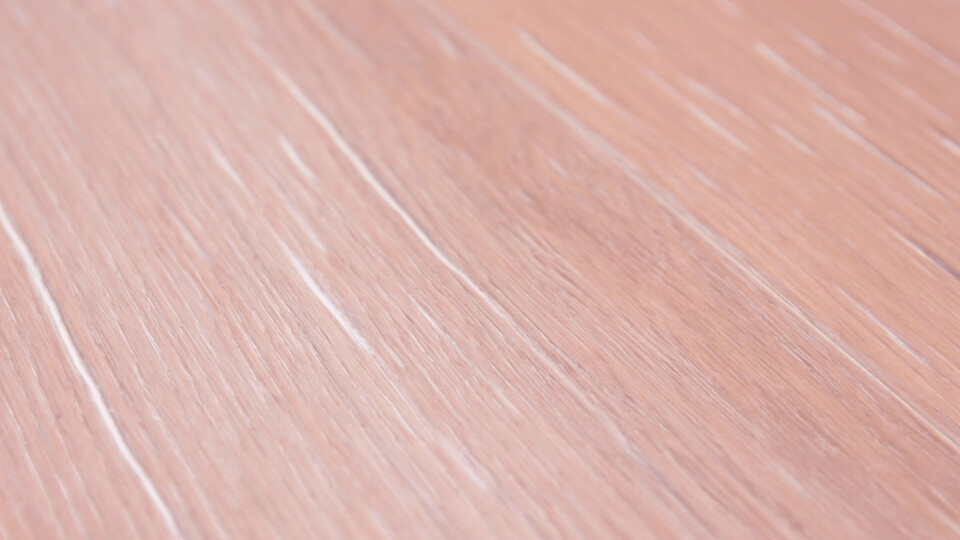
Painting the raw panels with white oil creates a light, whitewashed look. If you absorb the excess oil with the cotton cloth, the cracks remained filled in white and the wood grain is subtly visible on the surface. This look is ideal for fans of the shabby chic look or Scandinavian interior styles.
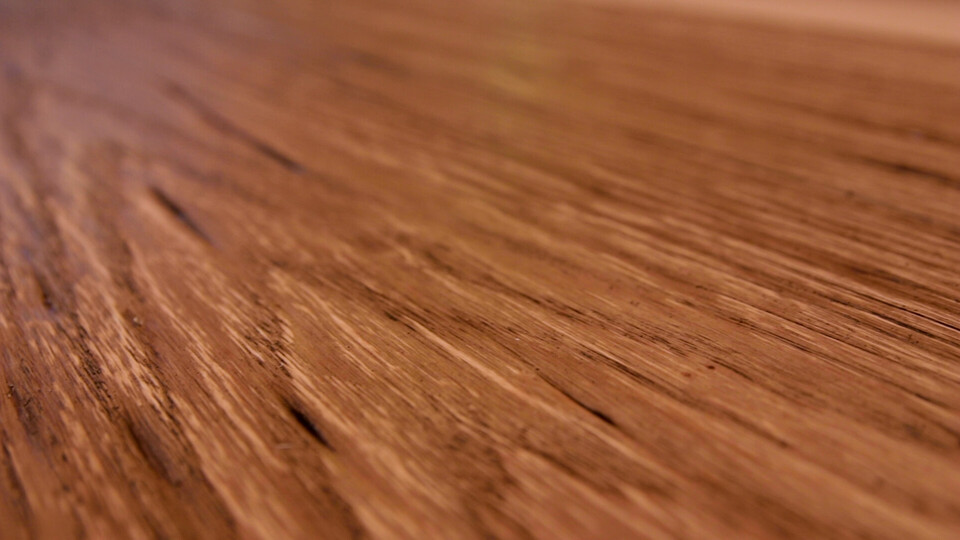
With transparent black oil, you can achieve a more “industrial” look. It’s important that the oil is transparent and not opaque, or the panels will look very dark. The black oil should be generously applied along the length of the plank and dabbed into all the cracks. Excess oil is removed with the cotton cloth to create a subtle, smoked effect.
Tip: Alternatively to transparent black oil, you can also use transparent oil mixed with 5–10% black oil.
If you want to accentuate the original wood grain even more, you can remove more oil from the surface using a scraper. This results in only the cracks and grooves being darkly coloured, so that the natural wood grain is visible and the surface acquires a beautiful depth of colour. This look is perfect for a raw, industrial style.
Anything is possible with these real wood panels in a raw look! We hope you enjoy getting creative with our new MEISTER panels!